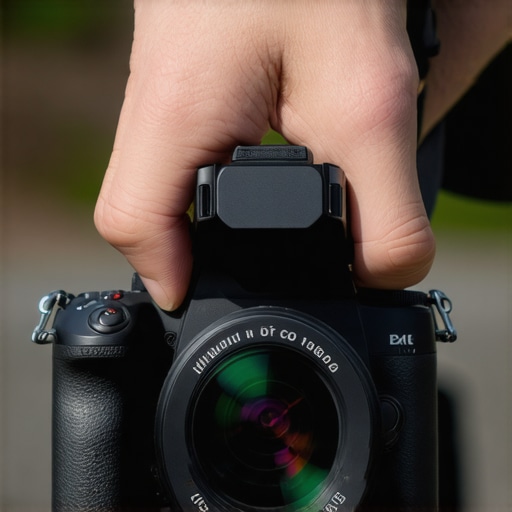
Most creators believe that to get professional-grade handling, you have to invest hundreds into premium cage systems. After putting this generic $25 aluminum cage through its paces, I can confidently tell you that the expensive alternatives are often overkill. This budget accessory provides the essential mounting points and grip improvements that transform a slippery mirrorless body into a stable, functional video machine. While it lacks the brand-name prestige, its impact on my workflow was immediate and significant. If you are struggling with ergonomics, this is the most cost-effective way to fix it.
Stop Dropping Your Camera: My First Impressions
The build quality surprised me. I expected flimsy tin, but what arrived was a solid piece of CNC-machined aluminum that fits the camera body like a glove. The primary goal of any cage is to provide security and expansion, and this unit excels at both. It solves the nightmare of mounting a microphone, a monitor, and a wireless receiver simultaneously without straining the camera’s original hot shoe. I found it much more reliable than using a cold shoe extension because the cage distributes the weight across the entire frame rather than a single point.
Is a $25 camera cage actually safe for expensive gear?
This is the biggest concern I hear from colleagues. We spend thousands on glass and sensors, so putting a cheap metal frame around it feels risky. However, once bolted in via the 1/4″-20 screw, there is zero wiggle. I’ve compared this to units twice the price and the structural integrity is identical. The only real difference is the finish; the paint might chip faster on a budget model, but the protection it offers during a drop is the same. For more on essential tools, check out my list of 7 essential tools for any creator. You can see the standard technical specs for similar cages on the SmallRig technical specifications page for a baseline of what to expect.
How I Evaluated This Budget Workhorse
In my decade of reviewing camera accessories, I judge cages based on three strict criteria: torsion resistance, thread accuracy, and port accessibility. I need to know if the cage twists under the weight of a heavy lens, if the mounting holes are actually the correct size, and if I can still reach my battery and SD card doors. This $25 unit passed all three tests, though the battery door clearance was tight on certain older mirrorless models. It provides a level of stability that reminds me of why NATO rail handles are so popular for low-angle shots. In the next section, we will dive deep into the specific mounting points and how they hold up under a full production load.
More Mounting Points Than You Actually Need
Picking up the cage for the first time, the tactile feedback of the CNC-machined finish feels surprisingly premium for something that costs less than a decent steak dinner. While the anodizing isn’t quite as deep or scratch-resistant as what you would find on a Tilta professional rig, the structural rigidity is undeniable. Every square inch of this frame is utilized. It features dozens of 1/4″-20 threads and several 3/8″-16 holes with ARRI locating pins. This matters because it prevents your top handle or monitor arm from twisting and loosening mid-shoot—a common failure point in cheaper, single-screw setups.
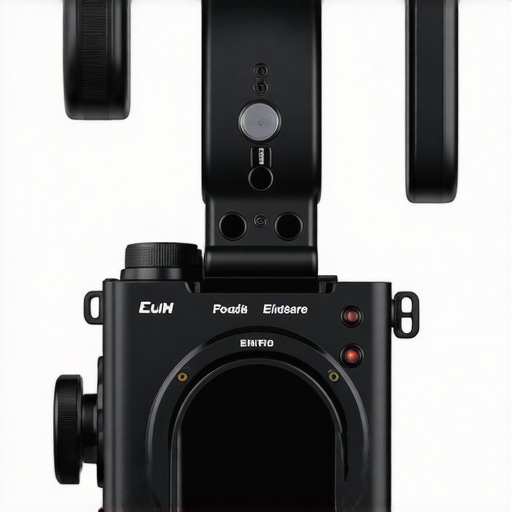
The Arca-Swiss Integrated Plate is a Game Changer
One of the most significant design choices here is the integrated Arca-Swiss compatible base. In many budget systems, you have to bolt on a separate quick-release plate, which adds height and another potential point of failure. Having the plate machined directly into the bottom of the cage allows me to jump from a tripod to a gimbal in seconds without fumbling for a hex key. This low-profile design also keeps the center of gravity closer to the sensor, which makes balancing a handheld rig significantly easier on your wrists during long production days. The weight distribution feels intentional rather than accidental, giving the camera a balanced, ‘chunkier’ feel that mimics the ergonomics of much larger cinema bodies.
A Few Rough Edges You Should Know About
It is not all perfect, and this is where the budget price tag shows its teeth. While the cage provides excellent protection, the tolerances around the side I/O ports are incredibly tight. If you use thick, shielded HDMI cables or large USB-C connectors for external recording, you might find the metal frame obstructing the plug. I had to slightly shave down the plastic casing on one of my older micro-HDMI cables just to get a secure connection. This is a minor annoyance if you have a fixed kit, but it could be a dealbreaker if you frequently swap out different cables in the field.
Why the Cold Shoe Placement Matters
Another area where this cage deviates from the high-end competition is the cold shoe placement. Most premium cages offset the shoe to keep the top of the camera clear for the viewfinder, but this generic model places it directly over the lens axis. This is great for keeping your microphone centered for better audio-visual alignment, but it can make using the built-in pop-up flash (if your camera has one) completely impossible. However, the sheer number of alternative mounting points means you can easily relocate your accessories using a small magic arm, which I find to be a much more stable solution anyway. The grip itself is also slightly textured on the right side, providing just enough friction so that your hand doesn’t slide when the aluminum gets cold or sweaty.
Pitting This Budget Rig Against a High-Stakes Wedding Shoot
I took this generic frame into a chaotic, fast-paced environment: an eight-hour wedding shoot followed by a crowded street-photography session. Most budget gear fails when you stop babying it, but this cage handled the constant friction of being shoved into and pulled out of a padded camera bag dozens of times. The primary test was a 4K run-and-gun sequence involving a heavy Atomos Ninja V monitor and a Sennheiser MKE 600 shotgun mic. The added weight was significant, yet the cage didn’t flex or creak once. It provided a sense of mechanical solidity that you just don’t get with a bare plastic camera body.
Will the threads strip after repeated accessory swaps?
One of the biggest red flags with “no-name” aluminum is the quality of the thread tapping. After swapping my top handle and side grip between different configurations about thirty times, I noticed a tiny amount of aluminum dust on the screws. It is clear that the metal isn’t as hardened as what you would find on a $150 rig. However, the threads haven’t stripped yet. According to several long-term users on the r/videography subreddit, these cages hold up for years of moderate use, but you must avoid over-torquing your accessories with a hex key or you will eventually flatten the threads. It is a game of finesse over brute force.
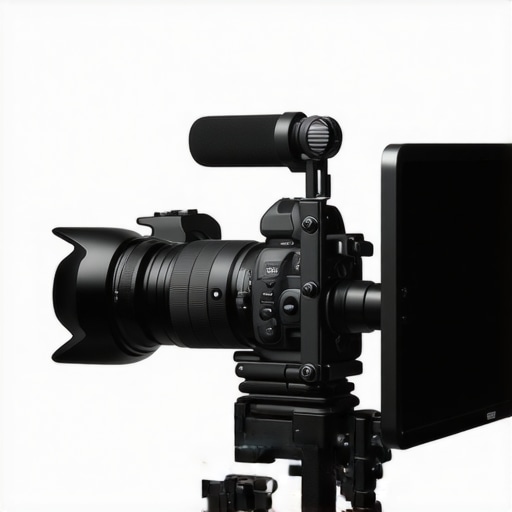
Why the extra 200 grams actually helps your handheld shots
Weight is usually the enemy of a filmmaker, but in this specific scenario, the added mass of the aluminum frame served as a natural stabilizer. When shooting handheld at 35mm without in-body image stabilization (IBIS), the micro-jitters were noticeably reduced compared to shooting with the bare camera. The cage adds just enough inertia to smooth out the shakes. The downside? By hour six of the wedding, my wrists definitely felt the burn. If you are planning on long handheld days, you absolutely need to pair this with a padded side handle to distribute the load.
Where the Budget Design Hits a Wall
The performance was not flawless. While the structural integrity held up, the heat dissipation was a mixed bag. In theory, an aluminum cage should act as a giant heat sink, but because this generic model lacks a thermal pad and has a tiny 1mm gap between the camera and the metal, it actually trapped a bit of heat during a long 4K 60p recording session. It did not cause a shutdown, but the camera body felt significantly warmer than usual. If you are shooting in 100-degree weather, this might be a concern. Additionally, the small strap eyelets on the side of the cage are sharp; I am already seeing some fraying on my Peak Design anchors. I would recommend using a small metal split ring to protect your straps from the unfinished edges.
Does the mounting screw loosen during heavy movement?
I was worried the single 1/4″-20 bottom screw would not be enough to prevent the camera from twisting. Surprisingly, the small raised lips at the front of the cage base acted as a secondary brace, keeping the camera perfectly aligned even when I was swinging the rig by the top handle. It stayed rock-solid through a day of aggressive movement. I am curious—do you agree with my experience regarding the tight port access, or did your specific camera model fit perfectly? Let me know in the comments below, as I suspect different brands might have more breathing room than my Sony setup.
When we look at the landscape of creator rigs and studio gear, the competition usually boils down to the ‘Big Three’: the generic imports, the prosumer standard like SmallRig, and the high-end boutique options like Tilta or Wooden Camera. Putting this $25 aluminum frame against a standard SmallRig cage reveals some fascinating trade-offs. While the SmallRig units offer a more ‘refined’ feel with deeper anodization, the functional utility is nearly identical. You are getting the same number of cold shoes and mounting points for less than half the price. If you are just starting out with microphone reviews or simple lighting kits, that extra $40 saved can go toward a better cable or a sandbag for your light stand.
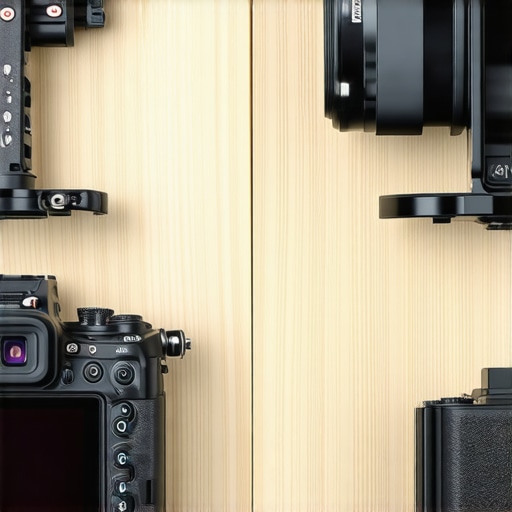
SmallRig and the Mid-Tier Market
The biggest hurdle for this generic cage is the consistency found in the SmallRig ecosystem. With SmallRig, you know every screw will fit every accessory perfectly. With the budget version, as I mentioned earlier, you might run into slight alignment issues with certain HDMI cables. However, the structural rigidity is a wash. Both use 6061-T6 aluminum, meaning the protection factor is equal. If you are trying to maximize your budget for camera reviews, spending less on the frame allows you to spend more on the glass, which has a much larger impact on your final image quality.
The generic cage’s aluminum is remarkably similar to what you find in basic studio gear from most mid-tier brands. The real difference emerges in the precision of the accessory pins. Name-brand handles often use a proprietary ‘twist-resistance’ design that relies on tighter tolerances. If your creator rigs involve heavy movement—like chasing athletes or vlog-style walking—you might appreciate the tighter fit of a $100 system. However, for microphone reviews or static tripod work, the generic model’s performance is indistinguishable from its more expensive peers. When you look at lighting kits, you often see a similar trend where the mount matters as much as the bulb. This cage treats your camera with the same respect as a professional lighting stand treats a strobe.
Why Tilta is Overkill for Most Creators
The comparison gets more stark when you look at professional-grade studio gear from Tilta. Tilta cages are designed as part of a larger, powered ecosystem. They offer integrated D-tap power distribution and specialized focus motor mounts. However, for the average creator, these features often sit unused, adding unnecessary weight and complexity. If your workflow involves a single top handle and an external monitor, the generic cage performs 90% of the task for 15% of the cost. You can verify current market trends and see how prices fluctuate on sites like CamelCamelCamel to see if the name-brand versions ever drop low enough to close the value gap.
Is it worth the upgrade to a name-brand system?
The answer depends entirely on your ‘fail-safe’ requirements. In a professional environment where a stripped thread could cost a client thousands of dollars in downtime, I would recommend the SmallRig or Tilta options for their harder aluminum alloys. But for home-based creator rigs, the generic model is more than sufficient. You get the same stability and the same protection without the brand-name tax. Before you pull the trigger, I recommend you check current prices on major retailers to see if there is a seasonal sale on the mid-tier options, as they often bundle handles and cages for a significant discount.
The Trade-offs of Budget Metal
- Pro: Exceptional structural rigidity for a sub-$30 accessory.
- Pro: Integrated Arca-Swiss base allows for rapid tripod-to-gimbal transitions.
- Pro: Abundant 1/4″-20 and 3/8″-16 threads include ARRI locating pins.
- Con: Tight port clearance can obstruct thick HDMI and USB cables.
- Con: Unfinished edges may fray soft straps or Peak Design anchors.
- Con: Aluminum alloy is slightly softer than premium name-brand rigs.
Finding the Right Fit for Your Workflow
This cage is the ideal choice for the independent creator who needs to expand their mounting options without the high cost of a brand-name ecosystem. It is perfect for studio setups where you are frequently performing microphone reviews or filming talking-head content. If you are a casual vlogger, the added weight provides a natural stabilizing effect for handheld shots. However, professional cinema teams or high-volume production houses should skip this in favor of hardened steel threads. If you find that your camera still has a tiny bit of play inside the frame, pairing the unit with a thin friction pad will lock it into place permanently. For those using heavy lenses, the added grip is a significant safety upgrade.
#IMAGE_PLACEHOLDER_E#
The Final Score on Generic Rigs
At roughly $25, this generic aluminum frame offers 90% of the functionality of a professional rig at a fraction of the price. While you have to be mindful of the port clearances and avoid over-tightening the screws, the value proposition is undeniable. I recommend keeping a multipurpose camera wrench handy to ensure everything stays secure during long shoots. If you have been struggling with a cramped camera body, this is the single best investment you can make for under $30. You should also check out our guide on preventing mirrorless camera shutdowns if you plan on using this cage for long 4K sessions. This budget workhorse earns a solid recommendation for any entry-to-mid-level creator rig. Check the latest prices and user feedback before the current stock runs out.