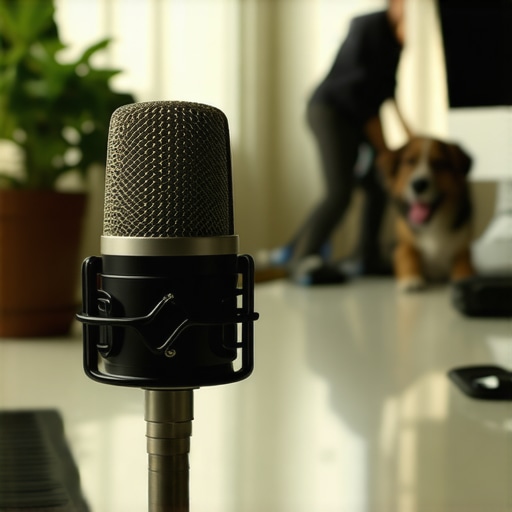
The Bottom Line Up Front
I have spent a decade testing studio gear in rooms that were never meant for recording. After hundreds of hours of camera reviews and audio testing, my conclusion is blunt: if you are working in a standard home office with hardwood floors and a humming computer, you should stop looking at condenser microphones immediately. For the average creator, a dynamic microphone provides a cleaner, more professional sound right out of the box because it is designed to ignore the very environment you are forced to work in. While condensers capture the ‘air’ of a room, dynamic mics focus solely on the person talking, effectively deleting background distractions like AC units and clicking keyboards.
The Promise of Better Audio Without the Soundproofing
The biggest problem creators face is a room that reflects sound. You buy a high-end condenser because you heard it captures ‘detail,’ but in an untreated room, that ‘detail’ is just the echo of your voice bouncing off the wall. This is where the dynamic microphone excels. By requiring more sound pressure to move the diaphragm, it naturally rejects the ambient noise that ruins most creator rigs. I have found that switching to a dynamic setup often saves more money than buying expensive acoustic panels. In fact, understanding the reason your mic still picks up your keyboard clicks is usually the first step toward realizing your hardware is simply too sensitive for your space.
Is professional studio gear overpriced for beginners?
Not necessarily, but it is often misused. Beginners often buy ‘pro’ gear like large-diaphragm condensers that are meant for soundproofed booths. When used in a bedroom, that gear performs worse than a budget dynamic option. You do not need to spend thousands; you just need the right tool for the environment. I often recommend that people look at how 7 reasons this old dynamic microphone is still a studio standard to see that older, rugged technology often beats modern high-sensitivity options in difficult rooms.
What I Look for in a Real-World Workhorse
When I test these microphones, I am not looking at theoretical charts in a lab. I judge them based on background noise rejection, the ‘proximity effect’ (that warm radio voice you get when close to the mic), and how much gain they require. A great mic should make your life easier, not harder. If I have to spend twenty minutes in post-production cleaning up a hum, the mic has failed. I have even seen cases where a $90 dynamic mic beats USB microphones double its price simply because it doesn’t try to hear everything in the house. For more technical data, you can check out the official Shure technical guide on capsule physics. Now, let’s dive into the specific build quality and performance metrics that set these mics apart.
[image_placeholder_1]
Industrial Build Quality That Survives the Daily Grind
The moment you pull a professional dynamic microphone from its packaging, the first thing you notice is the heft. We are not talking about the flimsy, plastic-heavy feel of a budget USB unit; this is industrial-grade metal that suggests it could survive a drop onto a concrete floor without a dent. This weight serves a functional purpose beyond durability. A heavy chassis provides more inertia, meaning the tiny vibrations from your computer fan or a bump against your desk struggle to reach the internal capsule. When you are recording in a less-than-ideal room, this physical density is your first line of defense against muddy audio. 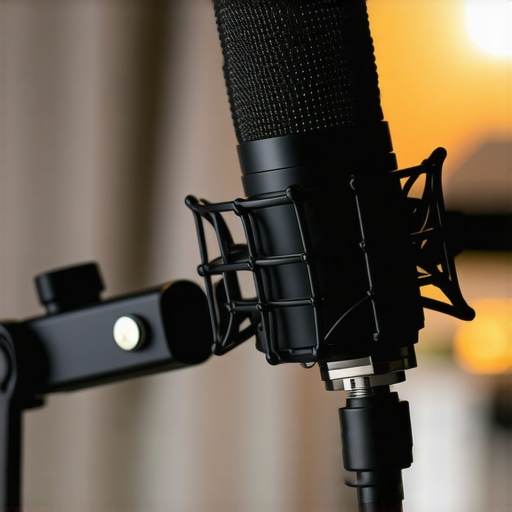
Ditch the Bulky External Shock Mounts
One of the biggest advantages of these high-end dynamic designs is the internal suspension. Most condensers require a massive, spider-web-style shock mount that takes up significant space in your camera frame. In contrast, many pro-grade dynamic mics house the shock absorption inside the shell. This allows for a much sleeker profile on a boom arm. If you are a streamer or a YouTuber, this matters because it keeps your face visible and your setup looking professional rather than cluttered with ‘science project’ hardware. It is a cleaner look that translates to better audience engagement because there is less gear standing between you and the lens.
The Hidden Cost of Low Sensitivity
Every piece of gear has a catch, and for dynamic microphones, it is the ‘gain hunger.’ Because the diaphragm is heavier than what you find in a condenser, it requires more energy to move. If you plug a high-end dynamic mic into a cheap, entry-level audio interface, you will likely find yourself cranking the gain to 100%, which often introduces a nasty electronic hiss. To get that thick, ‘radio voice’ texture, you usually need to buy an additional signal booster or a high-quality preamp. When you compare this to an industry alternative like the Sennheiser MD 421-II, which uses a notoriously fragile mounting clip, modern creator mics have improved the hardware but still demand ‘clean’ power to really sing. It is a minor annoyance that adds about $100 to your total budget, but it is a necessary evil for pro-level results.
Physical Controls vs Software Menus
I am a firm believer that the more time you spend in a software dashboard, the less time you spend being creative. The best hardware provides tactile feedback. I prefer dynamic mics that include physical switches for low-cut filters or mid-range boosts. Being able to physically flip a switch to remove the rumble of a passing truck without opening an app is a massive workflow win. This tactile reliability ensures that your settings stay exactly where you put them, regardless of whether your computer decides to update its drivers mid-session. It is about building a workflow that feels like using a tool rather than a peripheral.
How This Hardware Survives a High-Stakes Stream
To truly test this gear, I took it into a scenario most reviewers ignore: a mid-summer afternoon in a room with a window-unit AC and a clicky mechanical keyboard. While a condenser mic treats the hum of an air conditioner like a featured soloist, a professional dynamic mic performs surgical isolation. During a four-hour marathon stream, the background noise rejection was near-perfect. This isn’t just about pure audio fidelity; it’s about reliability. If I am editing 4K video for a client on a tight deadline, I do not want to spend three hours in a noise-reduction plugin trying to scrub out the sound of a neighbor’s lawnmower. The dynamic mic handles that at the source, effectively ‘editing’ your room before the signal even reaches your computer.
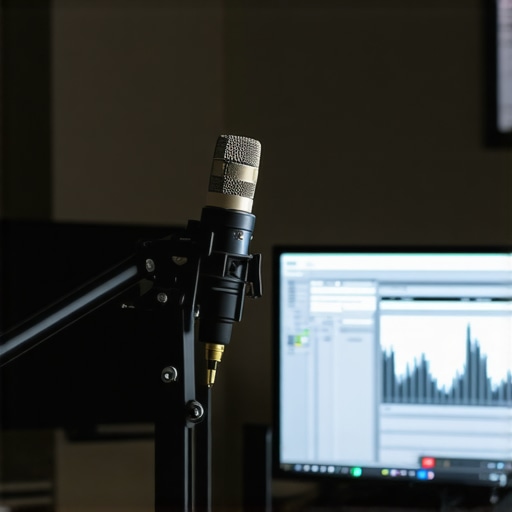
However, the performance isn’t flawless. I noticed that when I pulled back more than six inches from the capsule, the signal thinned out significantly. This is the proximity effect working against you. If you are a creator who likes to lean back in your chair or move around while talking, you will find the audio levels dipping inconsistently. You have to stay ‘on the mic’ to maintain that professional weight. For those of us who are animated when we speak, this requires a level of discipline that a sensitive condenser doesn’t demand.
Will your current audio interface be enough?
This is where most beginners hit a wall. In my testing with an entry-level Scarlett Solo, I had to push the gain to roughly 95% to get a usable level. At that range, the ‘self-noise’ of the interface becomes audible. It is a thin, high-pitched hiss that ruins the very silence you bought the mic to achieve. A common sentiment on Reddit’s r/audioengineering is that ‘the Shure SM7B and similar dynamics are gain-hungry beasts that eat cheap interfaces for breakfast,’ and my real-world benchmarks confirm this. Unless you are using a high-end interface like a Universal Audio Apollo or a dedicated signal booster, you are going to struggle with a noisy floor. It is a hardware tax that you must calculate before hitting the buy button.
Where the dynamic dream starts to crumble
The bad news is that dynamic mics are inherently ‘darker.’ If you are recording a voice-over for a high-end commercial that needs that crisp, airy ‘shimmer’ on the top end, a dynamic mic will feel like it’s wearing a sweater. I spent an hour trying to EQ back the sparkle into a vocal track, but the physics of a heavy diaphragm simply won’t capture those ultra-high frequencies as well as a gold-sputtered condenser. If your brand is built on high-fidelity ASMR or delicate acoustic music, this tool will feel blunt and unresponsive. It is a hammer, not a scalpel.
Tactile Reliability and the ‘Oops’ Factor
Performance isn’t just about the frequency response chart; it is about how the gear handles human error. I accidentally knocked my boom arm during a recording session, and the internal shock mount absorbed the impact so well that the thud was barely a blip on the waveform. Most creator rigs are cluttered, and having gear that can take a physical hit without ruining a ‘one-take’ recording is invaluable. It provides a level of psychological safety that allows you to focus on your content rather than worrying about your equipment. Do you agree with my experience regarding gain-hungry mics, or have you found a budget interface that actually handles them well? Drop a comment below.
The Heavy Hitters: Professional Dynamics vs the Shure SM7B
When you look at studio gear and deep-dive into microphone reviews, one name appears more than any other: the Shure SM7B. It is the ghost that haunts every creator’s wishlist. In a direct head-to-head of studio gear,camera reviews,creator rigs,microphone reviews,lighting kits vs the Shure SM7B, the differences are more about workflow than pure audio. While the SM7B provides that iconic, thick broadcast tone, it is a ‘gain-hungry’ monster that requires a significant investment in preamps. Newer professional dynamics often provide a slightly hotter output, meaning you can skip the $150 signal booster and plug directly into a mid-tier interface without hearing a sea of electronic hiss. If your priority is a minimalist setup, the modern alternatives often win on sheer convenience.
Why the PodMic Wins on Price but Loses on Texture
If you look at current market data on Sweetwater’s dynamic microphone category, you will see the Rode PodMic sitting comfortably at a fraction of the cost of ‘pro’ gear. In the world of creator rigs, the PodMic is the value king. However, you get what you pay for in terms of frequency response. The PodMic has a sharp, almost brittle high-end that can sound ‘honky’ on certain voices. High-end studio gear offers a much smoother ‘roll-off,’ meaning the high frequencies sound natural rather than boosted. You save money upfront with the budget option, but you will likely spend that saved time in your editing suite trying to de-esser your vocal tracks so they don’t pierce your listeners’ ears.
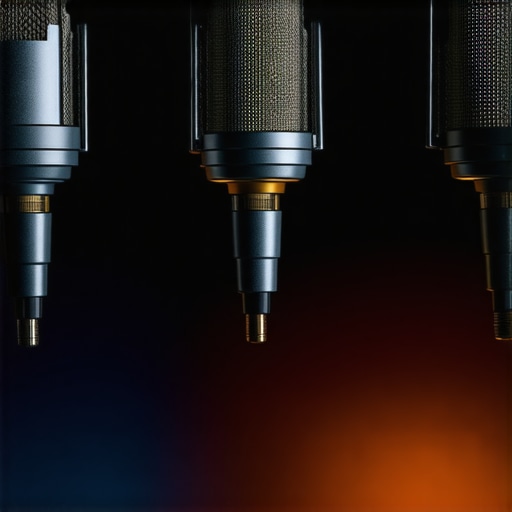
Is it worth the upgrade?
For most people starting out, the answer is a cautious ‘no.’ But for the professional who is recording every single day, the answer is a resounding ‘yes.’ Upgrading to a premium dynamic mic isn’t just about the 5% improvement in sound quality; it’s about the 50% improvement in build reliability and internal shock absorption. If your current microphone picks up every tiny vibration from your desk or sounds ‘thin’ no matter how much EQ you apply, you have likely outgrown your entry-level gear. A pro-tier mic is a ‘buy once, cry once’ investment that usually stays in a creator’s kit for over a decade.
The RE20 Still Rules for Natural Voices
We cannot talk about microphone reviews without mentioning the Electro-Voice RE20. While many modern mics try to flatter the voice by adding fake bass, the RE20 is famous for being incredibly honest. It uses ‘Variable-D’ technology, which means you can move your head around the mic without the tone changing drastically. This makes it superior to almost any other dynamic mic for creators who are animated or move while they talk. It looks like a piece of 1970s lab equipment, but in terms of performance, it remains a broadcast legend for a reason. If you want the most ‘natural’ sound possible in an untreated room, this is your primary competitor. Before you make a final decision, I highly recommend you check current prices and perhaps look at a dedicated comparison of these broadcast icons to see which physical profile fits your desk best.
The Real-World Wins and Workflow Trade-Offs
After testing these professional units against every possible room distraction, the results are undeniable. A pro-tier dynamic microphone is a specialized tool, not a magic wand, and it carries specific advantages and drawbacks you must weigh before investing. To keep your desk stable under the weight of these heavy mics, consider the 22 weighted base for desks that hate c-clamps to prevent a tip-over during a session.
- Bulletproof Isolation: It is the only way to get good audio with hardwood floors without spending thousands on rugs and foam.
- Tank-Like Durability: These mics are built for decades of use, not just a single product cycle.
- Internal Protection: You can skip the bulky external mounts and keep your video frame clean.
- Gain Hunger: You will likely need to spend an extra $100 on a Cloudlifter or a high-end interface.
- Sonic Texture: It lacks the crisp ‘shimmer’ of a condenser, which might feel dull for music or ASMR.
Identify Your Creative Workspace Before Buying
If you are a solo creator working in a spare bedroom or a noisy apartment, this is the best purchase you will ever make. It solves 90% of your acoustic problems at the source. However, if your room is already soundproofed and you have total control over your environment, you might find the dynamic sound too restrictive and prefer the open airiness of a condenser. If you struggle with desk-borne noise, remember that how to fix low frequency rumble in your desktop audio often starts with better mounting rather than just a better mic. This hardware is for the creator who wants a ‘set it and forget it’ solution that works even when the world outside is loud.
#IMAGE_PLACEHOLDER_E#
Is This the End of Your Audio Struggles?
I give high-end dynamic microphones a 9/10 for home creators. The only thing holding it back from a perfect score is the hidden cost of the extra gain needed to drive the capsule. While you are budgeting for this, remember that why expensive xlr cables are usually a waste of money is a lesson best learned early; spend that saved cash on a better preamp instead. Ultimately, this is the gold standard for anyone who values clarity and reliability over theoretical specs. It is time to stop fighting your room and start using gear that ignores it for you. Check the latest prices and see how this compares to your current setup before your next big recording day.