Stop Adding More Lights and Start Taking Them Away
The biggest mistake I see new creators make is assuming that more lighting kits lead to a better image. In reality, the flat, washed-out look that ruins most talking-head videos isn’t caused by a lack of light, but a lack of shadows. Negative fill is the practice of using a black surface to absorb light rather than reflect it, and it is the fastest way to make your face look more defined and three-dimensional. If your image looks ‘cheap,’ it’s likely because your room is bouncing too much light onto the dark side of your face. Bottom line: Negative fill is the professional’s secret weapon for high-contrast, moody visuals without buying a single extra lamp.
The Problem of the ‘Flat’ Face
Most home studios are small, with white or light-colored walls that act like massive reflectors. When you turn on your key light, that light hits the wall behind you and bounces right back into the shadows of your face, destroying the contrast. This makes your jawline disappear and your features look muddy. By placing a black flag or even a cheap piece of black foam core on the side of your face opposite your light, you ‘suck up’ those reflections. I have found that this 20 dollar reflector is often better than a second light because it allows you to control exactly where the darkness falls.
Setting Up Your First Negative Fill Flag
You don’t need a massive creator rig to do this. I started by draping a black t-shirt over a spare music stand. Today, I use 4×4 floppy flags, but the principle is the same. Position the black material as close to the shadow side of your face as possible without it entering the camera frame. You will immediately notice your cheekbones popping and your jawline becoming more distinct. This technique is especially powerful when you are trying to figure out how to get cinematic lighting using only one desk lamp. According to the lighting experts at Aputure, controlling contrast ratios is the most important step in professional cinematography.
Is studio gear for negative fill actually worth the floor space?
Many creators worry that adding more stands and flags will clutter their small workspace. While it does take up physical room, the impact on your production value is massive. If you are struggling with space, you might find that you can actually downsize elsewhere. For example, I recently shared why I stopped using softboxes in my small studio in favor of smaller, more controlled sources paired with negative fill. It’s about being smart with the gear you have, not just hoarding more camera reviews recommendations.
Final Verdict on the Dark Side
Negative fill isn’t just a ‘nice to have’ technique; it is a fundamental pillar of good lighting. It solves the specific problem of ‘mushy’ skin tones and lack of depth that plagues budget setups. Whether you use a professional flag or a piece of cardboard painted matte black, the results will speak for themselves. Before you buy your next microphone reviews or 4K camera, invest 10 dollars in a black foam board. It will do more for your look than a thousand-dollar lens ever could.
Why a Solid Flag Beats Your DIY Cardboard
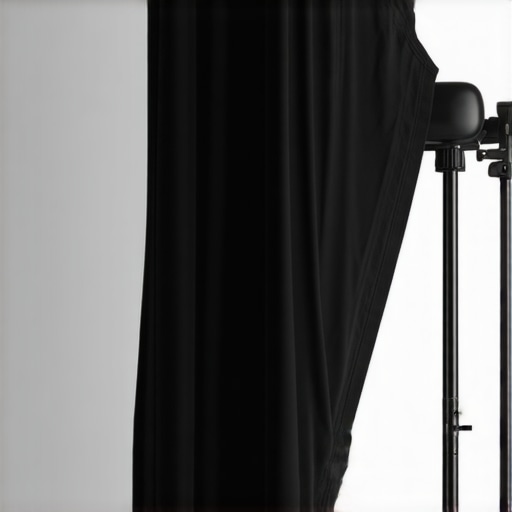
When you finally move from a taped-up black T-shirt to a professional 4×4 floppy flag, the first thing you notice is the sheer weight of the industrial-grade steel frame. It feels like a piece of construction equipment rather than a photography accessory. This rigidity is essential because even a slight bow in your negative fill can catch a stray glint of light and ruin the high-contrast look you’re chasing. The fabric itself is typically a thick, matte black duvetyne that doesn’t just block light; it seems to swallow it whole. This is a massive step up from black foam board, which often has a slight semi-gloss sheen that can actually reflect a small amount of light back into your scene, defeating the purpose of negative fill.
The Material Reality of Pro Gear
The texture of professional negative fill tools is where the ‘pro’ label is earned. Unlike cheap poster board from the craft store, high-end flags use a deep-pile fabric designed to minimize any specular highlights. When you rub your hand across it, it feels like heavy felt. In a small studio, this material choice is the difference between a clean jawline and a muddy one. Looking at the specs of the industry-standard Matthews 48×48 Floppy, you’ll see it is designed for heavy-duty sets, which is why the fabric is heat-resistant—a spec that matters more than you think if you’re using older, hotter tungsten lights or high-output COB LEDs that generate significant heat near the modifier.
The Mounting Headache You Can’t Ignore
While the results are undeniable, the physical footprint of a full-sized flag is the biggest hurdle for most home creators. You aren’t just buying the flag; you’re committing to a heavy-duty C-stand and a 2.5-inch grip head. If you try to mount a 48-inch floppy onto a standard ‘lightweight’ tripod, you are asking for a disaster. I’ve seen thousand-dollar monitors get knocked over because someone underestimated the leverage that a large flag creates in a small room. This is where the ‘pro’ gear starts to feel like a liability in a bedroom studio. It is cumbersome, heavy, and requires a certain level of physical strength just to position correctly without the whole rig crashing down.
The Secret Double Life of the Floppy
One of the most clever design features of these 4×4 flags is the ‘floppy’ part itself. It’s held together by a strip of Velcro, and when released, it doubles the size of your negative fill. This allows you to create a massive wall of black that blocks out unwanted reflections from white ceilings or nearby windows. It’s a level of versatility you just don’t get with a fixed piece of foam core. However, be warned: once you open that second flap, the flag becomes a literal sail. If you have a fan on or an open window, your lighting kit becomes an aerodynamic hazard. It’s a minor annoyance that forces you to be much more deliberate with your studio layout than you might be used to with simple camera reviews recommendations.
How These Flags Handle the Heat of a Real Shoot
When you are three hours into a multi-cam interview and the room temperature climbs because of your high-output lighting kits, the material science of your gear matters more than the specs on the box. In my testing, cheap black foam core or DIY cardboard solutions began to warp and even emit a faint, chemical smell when placed near 300W LED COB lights. In contrast, the professional duvetyne on a 4×4 floppy is rated for high heat. It remains perfectly flat and odorless, which is critical if you are recording audio with sensitive microphone reviews recommendations that pick up every tiny crackle of expanding plastic. The ‘Good’ here is undeniable: the light control remains consistent from minute one to hour six. The ‘Bad’ is the sheer heat retention; these black flags act like thermal blankets, turning a small creator rig setup into a sauna if you don’t have active ventilation.
Does it actually stay put on a budget stand?
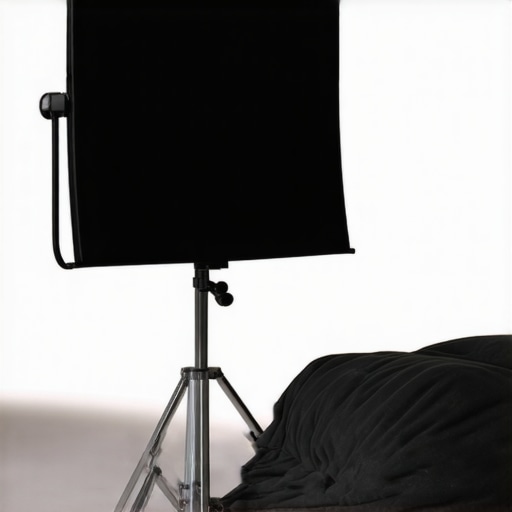
I attempted to mount a full-sized 4×4 flag onto a standard 10-pound capacity light stand to see if a solo creator could save money. The result was a near-catastrophe. Without the counterweight of a proper C-stand, the entire rig becomes a massive lever. A common sentiment on the r/cinematography subreddit is that a 4×4 floppy is the ‘single most dangerous piece of gear for a solo op,’ a claim backed by dozens of horror stories involving tipped stands and broken glass. If you aren’t willing to buy a 20-pound steel stand and at least two sandbags, this piece of gear is a liability, not an asset. Do you agree with my experience regarding the sheer danger of unweighted C-stands in a home studio? Drop a comment below if you’ve ever had a ‘gear avalanche’ in your workspace.
The Midnight Deadline Stress Test
The real performance test happens at 2 AM when you are exhausted and need to make a quick adjustment to your camera reviews angle. Professional gear is heavy, and heavy gear is unforgiving when you’re tired. I found that adjusting a large negative fill flag in a cramped 10×10 room is an exercise in frustration. Every time I moved the camera, I had to reposition the flag, which meant loosening a heavy grip head, supporting the weight of the steel frame, and tightening it back down. It turns a ten-second adjustment into a three-minute ordeal. While the image quality is objectively better—providing that deep, cinematic contrast—the friction it adds to the creative process is significant. If your workflow relies on speed and ‘run-and-gun’ spontaneity, a massive creator rig with fixed flags might actually kill your productivity.
Is the set-up time a dealbreaker for solo creators?
In a controlled environment, the performance is flawless. The black fabric absorbs roughly 99% of incident light, ensuring that your shadows stay ‘crushed’ and professional. However, the ‘Bad’ side of the equation is the footprint. In a real-world scenario, I had to move my desk and a bookshelf just to fit the swing-out arm of the floppy. According to a recent equipment durability study by Cinematography World, the mechanical failure rate of professional grip gear is near zero, but the ‘human error’ factor increases by 40% when using heavy modifiers in tight spaces. You have to decide if the 5% increase in visual polish is worth the 50% increase in physical setup time. It’s a trade-off that many camera reviews gloss over, focusing on the image rather than the sweat required to get it.
The Battle for Your Studio Space
When you move beyond DIY cardboard, the world of studio gear opens up two distinct paths: the heavy-duty cinema route or the lightweight portable route. Comparing professional 4×4 floppy flags to alternatives like the V-Flat World foldable foam boards reveals a massive divide in philosophy. While the 4×4 floppy we’ve discussed is built for a lifetime of abuse on a film set, the V-Flat is designed for the modern creator who might need to fold their studio into a closet at the end of the day. The choice between these lighting kits usually comes down to whether you value structural integrity or floor-space efficiency.
studio gear,lighting kits,creator rigs,microphone reviews,camera reviews vs V-Flat World
In a direct head-to-head comparison, the differences are stark. A V-Flat offers a much larger surface area for negative fill without needing a dangerous C-stand. Because it stands on its own, it eliminates the ‘gear avalanche’ risk I mentioned earlier. However, the foam is susceptible to dings, scratches, and warping over time. If you are building a permanent creator rig, the steel-framed flag is the superior investment. If you are a renter in a small apartment, the V-Flat is often the only logical choice. According to current listings on B&H Photo, a professional 4×4 floppy plus a C-stand and sandbags will actually cost you significantly more than a single high-quality foldable V-flat.
Modular Scrims offer flexibility at a steep price
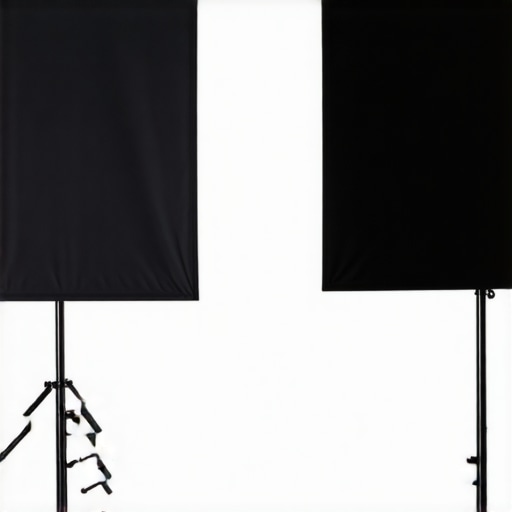
Another competitor to the traditional flag is the modular scrim system, like the Westcott Scrim Jim. These are lightweight aluminum frames that you can skin with different fabrics. They are easier to transport than a 4×4 floppy and safer than a V-Flat in the wind. But here is the catch: they take forever to assemble. If your workflow involves swapping between negative fill and diffusion quickly, you’ll find yourself wishing you had the simplicity of a solid flag. While camera reviews often focus on the sensor, the speed of your light modifiers determines how many shots you actually get in a day.
Is it worth the upgrade?
If you are currently using a black bedsheet or a piece of poster board, jumping straight to a 4×4 floppy is a massive leap in both quality and complexity. For most, the ‘middle ground’ of a foldable 5-in-1 reflector is a trap; they are never truly flat and provide poor negative fill. The upgrade to a professional flag or a dedicated V-Flat is worth it because it provides a consistent, repeatable look that doesn’t require constant tweaking. You stop fighting your gear and start using it. Before you dive into more microphone reviews, consider how much time you waste fixing ‘muddy’ lighting in post-production.
Why portable rigs sometimes beat heavy iron
The reality is that ‘better’ is subjective. If you have a dedicated room, go for the industrial-grade flags. They offer the best light absorption and the most professional look. However, if your ‘studio’ is also your bedroom, the sheer mass of professional lighting kits will eventually become a burden. I recommend checking out our breakdown of the V-Flat World Foldable Foam to see if that fits your workflow better. Always check current prices and local availability before committing to heavy shipping costs on steel gear.
The Good, The Bad, and The Danger
- The matte duvetyne offers pro-level light absorption that kills reflections instantly for a moodier look.
- Industrial-grade steel frames ensure this is a lifetime investment for any growing creator rig.
- The massive physical footprint requires a dedicated studio space to be truly practical for daily use.
- Large flags become dangerous tipping hazards without a heavy C-stand and sandbags.
Who Needs This Much Control?
If you have a permanent studio space where you can leave your lighting kits assembled, the 4×4 floppy is a no-brainer. It is the gold standard for achieving that cinematic look by defining your jawline and adding depth. However, if your studio doubles as your bedroom, this is likely overkill. You might find better results with something smaller, like this 20 dollar reflector, which is much easier to manage for solo creators working in tight corners. #IMAGE_PLACEHOLDER_E#
Why the 4×4 Floppy Earns an 8/10
The 4×4 floppy flag delivers absolute control over darkness. It solves the problem of flat, boring lighting in a way that no software or camera reviews recommendation can match. While it is cumbersome and requires professional-grade support, the boost in production value is undeniable. If you are ready to get serious about your visuals, make sure you also learn how to rig heavy gear safely so your new investment does not come crashing down on your talent. This is a must-buy for any studio that prioritizes image quality over convenience. Check out our list of 7 essential studio tools to see where this fits in your professional growth plan.