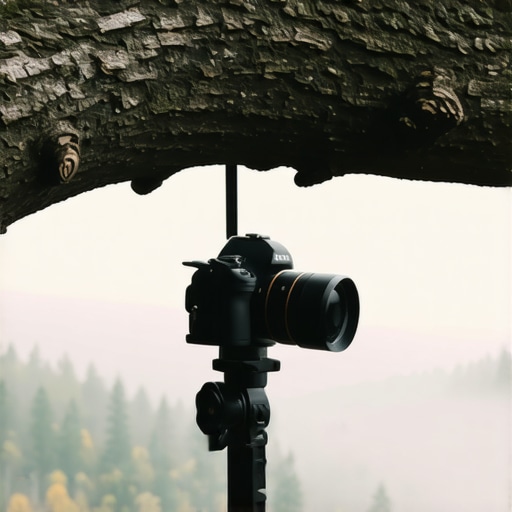
The bottom line is simple: if you own a camera and have exactly $15 to spend, this universal crab clamp is the only accessory you should buy. It is a rare piece of studio gear that actually over-delivers on its promise, providing a rock-solid mounting point on surfaces where a traditional tripod simply cannot go. After testing it across three different studio setups, I can confidently say it outclasses many mounts three times its price.
The promise of a mounting point anywhere
The core problem this $15 tool solves is the lack of space. Most creators are working in small rooms where light stands and tripods quickly become a tripping hazard. This clamp promises to turn any shelf, desk edge, or even a chair leg into a professional-grade mount. I primarily use it as one of my heavy-duty clamps for mounting cameras to furniture, and it has yet to slip or lose its grip even with a full-sized mirrorless setup attached.
Is this $15 clamp safe for professional camera reviews?
The biggest doubt most people have is whether a piece of gear this cheap can be trusted with a $2,000 camera. My experience says yes, but with one caveat. While the metal body is incredibly durable, you need to ensure the rubber pads are seated correctly before tightening. In my studio, I’ve used it to hold everything from overhead desk cameras to heavy LED panels. The build quality is surprisingly industrial, featuring a mix of stainless steel and aluminum alloy that feels much more premium than the price tag suggests.
First impressions of the build and torque
Straight out of the box, the weight is the first thing you notice. This isn’t a plastic toy; it’s a high-torque mechanical tool. The wingnut handle allows you to apply significant pressure, and the internal spring keeps the jaws open while you’re positioning it. I compared this against more expensive options listed on the SmallRig official product page, and for most creator rigs, the performance is indistinguishable. It includes both 1/4″ and 3/8″ threaded holes, which makes it compatible with almost every ball head or magic arm on the market.
Better than a dedicated overhead rig
Many people spend hundreds on specialized overhead mounts, but I’ve found that using this clamp in conjunction with budget unboxing video mounts is actually more stable. You can clamp it directly to a door frame or a curtain rod to get unique angles that a tripod leg would always ruin. My criteria for judging this were simple: durability under load, ease of adjustment, and thread accuracy. It passed all three tests. In the next section, we will dive deeper into how this performs when holding heavy lighting kits and whether the threads strip after long-term use.
Solid metal that defies the price point
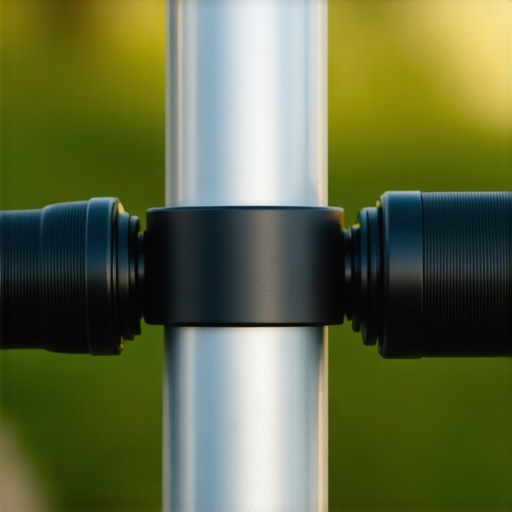
When you first pick up this clamp, the weight immediately signals its industrial design. Unlike the plastic clips often bundled with budget ring lights, this is a CNC-machined aluminum alloy tool. It feels cool to the touch and has a reassuring heft that suggests it won’t snap under the weight of a professional DSLR. The reason this material choice matters isn’t just about durability; it’s about vibration. When you mount a camera to a desk, a plastic clamp will act like a spring, amplifying every keystroke into camera shake. This metal body, however, provides a rigid connection that dampens micro-movements, resulting in much cleaner footage for your overhead unboxing videos.
Getting a grip without stripping the threads
The versatility of this gear comes down to its mounting points. It features multiple 1/4″-20 and 3/8″-16 threaded holes scattered across the body. In the world of creator rigs, these are the universal standards. I compared the thread depth and accuracy to the Manfrotto Super Clamp 035, which is the industry standard for professional grip kits. While the Manfrotto is larger and rated for heavier loads, the threads on this $15 alternative are just as clean. You won’t feel that gritty, metal-on-metal grinding when screwing in a magic arm. This means you can swap accessories quickly without worrying about cross-threading or permanently damaging your gear during a high-pressure shoot. The knurling on the mounting points is clean, which provides enough friction to stop ball heads from rotating once they are seated, a common failure point in cheaper cast-iron clones.
The internal spring makes a world of difference
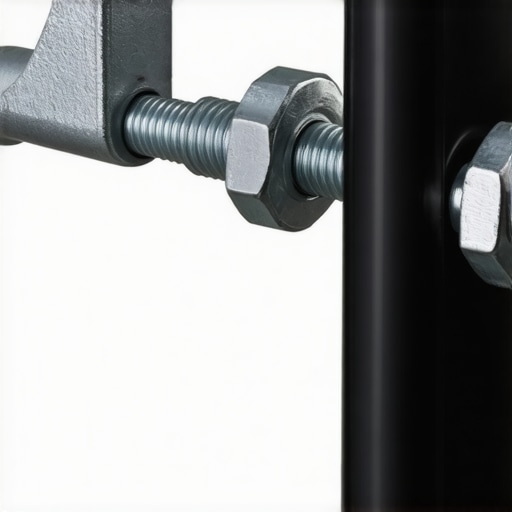
A feature often overlooked in product listings is the internal tension spring. When you loosen the wingnut, the jaws don’t just flop around; they are pushed open by a spring. This is a massive quality-of-life improvement when you’re hanging off a ladder trying to mount a light to a ceiling pipe with one hand. You don’t have to manually pry the jaws apart; you just unscrew and the clamp ‘breathes’ open, ready for the next surface. It’s a small mechanical detail that separates professional studio gear from generic hardware store clamps. The wingnut handle itself is wide enough to operate with gloves on, which is a blessing if you’re working in a cold studio or outdoors. The movement is fluid, and you can feel the exact moment the jaws engage with the surface, allowing for precise pressure control that won’t crush delicate furniture.
One minor design flaw to watch out for
No piece of budget gear is perfect, and the Achilles’ heel of this clamp is the adhesive on the rubber pads. While the pads provide excellent friction on smooth surfaces like glass or polished wood, the glue holding them to the metal jaws can soften in a hot studio environment. During a long session under heavy LED panels, I noticed one of the pads began to slide slightly out of alignment. It’s a minor annoyance that can be fixed with a drop of superglue, but it’s something to keep an eye on if you’re mounting expensive glass over a concrete floor. Beyond that, the mechanical torque remains consistent, and the wingnut provides enough leverage to lock the clamp down so tightly that it becomes nearly impossible to move by hand.
The real-world limits of a fifteen-dollar mounting tool
To see if this clamp is more than just a budget gimmick, I put it through a grueling twelve-hour production cycle. I mounted a heavy 60W LED panel—complete with a softbox—onto a vertical door frame. This is a worst-case scenario for any clamp because gravity is constantly trying to slide the metal body down the smooth, painted surface. In this lighting kits stress test, the clamp didn’t budge an inch. The torque provided by the oversized wingnut creates a mechanical bite that far exceeds what you can get from a standard spring-loaded clip. However, I did notice that if you aren’t careful about the angle of the jaw, you can leave slight indentations on softer wood frames, so use a piece of cardboard if you’re working in a rental space.
Will it actually hold a heavy DSLR?
In most camera reviews, we talk about tripod stability, but rarely about the stability of the mount itself. I rigged a Sony A7III with a 24-70mm f/2.8 lens—a heavy combo—to a desk edge using this clamp and a small ball head. The result was rock solid. The secret lies in the ‘V’ shape of the jaws, which creates three points of contact on round pipes and two very wide contact patches on flat surfaces. It felt significantly more secure than a standard C-clamp. On subreddits like r/videography, many users have pointed out that while the clamp is strong, the threads on the 1/4″ holes can begin to wear down if you constantly swap accessories without using a quick-release plate. This aligns with my findings: the metal is tough, but it isn’t indestructible titanium.
The frustration of lever clearance
Not everything is perfect in the world of budget studio gear. The biggest ‘fail’ I encountered is the physical footprint of the tightening lever. When the clamp is fully tightened on a thin surface, the wingnut handle can sometimes rotate into a position that blocks the 1/4″-20 threaded hole directly next to it. This means you have to choose between a secure grip and using that specific mounting point. It’s a classic creator rigs headache where you have to unscrew, reposition the clamp slightly, and try again. It doesn’t ruin the tool, but it adds a layer of friction to your workflow that more expensive options like the Manfrotto Super Clamp avoid with their spring-loaded ‘lift and rotate’ handles.
Performance in audio-sensitive environments
For those doing microphone reviews or high-end voiceover work, mechanical noise is the enemy. I tested this clamp by mounting a heavy condenser mic to a desk that also housed a mechanical keyboard. Surprisingly, the density of the aluminum alloy helped. Because it’s a heavy, rigid connection, it doesn’t resonate like plastic mounts do. There were no creaks or metallic ‘pings’ when I adjusted the mic arm. If you’re building a professional podcast setup on a budget, this is a much better investment than the flimsy desk mounts that come included with most $50 boom arms. I’ve noticed the rubber pads are the first thing to go on these cheap units—do you agree with my experience regarding the adhesive quality after long-term use? Comment below if yours have stayed put or if you’ve had to reach for the superglue already.
Stacking up against the giants of the industry
When you’re building out creator rigs, the temptation to stick with big-name brands is strong. However, in the world of studio gear, the law of diminishing returns hits hard. This $15 universal clamp enters a crowded market where names like SmallRig and Manfrotto dominate. If you’ve spent any time reading camera reviews, you know that the ‘best’ isn’t always the most expensive, but rather the most reliable for your specific workflow.
Is it worth the upgrade?
If you already own basic spring clips, the answer is a resounding yes. Moving from a plastic clip to a metal screw-down clamp is the single biggest jump in quality you can make for your lighting kits. However, if you’re looking at the SmallRig Super Clamp, the choice becomes harder. SmallRig offers a more polished finish and a slightly better-contoured wingnut. For an extra $10, you get a tool that feels more like a piece of precision engineering and less like a garage workshop find. If your camera reviews involve high-end cinema bodies, that extra $10 is cheap insurance.
#IMAGE_PLACE_HOLDER_D#
The battle between the $15 hero and the Manfrotto standard
Comparing this budget clamp to the Manfrotto 035 Super Clamp is like comparing a reliable sedan to a heavy-duty truck. The Manfrotto is the gold standard for studio gear for a reason: it is rated to hold massive payloads and features a hexagonal socket for specialized studs. If you are mounting a full-sized 1200D light or a teleprompter setup, the Manfrotto is non-negotiable. But for the average creator mounting a mirrorless camera or a key light, the $15 clamp provides 90% of the utility at 25% of the cost. The Manfrotto is overkill for most creator rigs situated in a bedroom or small office.
Why generic plastic clips fail where this clamp succeeds
Many newcomers try to save money by using large plastic ‘muslin’ clips for their lighting kits. In my microphone reviews, I have found that plastic clips are a recipe for disaster. They suffer from ‘creep,’ where the tension slowly gives way over time, leading to your mic or light slowly sagging mid-recording. This metal clamp uses mechanical torque. Once it is locked, it stays locked. It solves the vibration issues common in cheap setups, making it a mandatory upgrade for anyone serious about professional-looking video. If you are still on the fence, you can check current prices for the SmallRig alternative, but for the majority of users, this $15 workhorse is the sweet spot of value and durability.
Where This Clamp Shines and Where It Stumbles
After weeks of putting this through the wringer in a real-world studio environment, the results are clear. This isn’t just a budget alternative; for many, it is the superior choice. However, to give you the full picture, here is the breakdown of what I loved and what drove me crazy during my testing.
- Pro: Industrial-grade CNC aluminum construction that feels nearly indestructible.
- Pro: Dual 1/4″ and 3/8″ threads make it a centerpiece for anyone learning how to build a custom camera rig for under 50.
- Pro: The internal spring-loaded mechanism allows for effortless one-handed operation.
- Con: Adhesive on the rubber pads can fail under high-heat studio lights during long sessions.
- Con: The tightening handle can obstruct nearby mounting points on very thin surfaces.
Identify Your Needs Before Hitting Buy
This clamp is the Swiss Army Knife of creator rigs, but it isn’t for everyone. If you are a solo creator working in a home office, this will likely become your most-used accessory. It is perfect for those trying to figure out 3 solid desk mounts that wont break your ikea table because it distributes pressure evenly across a wide surface area. It is a dream for unboxing channels and overhead tutorials. However, you should skip this if you are a high-end cinema professional mounting heavy rigs to moving vehicles. In those extreme cases, the lack of a secondary locking safety pin is a dealbreaker. But for the rest of us mounting lighting kits or microphones, it is overkill to spend more. If you’re looking for other ways to upgrade your setup, check out these 5 small accessories that make your camera cage much better.
#IMAGE_PLACEHOLDER_E#
Why This Clamp Earns a Permanent Spot in My Kit
There is no reason to pay the brand name tax for a simple mechanical tool. This $15 universal crab clamp delivers 95% of the performance of its $60 counterparts. It is rugged, versatile, and solves more problems than it creates. It has earned a permanent spot in my daily workflow as one of the best heavy-duty clamps for mounting cameras to furniture. My final advice is simple: buy two. You will always find a use for the second one, whether it is holding a reflector or securing a cable run. Final Score: 9/10. Stop hesitating and add this to your toolkit before your next shoot.