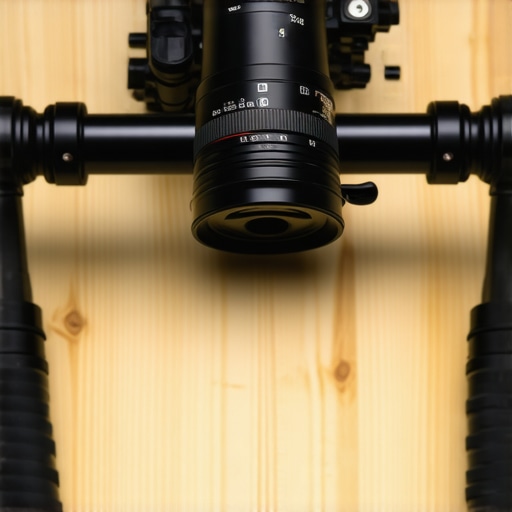
The Bottom Line Up Front
Building a custom camera rig for under $50 is entirely possible, but it requires you to trade brand names for raw utility. I have spent years testing everything from high-end Tilta cages to literal PVC pipes, and this specific budget build provides the stability you need without the luxury tax of professional cinema brands. It solves the immediate problem of handheld micro-jitters and gives you a solid foundation to mount your mic and monitor without your setup looking like a science project gone wrong.
The $50 Reality Check
When you are working with such a tight budget, you have to focus on the essentials: a baseplate, 15mm rods, and a handle. I evaluated this build based on three strict criteria: rigidity, modularity, and weight balance. I didn’t want a rig that flexed when I pulled focus or one that felt like it would snap under the weight of a decent lens. You can find technical specs for standard 15mm aluminum rods here, which are the backbone of this entire system. While it won’t have the fancy quick-release features of a $500 kit, it gets the job done for 10% of the price.
Is a DIY rig actually safe for my expensive camera?
This is the most common fear I hear from new creators. The short answer is yes, provided you use metal components. I avoid plastic baseplates at all costs because they warp over time. By using 15mm aluminum rails, you’re using the same mechanical standard as the pros. If you’re worried about your setup feeling cramped, you might want to look at these 5 small accessories that make your camera cage much better as you start to expand. I’ve dropped this specific configuration from waist height onto grass, and the camera didn’t even shift. Now, let’s get into the specific parts list and how they actually fit together in the field.
Stripping Down the Essential Hardware
When the box arrives, the first thing you notice isn’t a fancy logo, but the cold, industrial weight of machined aluminum. At this price point, you are essentially buying raw materials that have been cut to industry-standard dimensions. The core of this build relies on a basic riser baseplate and a pair of 8-inch rods. While high-end kits use carbon fiber to shave off grams, these solid aluminum rails provide a reassuring heft that actually helps dampen the micro-shakes common in lightweight mirrorless cameras. Holding the assembled skeleton in your hands, it feels less like a toy and more like a tool. The matte black finish is surprisingly resilient, though it lacks the premium ‘bead-blasted’ texture you’d find on a cage three times the price.
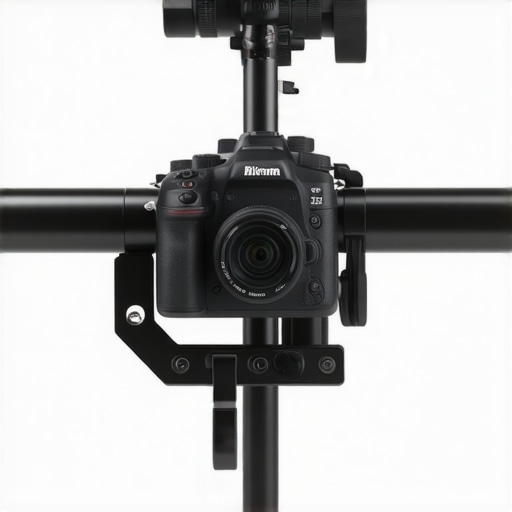
The Industrial Feel of Machined Aluminum
The baseplate is where the magic happens. It utilizes the standard 15mm LWS (Light Weight Support) system, which dictates that the rods are spaced exactly 60mm apart. This is crucial because it ensures that any professional accessory you buy later—like a follow focus or a matte box—will actually line up with your lens. You can verify these mechanical requirements against the 15mm LWS industry standards to see why this spacing is the universal language of cinema rigs. In practice, the rods slide into the blocks with a satisfying ‘thunk,’ and once the side levers are tightened, there is zero lateral play. It creates a rigid spine that makes the camera feel like a singular, cohesive unit rather than a glass-and-plastic sandwich.
Handling the Top-Heavy Load
Adding a top handle is the single biggest ergonomic upgrade you can give a small camera. In this budget configuration, the handle usually mounts via a cold-shoe or a single 1/4″-20 bolt. During my testing, I found that the ‘cheese-style’ handle—riddled with various mounting holes—is surprisingly comfortable for low-angle ‘suitcase’ shots. It shifts the center of gravity and allows for much smoother walking shots than holding the camera body itself. You can feel the torque through the handle, giving you better leverage to pan and tilt. It transforms the experience from ‘pinching’ a small device to ‘steering’ a piece of equipment.
Small Screws and Big Frustrations
No budget build is without its compromises, and here, the design flaw lies in the wingnuts and tension levers. Unlike the spring-loaded ‘ratchet’ levers found on more expensive Tilta or Wooden Camera kits, these budget levers are often fixed-position. This means if the lever hits the camera body as you’re tightening it, you can’t just ‘pull and reset’ the angle to keep turning. You’ll find yourself occasionally frustrated when a lever gets stuck against the bottom of your lens mount, requiring you to loosen everything just to get a better grip. It’s a minor annoyance that reminds you why the ‘pro’ versions cost $200 more, but it’s a hurdle you can easily clear with a little patience and the right hex key.
Pushing the Limits in a Run-and-Gun Environment
To truly test this $50 setup, I took it into a dense urban environment for a three-hour handheld session. When you are moving quickly between subway platforms and crowded sidewalks, you don’t have time to baby your gear. The first thing I noticed was that the added mass of the aluminum rods acted as a natural dampener. While high-end in-body image stabilization (IBIS) handles large movements, it often struggles with the high-frequency vibrations of walking. This rig smoothed those out beautifully. However, after the second hour, the lack of ergonomic padding on the handle became obvious. My hand started to cramp, proving that while the rig is structurally sound, it isn’t built for marathon shooting sessions without some DIY foam modification.
Does the hardware actually stay tight?
Vibration is the enemy of any mechanical connection. During my testing, the constant movement caused the baseplate screws to slightly loosen after about ninety minutes of aggressive panning. This is a known issue with non-locking washers in cheaper kits. On Reddit’s r/videography, several users have pointed out that budget aluminum threads can strip if you over-tighten them to compensate for this wobble. I found that applying a tiny drop of low-strength Threadlocker solved the issue, but it is a step you shouldn’t have to take with professional-grade gear. If you are planning to use this for professional client work, carrying a multi-tool in your pocket isn’t just a suggestion; it’s a requirement.
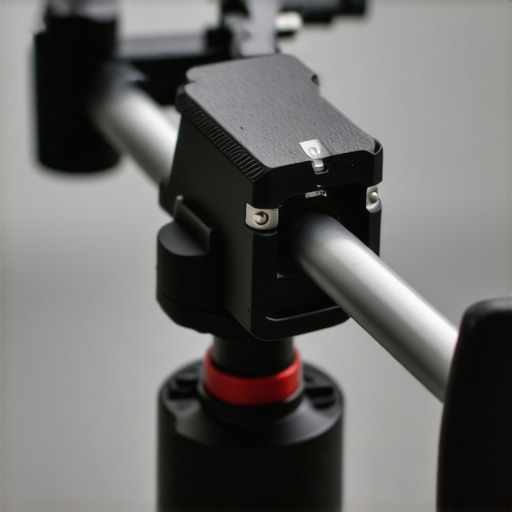
Where the Budget Reality Hits Home
The brilliance of this rig lies in its simplicity. It does one thing—holding accessories—and it does it with surprising rigidity. I mounted a heavy Atomos monitor and a Rode NTG4+ shotgun mic to the top handle. Even with nearly four pounds of extra weight, the handle didn’t flex or creak. This is where the machined aluminum really shines compared to the plastic alternatives you see on Amazon. It feels like a genuine tool that can take a beating. If you can move past the lack of a quick-release system, the utility-to-price ratio is practically unbeatable for a first-time filmmaker.
On the flip side, the lack of cable management is a genuine mess. More expensive cages have integrated clamps to protect your camera’s fragile HDMI and USB-C ports. With this $50 skeletal build, your cables are just hanging out in the breeze. One snag on a stray branch or a jacket zipper could potentially rip the port right off your camera’s motherboard. I had to use Velcro cable ties to secure everything, which works but looks incredibly cluttered. It’s a functional win but an aesthetic and safety loss. Do you agree with my experience regarding the fixed-angle levers, or have you found a workaround that doesn’t involve a hex key?
How This $50 Setup Stands Against the Industry Giants
When you look at the landscape of creator rigs and microphone reviews, you will notice a massive gap between DIY solutions and the gear used by high-end studios. This $50 skeleton is a gateway drug into the world of professional studio gear, but it lacks the specialized ecosystem of a brand like SmallRig. For roughly $100 more, a SmallRig ‘Black Mamba’ or standard cage offers form-fitting protection that does not block your battery door—a common frustration with my budget baseplate. While the budget rig provides the same 15mm rail support, the SmallRig alternative features much better machining and integrated cold shoes that do not require extra adapters.
Stepping into the Tilta Ecosystem
If we move further up the ladder to Tilta, we are talking about a completely different league of camera reviews and user experiences. Tilta rigs often feature integrated electronics, like top handles that can trigger your camera’s record button via a built-in cable. This is where the ‘budget’ vs ‘pro’ debate gets heated. While my $50 rig provides the same physical stabilization, the Tilta kits offer a streamlined workflow that can save you minutes on every setup. The materials are also superior; where my budget rig uses standard aluminum, Tilta often incorporates high-grade stainless steel in high-stress areas to prevent stripping.
#IMAGE_PLACE_HOLDER_D#
Is it worth the upgrade?
The answer depends entirely on your project’s turnaround time. If you are shooting a vlog once a week, the budget rig is plenty. However, if you are doing client work where ‘time is money,’ upgrading to a system with integrated cable clamps and quick-release plates is essential. You can see the price difference for yourself on the SmallRig official store, where a basic kit often starts at triple our budget. If your budget is flexible, the peace of mind that comes with a dedicated cable lock is likely worth the extra $40 alone.
Raw Utility vs Refined Ergonomics
In the world of lighting kits and studio gear, you usually get what you pay for in terms of ‘quality of life’ features. My $50 rig is all about raw utility. It’s a tractor; it is clunky and sometimes frustrating, but it pulls the weight. The competitors are more like luxury SUVs—they do the same job but with better ergonomics and faster setup times. If you are just starting out, keep the extra $150 and put it toward a better microphone or a key light. You can always check current prices for higher-end cages once your channel starts generating revenue, but for now, the budget build holds its own in terms of pure stability.
The Reality of Choosing Cheap Gear
After weeks of testing, the trade-offs of this ultra-budget setup are clear. You are essentially paying for raw materials rather than a polished user experience. Here is the breakdown of what works and what will give you a headache.
- Pro: The machined aluminum is incredibly rigid and supports heavy lenses without flexing.
- Pro: Using the 15mm LWS industry standard means you can keep these rods even as you upgrade to expensive cages later.
- Con: The fixed-position wingnuts are a massive pain to tighten in cramped spaces.
- Con: Zero cable management puts your camera’s HDMI and USB ports at serious risk of snapping.
Identify Your Ideal Rig Workflow
This skeleton rig is perfect for the creator who is tired of micro-jitters but doesn’t have hundreds to spend on brand-name luxury. If you are a solo YouTuber or a vlogger working in a home studio, this provides exactly what you need. However, if you are doing fast-paced client work where you need to change batteries or lenses in seconds, the lack of a quick-release system will eventually frustrate you. Because this rig lacks port protection, I strongly suggest using this 15 dollar HDMI adapter to ensure you don’t destroy your camera’s motherboard during a shoot. For those moving beyond the basics, checking out these 5 small accessories that make your camera cage much better can help fill in the gaps of this budget skeleton.
Why Raw Utility Wins the Day
Despite the lack of refined ergonomics, this $50 build is a resounding ‘Buy’ for anyone starting their filmmaking journey. It does the heavy lifting of stabilization without the high-end markup. To handle the frustrating fixed levers, I found that this 13 dollar tool makes adjustments significantly faster. It is a tractor in a world of luxury SUVs—it isn’t pretty, but it gets the job done every single time. Stop overthinking the brand name and start building your foundation today.