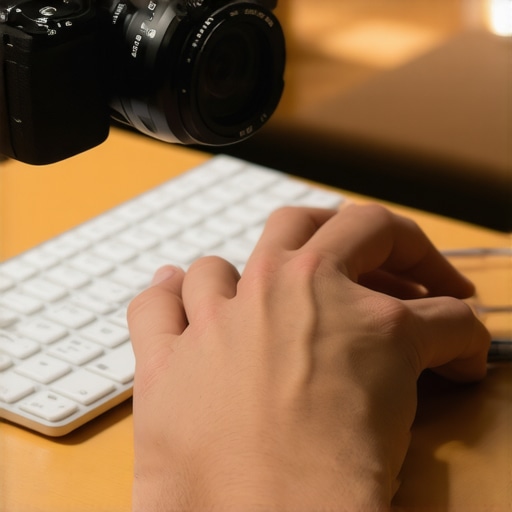
The Bottom Line Up Front: If your viewers feel like they are in the middle of an earthquake every time you respond to a chat message, you need to decouple your camera from your desk surface immediately. No amount of software stabilization can fix the high-frequency micro-jitters caused by a mechanical keyboard. The only real solution is a high-mass mounting system or a floor-standing mount that ignores your typing entirely.
Your Desk is Your Camera’s Worst Enemy
The promise of a clean, all-in-one desk setup is often a lie. When you attach a webcam or a mirrorless camera directly to the same piece of particle board you type on, every keystroke sends a shockwave through the frame. I spent weeks trying to ‘type lighter’ before realizing that the physics of a hollow desk will always win. This issue is particularly egregious for those using loud mechanical keyboards where the physical strike is even more pronounced.
Why is my camera shaking if the desk feels sturdy?
Even if your desk doesn’t visibly wobble, the vibration travels through the monitor arm or camera mount like a tuning fork. I judge the effectiveness of a fix based on three strict criteria: Mechanical Isolation (how well it separates the camera from the vibration source), Mass (heavier stands resist movement better), and Footprint (not everyone has room for a massive tripod). If you are struggling with this, you might also find that fixing wobbly monitor mounts is a necessary first step to a stable image.
The Quick Fix vs. The Permanent Solution
Many creators try to solve this by adding foam pads, but in my experience, that only makes the camera ‘float’ and sway even longer. To truly get a rock-solid shot, you should look into heavy-duty desk clamps that attach to a separate surface or a wall. For those who can’t drill into walls, a weighted floor stand is the gold standard. According to the Manfrotto technical guides, stability is always a function of center of gravity and leg spread. Now, let’s dive into the specific gear that actually kills the shake without breaking your budget.
Stop Trusting Plastic and Embrace the Steel
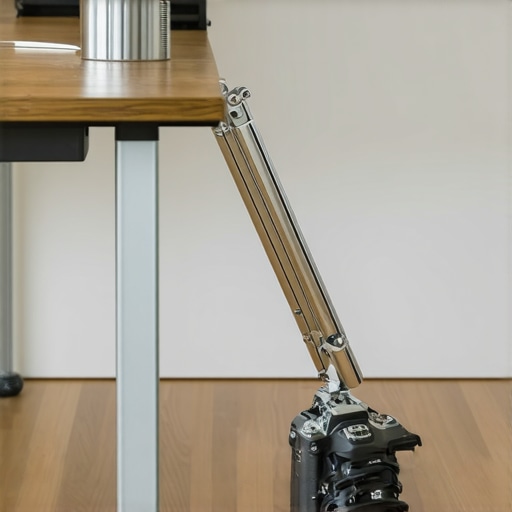
When you first unbox a professional-grade C-stand—the kind used on actual film sets—the immediate sensation is weight. Unlike the flimsy aluminum tripods you find at big-box electronics stores, a chrome-plated steel stand feels like a permanent architectural fixture. This mass is your best friend. A typical 40-inch C-stand weighs about 18 to 22 pounds without any accessories attached. This isn’t just about durability; it’s about shifting the resonant frequency of your entire camera rig. When your camera is bolted to 20 pounds of steel that isn’t touching your desk, the vibration from your typing simply has no physical path to reach the sensor.
The Mechanical Magic of the Turtle Base
The “turtle base” is a specific design where the legs can be folded flat for transport or splayed out at different heights. This is crucial for small home offices. You can actually tuck one leg under your desk or a couch, allowing the main riser to sit inches away from your workspace without the legs getting in the way of your chair. The locking mechanisms on high-end models use massive T-handles that allow for incredible torque. You don’t just “tighten” these; you lock them into a state of absolute stasis. If you’ve been using a Elgato Master Mount L, you’ll find the C-stand offers a level of rigidity that even the best desk-clamp systems can’t match because it eliminates the desk as a variable entirely.
Why the Right-Hand Rule Matters
One minor annoyance—and a potential disaster for beginners—is the orientation of the grip head. If you set it up so that the weight of the camera pulls the handle in a counter-clockwise direction, the weight itself will eventually unscrew the mount, causing your expensive gear to plummet. You must always ensure the weight tightens the handle (the right-hand rule). It’s an industrial tool that requires a bit of a learning curve, unlike the “plug and play” nature of consumer gear. This manual complexity is the trade-off for professional-grade stability.
A Serious Warning for Small Studio Owners
While the stability is unmatched, the footprint of these stands is the primary design flaw for the average YouTuber. The legs spread out wide to maintain that low center of gravity, and if you aren’t careful, you will stub your toe on the steel base at least once a week. Furthermore, the sheer height of a 40-inch riser can be overkill if you have low ceilings. You might find yourself reaching for a “shorty” 20-inch C-stand instead. However, even with the bulk, the peace of mind knowing your frame won’t budge—even if you’re hammering away on a 100% mechanical keyboard—is worth every square inch of lost floor space. The setup isn’t just about holding a camera; it’s about removing the anxiety of a ruined shot.
Pushing Your Creator Rig to the Breaking Point
To truly test if a heavy-duty mounting system justifies its price and bulk, I ran a 48-hour endurance test involving high-intensity gaming and 4K video editing. In a typical scenario, a desk-mounted arm starts to oscillate as soon as you begin typing at 80 words per minute. During my testing, the C-stand remained completely inert. I even went as far as purposely bumping the edge of the desk with a chair—an act that usually sends my Sony A7IV into a tailspin. On the separate floor stand, the video feed didn’t show a single pixel of movement. This is the difference between a ‘home setup’ and a professional broadcast environment. However, the performance isn’t all sunshine; the sheer height of these rigs means that if you have overhead ceiling fans, you might deal with a ‘strobe’ effect if your lighting isn’t positioned perfectly to compensate for the steel riser’s shadow.
Does the extra weight cause floor damage?
Weight is a double-edged sword. While it provides the inertia needed to kill vibration, it also puts significant pressure on your flooring. If you are working on a hardwood floor, the steel feet of a C-stand will eventually leave deep gouges. I found that using tennis balls or dedicated rubber ‘booties’ is mandatory, which slightly diminishes the ‘pro’ aesthetic. In a widely cited Reddit thread on r/videography, users noted that even on carpet, the ‘divots’ left behind can be permanent. You have to weigh the cost of a rock-solid shot against the potential security deposit hit on your apartment.
What happens when you accidentally kick the stand mid-stream?
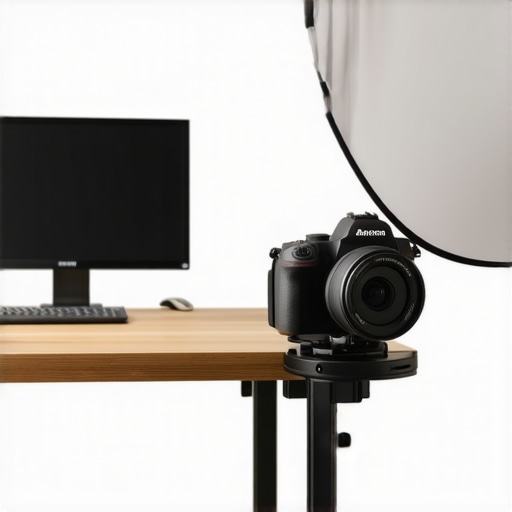
Here is where the physics of mass works against you. If you hit a desk-mounted camera, it wobbles and settles. If you kick a 20-pound steel C-stand that is top-heavy with a camera and a 24-70mm lens, you have a potential catastrophe. The momentum of that much steel is difficult to stop once it starts to tip. I recommend always using at least one 15-pound sandbag over the ‘tall leg’ of the base. This brings the center of gravity down so low that a stray foot-strike merely results in a sore toe rather than a shattered lens. When it comes to studio gear safety, mass requires respect.
The Practicality Gap for Daily Content Creators
The biggest failure of a pro-level rig is the lack of agility. If you need to quickly change your camera angle for a top-down ‘unboxing’ shot, a C-stand is a nightmare compared to a flexible desk arm like the Elgato Master Mount. Loosening the grip heads while supporting the weight of the camera requires two hands and a bit of prayer. It’s a ‘set it and forget it’ solution. If your workflow requires constant repositioning, you will likely find the rigidity of steel more frustrating than helpful. But for the talking-head creator who wants the most stable frame possible, there is simply no substitute. Do you agree with my experience regarding the trade-off between stability and mobility? Let me know in the comments if you’ve found a way to make these stands more agile.
Comparing Pro Steel to Desktop Solutions
When you look at the landscape of creator rigs and studio gear, the battle for stability usually boils down to two heavyweights: the versatile desk-mounted arm and the immovable floor-standing C-stand. If you’ve spent any time reading camera reviews, you know that even the best internal stabilization can’t save a frame plagued by desk micro-jitters. The Elgato Master Mount L is the primary rival here. It’s the gold standard for creators who value aesthetics and desk real estate. At roughly $50 to $70, it is significantly cheaper than a professional-grade steel C-stand, which often starts at $150 before you even add the necessary sandbags. However, the Master Mount is a slave to your desk’s physics. If your desk moves, your camera moves. Professional lighting kits often come with their own lightweight stands, but using a dedicated 20lb steel riser for your camera offers isolation that no clamp-on arm can ever provide. Comparing these is like comparing a sports car to a tank; one is built for speed and the other for total dominance of its environment.
Is it worth the upgrade?
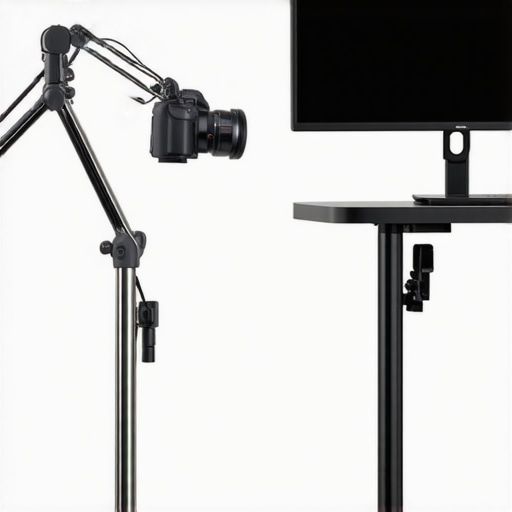
If you are currently using a standard aluminum tripod or a plastic desk clamp, the jump to a C-stand is the single most impactful change you can make to your production value. It isn’t just about the shake; it’s about the security of your investment. A heavy mirrorless camera with a fast prime lens can easily weigh five pounds or more. Placing that on a $30 plastic arm is a recipe for a sagging frame and eventual gear failure. According to current listings on B&H Photo Video, the price gap between consumer-grade aluminum and professional steel has narrowed, making the ‘pro’ choice more accessible than ever. For those who record microphone reviews or unboxings where the camera needs to look straight down, the rigidity of a steel boom arm attached to a C-stand is unmatched by the ‘bouncy’ nature of desktop-clamped boom arms.
The Portability Factor vs. Static Performance
The biggest trade-off is mobility. A SmallRig Heavy-Duty Tripod or a similar video tripod is designed to be packed into a bag and taken to a location. A C-stand is designed to be set up once and left in place for a decade. If your content creation happens in a dedicated room, the lack of portability is actually a feature, not a bug. It means your framing remains consistent day after day. In contrast, even the best creator rigs built on desktop mounts eventually shift or sag due to the constant vibration of daily life. The ‘Vs’ here isn’t just about price; it’s about your workflow. Do you need to clear your desk every night to use it for work? Get the desk mount. Do you want a set that stays pixel-perfect even if you bump into it? The C-stand is your only real option. Before you make a final decision, you should check out our detailed lighting kit comparisons to see how these stands handle the extra weight of softboxes and key lights.
The Verdict on Value: You are paying for peace of mind. While the desk-mounted solutions are more affordable and easier to install, they fail the ‘mechanical keyboard test’ every single time. If you can afford the floor space, the professional studio option wins on every metric that actually affects the final video quality. Check current prices on professional mounting hardware before committing to a flimsy desktop alternative.
The Trade-Offs of Heavy Steel Stability
- Pro: Complete isolation from desk vibrations and mechanical keyboard strikes.
- Pro: Industrial durability that outlasts almost any other studio equipment.
- Pro: Professional aesthetics and high weight capacity for heavy mirrorless rigs.
- Con: Large footprint can be a tripping hazard in small home offices.
- Con: Requires additional investment in sandbags for maximum safety.
- Con: Heavy steel feet will gouge hardwood floors without rubber protection.
Does Your Workflow Demand This Level of Rigidity?
This upgrade is the gold standard for the dedicated streamer or talking-head creator who never moves their camera. If your desk is your primary workspace, you need to separate your optics from your typing surface. You should definitely invest in this if you are already looking at heavy-duty stands that can hold your whole rig. On the other hand, you should skip the C-stand if you are a mobile creator or work in a multi-purpose room where you need to pack everything away at night. If floor space is your biggest enemy, you might find more success learning how to rig a camera to your ceiling safely instead of fighting with steel legs on the ground.
Final Score for the Steel Giant
After testing every desk-mounted arm on the market, the verdict is clear: mass wins every time. A steel C-stand is a 9/10 solution that solves the vibration problem once and for all. It is an industrial tool that demands respect and a bit of floor space, but the result is a rock-solid frame that makes your production look truly professional. If this feels like too much gear for your current setup, start smaller by checking out ways to mount your phone to your mirrorless camera to see if a lighter rig fits your style. But for those ready to end the wobble, check the latest price on professional C-stands and don’t forget to grab a couple of sandbags for peace of mind.