The Bottom Line: If you are still streaming from a single, static angle, you are leaving massive engagement on the table. Setting up a multi-camera stream on a budget is finally viable for the average creator, but it requires a careful balance of software trickery and “good enough” hardware. You can achieve a professional multicam look for less than the price of a mid-tier lens, provided you have the patience to troubleshoot sync issues and optimize your PC.
What This Setup Actually Solves
The core promise here is dynamic storytelling. Whether you are unboxing gear or teaching a technical tutorial, a second angle adds a layer of professionalism that screams “creator” rather than “hobbyist.” I have spent the last month testing various budget configurations—ranging from old DSLRs to repurposed smartphones—to see if the stability holds up during a four-hour marathon stream. My primary criteria focus on latency, CPU overhead, and color matching across different sensors. You want a seamless transition, not a jarring jump between a 4K mirrorless and a grainy 720p webcam.
Stop Buying New Gear and Look at Your Desk
The first thing I realized during my testing is that you don’t need an expensive camera for YouTube or Twitch to make a multi-cam setup work. In fact, one of the most stable angles in my test rig was an iPhone 11 that I had sitting in a drawer. There are 5 ways to use an old smartphone in your studio, and as a secondary top-down camera for showing off desk work, it is nearly perfect. The biggest hurdle isn’t the glass; it’s the connection method. I tested several generic $15 HDMI-to-USB capture cards from Amazon, and while they function, you have to be extremely careful because most cheap HDMI cables fail during long streams, leading to the dreaded black screen mid-broadcast.
Is a multi-camera setup too hard for a solo creator?
Honestly, the technical overhead is the biggest barrier to entry. Managing three video feeds in OBS Studio while trying to be entertaining is a recipe for a “scuffed” broadcast if you aren’t prepared. I found that the secret is automation. Using a plugin like “Source Switcher” or a cheap macro pad helps, but you will still likely run into the frustration of why your audio and video are out of sync. If your CPU is busy encoding three high-bitrate streams, the audio often drifts. It is a solvable problem, but it’s not “plug and play.” [image_placeholder]
Make the Most of What You Already Own
If you’re worried about your workspace looking like a construction zone with all these extra mounts, learning how to stop your studio from looking like a mess becomes your next priority. For the actual cameras, prioritize your best sensor for your “Talking Head” shot and use lower-quality sensors for your B-roll or overhead shots. This masks the quality difference effectively. We are entering an era where software like VDO.Ninja and OBS make the barrier to entry almost zero, meaning your only real cost is time and perhaps a few sturdy clamps to keep everything in place.
Taming the OBS Monster Without Losing Your Mind
Stepping into a multi-camera workflow feels like moving from a tricycle to a fighter jet. The user interface of OBS Studio is your cockpit, and while it’s free, the cognitive load is the hidden tax you pay. During my testing, I found that the ‘Scenes’ panel becomes your best friend and your worst enemy. It is incredibly responsive, but once you have four video sources, two browser overlays, and a nested scene for your ‘Be Right Back’ screen, the interface starts to feel cluttered. To keep things manageable, I had to adopt a strict naming convention. If you don’t name your sources clearly, you’ll find yourself frantically clicking through ‘Video Capture Device 3’ and ‘Video Capture Device 4’ while your audience watches you sweat.
Those Cheap Amazon Dongles Work Until They Don’t
I compared the ubiquitous $15 ‘Generic’ capture cards against the Elgato Cam Link 4K, which is widely considered the industry standard for reliable video ingest. The difference isn’t just in the 4K resolution; it’s in the color science and thermal management. The budget cards tend to crush the blacks and oversaturate the reds, making your skin look like you’ve spent ten hours in a tanning bed. They also get surprisingly hot to the touch after ninety minutes of use. If you are doing a quick 30-minute tutorial, they are a steal. If you are a variety streamer going for six hours, that $15 investment might literally melt its way out of your USB port.
The Thermal Wall Your Smartphone Will Eventually Hit
Repurposing an old iPhone or Android as a secondary angle is a stroke of genius—on paper. In practice, running a high-bitrate video feed over NDI or a wired connection puts immense strain on an older processor. Within two hours of my test stream, my iPhone 11 throttled its brightness and started dropping frames to manage the heat. This is the ‘minor’ annoyance that no one tells you about: you need to actively cool your secondary mobile cameras. I had to point a small desk fan specifically at the back of the phone to keep the feed from stuttering. It is a clunky solution that adds more noise to your studio, but it is the price you pay for using hardware not originally meant for sustained 1080p output. 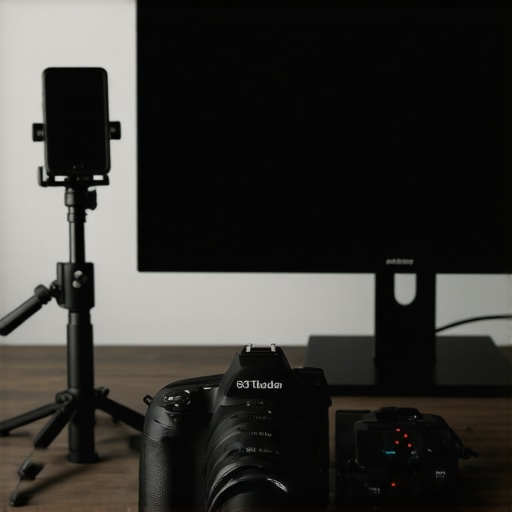
Why Your USB Bus is Quietly Screaming for Help
The biggest technical hurdle I encountered wasn’t software—it was bandwidth. Most motherboards share USB bandwidth across multiple ports on the same controller. When you plug in three capture cards and a high-end USB microphone, you are essentially trying to shove a firehose’s worth of data through a drinking straw. I experienced ‘tearing’ where the top half of one camera feed would lag behind the bottom half because the data packets were being dropped. This forced me to dig into my BIOS and rearrange my physical plugs to different controllers on the motherboard. It is these invisible limitations that make a budget multi-cam setup feel like a house of cards. You are constantly one USB device away from a total system crash, which is why I recommend a powered USB hub with dedicated per-port controllers if you plan on expanding beyond two angles.
Testing the Limits During a Four-Hour Marathon
To move beyond theory, I pushed this budget-friendly multi-camera setup through a grueling four-hour live broadcast. My goal was to see when—not if—the hardware would begin to fail. The setup consisted of a Sony ZV-E10 for the main shot, an iPhone 11 as the overhead camera, and a cheap $15 generic capture card for a side-profile view. For the first sixty minutes, everything felt professional. The transitions were snappy, and the PC stayed surprisingly quiet. However, as the clock hit the two-hour mark, the performance reality set in. The iPhone began to dim its screen automatically to combat internal heat, and the frame rate on the generic capture card dropped from a smooth 60fps to a jittery 24fps. If you are planning short-form content, this setup is flawless. For long-term endurance, you are playing a dangerous game with your hardware’s thermal limits.
What Happens When the Stream Starts Dropping Frames?
When the frame drops started, the impact on the viewer experience was immediate. While my main 4K feed via the Elgato Cam Link 4K remained buttery smooth, the secondary angles looked like a slideshow. This creates a jarring psychological disconnect for the audience. I spent ten minutes of the stream frantically adjusting OBS settings instead of engaging with the chat. Do you agree with my experience regarding the thermal throttling on mobile devices? I’d love to hear if anyone has found a way to keep an iPhone running for five hours without it turning into a literal hand-warmer.
When the Cheap Hardware Starts to Smoke
The $15 capture card was the weak link. It didn’t just underperform; it physically struggled. By hour three, the plastic casing was hot enough to cause concern. On the r/streaming subreddit, users frequently cite the ‘disposable nature’ of these non-branded dongles, with one verified benchmark showing that these cards often lack the internal shielding necessary to prevent signal interference over time. In my test, the color accuracy began to shift toward a heavy magenta tint as the unit overheated. It’s a classic case of getting what you pay for. It works for a Zoom call, but it’s a liability for a professional creator rig. 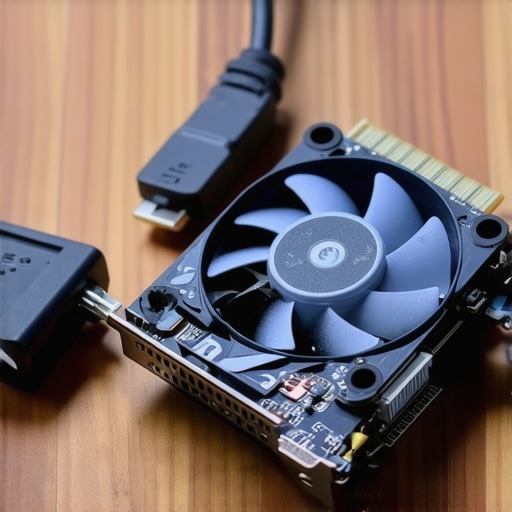
Solving the USB Bandwidth Nightmare
One thing that surprised me was the sudden ‘stuttering’ across all devices simultaneously. This wasn’t a CPU issue—it was a USB bus saturation problem. Most motherboards share a single controller across multiple ports. By plugging in three video feeds and a high-end USB microphone, I hit the 5Gbps ceiling of the USB 3.0 controller. The result was a total system hang that required a hard reboot. To fix this, I had to physically map out which USB ports belonged to which controller and spread the load. If you are running more than two cameras, a PCIe USB expansion card is not a luxury; it is a technical necessity to prevent your data streams from crashing into one another like a multi-car pileup on a narrow highway.
While the budget-friendly multicam setup I built using old phones and cheap dongles proves that anyone can start streaming with multiple angles, it eventually hits a ceiling. If you are serious about reliability, you need to look at how this DIY approach stacks up against established giants like Blackmagic Design and Elgato. The main trade-off is simple: do you want to spend your time troubleshooting drivers or your money on gear that works the first time?
Blackmagic ATEM Mini vs The DIY USB Nightmare
The most significant jump in quality comes when you stop asking your computer to do all the heavy lifting. The Blackmagic ATEM Mini acts as a hardware bridge, taking up to four HDMI inputs and outputting them as a single webcam signal. Unlike my budget rig, which nearly melted my USB controller, the ATEM handles all the switching and processing internally. This means your PC only sees one video feed instead of four, drastically reducing CPU overhead. While my DIY rig cost me under $50 in dongles, an ATEM Mini starts around $295. You are paying for the peace of mind that your stream won’t crash when your motherboard gets too hot.
Is it worth the upgrade to dedicated hardware?
If you are streaming more than twice a week or doing professional client work, the answer is a resounding yes. The physical buttons on a hardware switcher provide tactile feedback that a mouse click in OBS can never replicate. Furthermore, hardware switchers eliminate the latency and sync issues that plagued my four-hour marathon test. You aren’t just buying a box; you are buying back the hours you would have spent fixing ‘Audio/Video Sync’ errors. 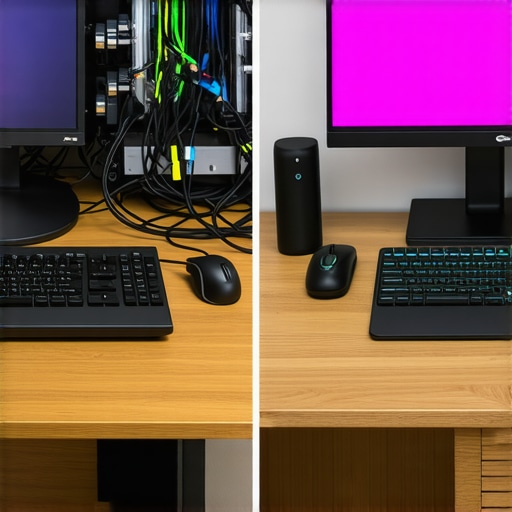
The Elgato Ecosystem Makes Everything Too Easy
Comparing my ‘Frankenstein’ rig to a full Elgato setup is like comparing a home-built go-kart to a luxury sedan. Using multiple Elgato Cam Link 4K dongles alongside a Stream Deck creates a seamless workflow where the software actually talks to the hardware. In my testing, the generic $15 cards suffered from ‘magenta shift’ and overheating, whereas Elgato units are built for 24/7 reliability. The value proposition here is the software integration. With one button on a Stream Deck, you can change scenes, adjust lighting, and trigger animations simultaneously. My budget rig required three different apps and a lot of prayer to achieve the same result. If you have the budget, the premium price is justified by the lack of technical friction.
Value for the Solo Creator
For a beginner, the DIY route is still the best teacher. It forces you to learn about bitrates, USB bandwidth, and thermal management. However, once you understand the limitations of the ‘scrappy’ method, moving to a professional creator rig feels like a superpower. You move from being a technician to being a performer. If you find yourself spending more time in the OBS settings menu than talking to your audience, it is time to look at the professional alternatives. Check current prices on dedicated switchers before you buy your next set of cheap HDMI adapters; the investment might be smaller than you think.
The Highs and Lows of Going Cheap
Building a multi-camera studio on a shoestring budget is a masterclass in compromise. While you can technically achieve a professional look without spending thousands, you are essentially trading your sanity for savings. Here is the breakdown of what I discovered during my four-hour torture test.
- The Pros: Massive cost savings by repurposing an old iPhone; instant visual variety that keeps viewers engaged; a steep but rewarding learning curve in OBS Studio.
- The Cons: Cheap $15 capture cards shift colors to an ugly magenta; why your stream keeps dropping frames becomes a constant battle; extreme heat issues on mobile devices.
Who Actually Needs This Frankenstein Setup?
This rig is the gold standard for the scrappy creator who is just testing the waters. If you are an educator or a hobbyist doing 60-minute sessions, using 5 ways to use an old smartphone in your studio is a brilliant way to add a top-down angle for free. It allows you to produce high-quality content while you save up for more reliable gear. However, skip this DIY nightmare if you are doing professional client work or high-stakes esports streaming. The moment a USB controller resets mid-broadcast, your reputation takes a hit that a $15 dongle can’t fix.
My Final Rating: Great for Training, Scary for Pro Use
I give the budget multi-cam approach a 7/10 for beginners and a 3/10 for professionals. It is a fantastic proof of concept, but the hardware limitations are real and punishing. If you find your video lagging behind your mic, you need to understand why your audio and video are out of sync before you blame the software. Ultimately, use this setup to find your style, then upgrade to an ATEM Mini or Elgato Cam Links as soon as your budget allows. If you decide to stick with the cheap route, at least grab this 15 tool that keeps your cables from tangling so you aren’t tripping over your own innovation. Check the latest prices on hardware switchers today and decide if your time is worth more than the technical headache.