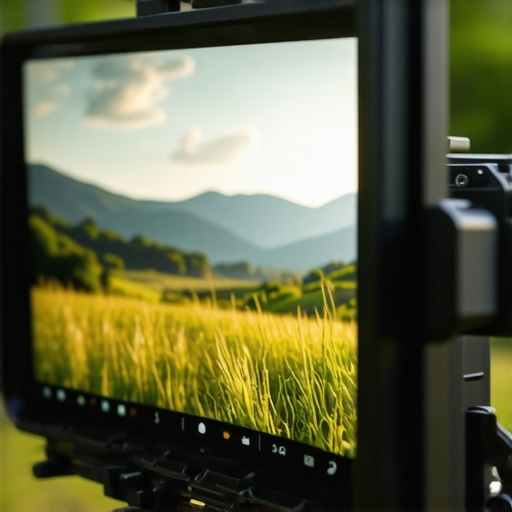
Bottom Line Up Front: Using your tablet as a field monitor is the smartest way to repurpose gear you already own, provided you can live with a tiny bit of latency. It is significantly more vibrant than a 3-inch camera screen, though it lacks the bulletproof reliability of a dedicated HDMI monitor for professional cinema work. For most YouTubers and solo creators, it is a solid B+ solution.
Stop squinting at your tiny camera screen
We have all been there. You think you nailed the perfect shot, but once you get it onto your computer, the focus is slightly soft. I have wasted hours of footage because my camera built-in LCD is just too small to judge sharpness accurately. The promise here is simple: turn your iPad or Android tablet into a massive, high-resolution monitor for under 50 dollars. This solves the immediate problem of visibility without forcing you to buy an expensive dedicated screen right away. It is an essential part of most custom camera rigs for beginners.
How I put these methods to the test
To see if these solutions are actually professional enough for daily use, I evaluated them based on three strict criteria: latency (the delay between real-world movement and the screen display), color accuracy, and connection stability. I have used these setups alongside dedicated gear, like this budget 50-dollar field monitor, to see if the tablet route actually saves you money or just adds more technical headaches to your workflow.
Is using a tablet actually better than a cheap field monitor?
In many cases, yes. Most modern tablets have significantly better color reproduction and higher pixel density than the cheap 100-dollar monitors you find on Amazon. However, you have to deal with the bulk. While rigging a monitor to a cage is usually straightforward, mounting a full-sized tablet requires heavy-duty hardware and can make your rig feel top-heavy and unbalanced.
The three best ways to get it done
First, the wired route using a UVC capture card is the most reliable method I have found. You will need a specialized app and a USB-C video capture dongle. I recommend checking out the technical specs for Accsoon See, which is a leading app for this specific workflow. If you go this route, do not forget to grab this 15-dollar HDMI adapter to keep your camera ports from snapping under the weight of the cable during movement.
Second is the wireless app approach. Many modern cameras from Sony, Canon, and Panasonic have native apps that stream a preview to your device. While convenient, the frame rate often drops and the lag can be frustrating. This is why I often prefer mounting a phone for quick framing and saving the tablet for a client or director to watch from a distance.
Third is the tethered studio method. If you are shooting product photography or static talking heads, your tablet can act as a second display via software like Duet Display or Sidecar. This is perfect for high-detail work where you need to see every pixel before hitting the shutter. Just make sure you use a solid desk mount so your expensive tablet does not end up sliding off the table during a long shoot.
Why UVC capture cards are the secret sauce
To get a clean signal from your camera to a tablet, the hardware interface is everything. Most people assume any cable will work, but the magic happens in a tiny USB Video Class (UVC) capture card. When you plug a decent HDMI-to-USB-C dongle into an iPad Pro, the transition is surprisingly seamless. You aren’t just looking at a mirror of your screen; you are essentially tricking the tablet into thinking it is a webcam. This is where the hardware “feel” comes into play. Most cheap adapters feel like hollow plastic, but higher-end ones have a brushed aluminum finish that helps dissipate the significant heat generated during a long 4K shoot. If you are using an Android tablet, the experience is nearly identical, though the software side can feel a bit more like the “Wild West” depending on your OS version.
Software overlays that rival high-end gear
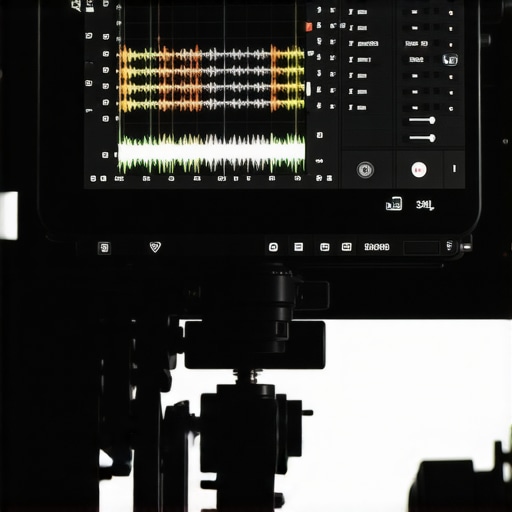
Once you are connected, the interface is where the real work happens. Using apps like Accsoon See or Monitor+, you get access to tools that your camera’s built-in screen usually hides behind three layers of menus. We are talking about waveforms, false color, and focus peaking. These aren’t just fancy visuals; they are the difference between guessing your exposure and knowing it is perfect. The touch interface of a tablet makes moving your focus magnification box significantly faster than clicking a D-pad on the back of a mirrorless body. However, here is the first design flaw: because these apps are running on top of a standard OS, a stray swipe can accidentally close your monitor app right in the middle of a take. It is a minor annoyance that you would never deal with on a dedicated device.
The frustrating truth about wireless lag
I have to be honest about the wireless workflow: it is often a mess. While companies like Sony and Canon have made strides with their proprietary apps, the latency is still high enough to make pulling manual focus almost impossible. You see a hand move in real life, and a quarter-second later, it moves on the screen. For a director sitting ten feet away, this is fine. For the person operating the camera, it is maddening. This is why I always advocate for the wired route if you are the one pulling focus. Even the industry-standard Atomos Ninja V focuses heavily on zero-latency hardware, which is the benchmark these tablet setups are constantly trying to hit.
Pixel density that puts budget monitors to shame
The standout feature of using a modern tablet—especially an iPad with a Liquid Retina display—is the sheer pixel density. Most budget 5-inch or 7-inch field monitors hover around 300 to 400 nits of brightness and standard 1080p resolution. In contrast, a high-end tablet offers significantly better contrast ratios and color depth. When I am reviewing a shot on a 12.9-inch screen, I can see every stray hair and every slightly out-of-focus background element that a smaller screen would mask. The brightness is the only real hurdle; tablets are designed for indoor use or shaded environments. If you are shooting under the high noon sun, you will find yourself desperately squinting at the glass reflections, whereas a high-nit dedicated monitor would punch right through the glare.
Put your tablet through the ultimate production stress test
Theory is one thing, but standing in the middle of a crowded wedding venue with a rig that keeps disconnecting is another reality entirely. To truly test the tablet-as-monitor workflow, I ran a three-hour continuous 4K 60fps feed from a Sony A7IV into an 11-inch iPad Pro via a UVC capture card. This wasn’t a controlled studio environment; it was a high-pressure corporate event where I couldn’t afford to lose the signal. The results were a mix of ‘wow’ moments and frustrating limitations. While the resolution is breathtaking, the thermal reality of a tablet begins to show its teeth around the 90-minute mark.
How long can a tablet survive a 4K live feed?
Unlike a dedicated Atomos or SmallHD monitor, which is essentially a giant heat sink with a screen attached, tablets are thin slices of glass and aluminum with no active cooling. After about two hours of processing a constant video stream, the iPad’s screen brightness throttled by about 50% to prevent internal damage. It didn’t shut down, but the dimming made it nearly impossible to judge exposure accurately. On various r/videography threads, users consistently report that generic 15-dollar UVC cards introduce an extra 40 to 60 milliseconds of lag compared to name-brand options, and this latency only gets worse as the tablet heats up. If you are planning on using this for long-form podcasts or live streaming, you need to keep your tablet out of direct sunlight and potentially use a mount that allows for airflow across the back panel.
Why daylight is the natural enemy of this setup
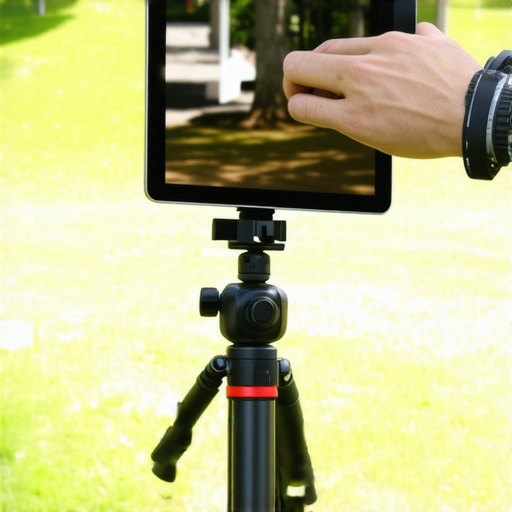
In a dark studio, your tablet will look like a masterpiece. The moment you step outside into a bright afternoon, the situation changes. Even the brightest iPad Pro tops out at around 600 nits for SDR content, which is significantly lower than the 1,500 to 2,000 nits found on professional field monitors like the budget options we have reviewed before. I found myself constantly hunting for shade or draping a jacket over my head just to see if I was in focus. This is a massive ‘The Bad’ point: if you do a lot of outdoor run-and-gun work, a tablet is more of a liability than an asset because of the highly reflective glass surface.
Don’t let your rig become a giant kite
Another major performance hurdle is the physical weight and wind resistance. Mounting a 12.9-inch tablet to a camera cage turns your portable setup into a sail. During a windy outdoor shoot, the camera kept tilting on my tripod because the tablet was catching every gust. It felt precarious. However, the ‘The Good’ side is the incredible touch-to-zoom feature. Being able to pinch-to-zoom on a large screen to check focus on a subject’s eye is a luxury you just do not get with cheap dedicated monitors. It is snappy, intuitive, and feels modern. I am curious—do you agree with my experience regarding the lag spikes during wireless monitoring, or has your setup been rock-solid? Leave a comment and let’s compare notes.
When you evaluate where to spend your budget across lighting kits, creator rigs, and microphone reviews, the monitoring solution often feels like an afterthought. However, comparing a tablet-based setup to dedicated industry standards reveals some surprising trade-offs. If we look at the tablet approach versus a staple like the Feelworld LUT7, the value proposition shifts quickly. The Feelworld offers a staggering 2,200 nits of brightness for about 250 dollars, making it a beast for outdoor work where lighting kits can’t compete with the sun. Meanwhile, a tablet offers superior resolution and the ability to multitask, but it fails the ‘visibility test’ the moment you step outside a controlled studio gear environment.
Better glass doesn’t always mean a better rig
The primary competitor to your iPad or Android tablet isn’t just another screen; it is the entire ecosystem of dedicated studio gear. Professional monitors from brands like SmallHD or Atomos are built with integrated battery plates (NP-F or V-mount), which keep your camera reviews from being interrupted by a low battery warning on your screen. When you use a tablet, you are often juggling separate power banks or depleting the tablet’s internal battery rapidly. This makes the tablet a ‘cheaper’ entry point if you already own one, but a more complex headache when you start adding the mounts and cables needed to integrate it into a heavy-duty creator rig. Most dedicated monitors under 200 dollars are significantly more rugged and won’t crack if they take a minor bump during a lens change.
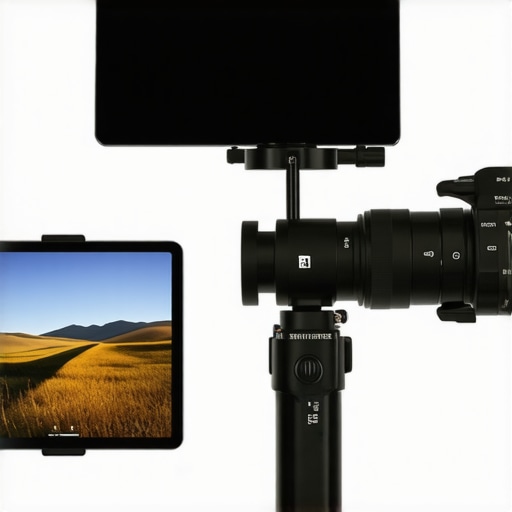
In terms of pure image quality, the tablet often wins the spec war but loses the utility battle. Most microphone reviews don’t mention that your monitor choice affects how you perceive your set’s noise floor and visual clutter. A large 12-inch tablet can actually be distracting because it’s so immersive. In contrast, a 5-inch dedicated monitor provides just enough information to check your framing and levels without pulling your focus away from the performance. If you are building a setup for professional camera reviews, having a monitor that can load Custom LUTs (Look Up Tables) via an SD card—a feature native to almost all budget field monitors—is a massive advantage over most tablet apps that struggle with file management.
Is it worth the upgrade?
If you currently rely on your camera’s flip-out screen, moving to a tablet is a massive leap forward. However, if you are looking to move from a tablet to a dedicated field monitor, it is only worth the upgrade if you find yourself shooting outdoors more than 30% of the time. The reliability of a dedicated HDMI connection and the ability to swap batteries mid-shoot without rebooting an app provides a peace of mind that a consumer tablet simply cannot match. For those strictly in the studio, the tablet remains a top-tier choice for its sheer pixel density and color depth.
The hidden cost of DIY convenience
While we often praise the tablet for saving money, the reality of rigging one safely adds up. You will likely spend 40 dollars on a high-quality tablet mount, 20 dollars on a decent UVC capture card, and another 15 dollars on specialized cables. By the time you’ve spent nearly 80 dollars to make your tablet ‘work,’ you are halfway to the price of a dedicated monitor that was designed for this specific purpose. Before you commit, I highly recommend you check current prices on dedicated 7-inch monitors to see if the gap is as large as you think. The tablet is a fantastic ‘bridge’ solution, but it rarely replaces the purpose-built tools found in a high-end studio gear kit.
Breaking Down the Tablet Workflow
- Pro: Exceptional pixel density that beats almost any budget screen on the market.
- Pro: Intuitive touch gestures for lightning-fast focus magnification.
- Pro: Zero additional cost if you already have an iPad or Android device in your drawer.
- Con: Reflective glass makes outdoor shoots a frustrating experience.
- Con: Thermal throttling can dim your screen significantly during long 4K takes.
- Con: Requires additional clips to protect your ports from the weight of dangling cables.
Who Actually Needs This Setup?
This is the perfect solution for YouTube creators and studio-based photographers who want a massive 10-inch or 12-inch view of their set without dropping 500 dollars on professional cinema glass. If you are shooting product reviews or talking heads in a controlled room, the tablet is unbeatable for checking fine details. However, you should skip this if you are a wedding videographer or an outdoor filmmaker. The lack of high-nit brightness and the risk of a mobile app crashing at a critical moment makes it too risky for paid, one-shot gigs. In those high-pressure environments, you are better off learning how to rig a monitor to a camera cage securely using a dedicated device built for the job.
#IMAGE_PLACEHOLDER_E#
Final Verdict on the Tablet Monitor Hack
If you stay indoors, the tablet-as-monitor method is a genuine game changer for your camera reviews and studio gear tests. It offers a level of color depth that even some mid-range monitors struggle to match. Just remember to use this 15-dollar HDMI adapter to ensure your bulky setup doesn’t lead to a snapped camera port. My final take? It is a solid 8/10 for the home studio but a 4/10 for the field. Before you spend a dime on specialized tablet mounts, see why this 50-dollar field monitor might actually be a more reliable long-term investment for your mobile gear bag.