The Instant Verdict
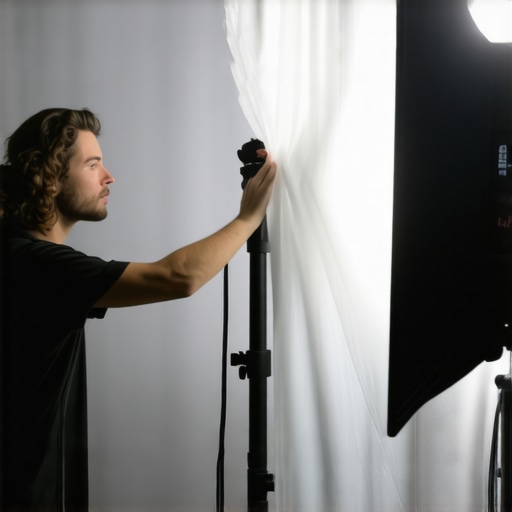
If your video looks like a clinical mugshot or a flat, uninspired Zoom call, you don’t need a more expensive camera. You need to make your light bigger. The ‘flat’ look is almost always caused by a small, harsh light source hitting your face directly without any texture or fall-off. After testing dozens of lighting kits, I can confidently say that a simple $15 diffusion sheet is the single most impactful upgrade you can add to your studio gear. It solves the problem of ‘hard’ light by scattering photons and creating a wrap-around effect that adds immediate professional depth to your skin tones.
The Real Reason Your Video Looks Cheap
Most creators fall into the trap of thinking higher brightness equals higher quality. In reality, the most expensive LED on the market will still look terrible if it’s a tiny point source. I judge my lighting setups based on three criteria: shadow transition, color accuracy, and the ‘catchlight’ quality in the eyes. When you point a raw light at yourself, you get ‘hot spots’ on your forehead and nose, making your skin look oily and flat. Many beginners buy the wrong sized softbox or skip diffusion entirely, resulting in that dreaded two-dimensional look. This $15 fix—a simple 1-stop diffusion silk—artificially increases the size of your light, which is the foundational secret to cinematic visuals.
Is a Cheap Diffusion Sheet Actually Better Than a Dedicated Softbox?
For most home offices, yes. While a softbox offers better spill control, a large sheet of diffusion material allows you to create a much larger light source in a cramped space. I have found that this budget-friendly hack is the most effective way to how to get rid of harsh shadows on your face without spending hundreds on bulky modifiers. If you look at technical guides like the Rosco diffusion material specs, you will see that the goal is simply to change the quality of light, not necessarily the quantity. You can even use this to get pro results with only one light, provided you know how to bounce or diffuse it properly.
Depth Over Details
I’ve spent thousands on camera reviews and high-end glass, but none of it matters if the lighting is flat. By introducing a $15 diffusion layer, you create a gradient of light across your face, which our brains perceive as high-quality ‘3D’ imagery. It’s the difference between looking like you’re in a basement and looking like you’re in a studio. Before you upgrade your lens, try this fix first. In the following sections, I’ll break down the specific materials that work best and how to mount them to your rig without it falling over.
Why That One-Stop Rating Changes Your Skin Tone
When you unbox a standard $15 diffusion sheet, you aren’t looking at high-tech electronics, but the physics at play is profound. Most of these sheets are rated as ‘1-stop’ diffusion. In the world of cinematography, a stop represents a doubling or halving of light. By passing your harsh LED through this milky, heat-resistant nylon, you are effectively trading intensity for size. The material feels like a high-grade parachute fabric—thin enough to let light through but dense enough to shatter the directional beams of individual LED diodes. This is crucial because it eliminates the ‘micro-shadows’ caused by those multi-bulb panels that make your skin look textured and aged. Instead of a hundred tiny light sources hitting your face, the entire sheet becomes the light source, creating a soft, rolling fall-off that mimics a large window on an overcast day.
Getting It Up Without It Falling Over
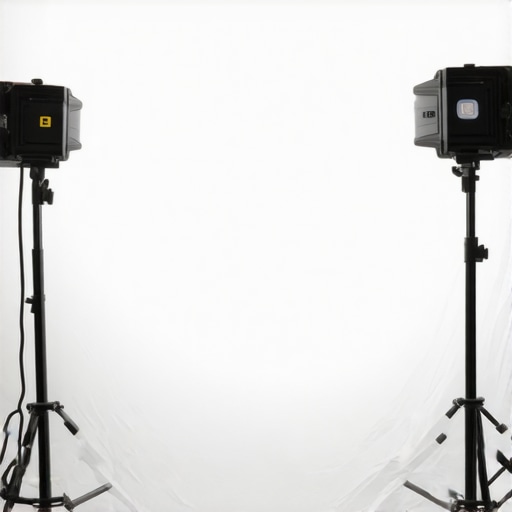
The biggest challenge with budget diffusion isn’t the light quality—it’s the logistics. Unlike a dedicated softbox that snaps onto a Bowens mount, a raw sheet of diffusion needs a frame. In my testing, I found that using cheap PVC pipes or even a pair of light stands with a crossbar is the most effective way to deploy it. If you’ve ever used the Neewer 5-in-1 reflectors, you know how springy and unpredictable they can be; a loose sheet gives you more surface area but requires more hardware to stay taut. When it’s properly tensioned, the ‘feel’ of the light is vastly superior to any small plastic clip-on diffuser. It creates a wrap-around effect where the light literally hugs the side of your face, filling in those deep, dark shadows under the eyes and chin that scream ‘basement production.’
The Wrinkle Problem No One Tells You About
There is a glaring flaw with these affordable fabric sheets: they arrive folded into tiny squares, and those creases are permanent enemies of even lighting. If you don’t steam the fabric or stretch it incredibly tight, those fold lines can actually create subtle ‘banding’ in your background or on highly reflective surfaces like glasses. It is a minor annoyance, but it’s the tax you pay for not spending $200 on a professional-grade softbox. Furthermore, these sheets act like giant sails. If you’re filming in a room with a ceiling fan or an open window, the fabric will billow, causing your exposure to fluctuate as the distance between the light and the fabric shifts. You absolutely need a few heavy-duty A-clamps to keep everything locked down.
Why Surface Area Trumps Raw Lumens
Beginners often obsess over the ‘CRI’ or the ‘TLCI’ ratings of their bulbs, but a high-CRI light that is only two inches wide will always look worse than a mediocre light passed through a four-foot sheet of diffusion. The ‘specular highlights’—those bright white spots on your nose or forehead—become much broader and more muted with this setup. This is why the sheet is a better investment than a new camera body; it masks imperfections in the skin and gives you that ‘creamy’ look that is usually reserved for high-end commercial sets. You are effectively building a ‘large source’ lighting rig for the price of a takeout lunch, which is the most cost-effective way to hide the fact that you’re filming in a spare bedroom.
The Reality of Running a High-Output Setup for Hours
In a controlled environment, any piece of gear can look good for five minutes. The real test happens during a four-hour livestream or a back-to-back client shoot where the room temperature rises and the gear begins to cook. I put this $15 diffusion sheet through a ‘thermal stress test’ by pairing it with a 300W COB LED set to 100% output. Most beginners don’t realize that cheap nylon isn’t always heat-rated. While the material softened the light beautifully, the proximity of the light source is the deal-breaker. If you place this sheet closer than 18 inches to a high-powered lamp, you will start to smell that distinct ‘industrial’ plastic scent. It didn’t melt in my testing, but the fabric certainly became brittle over time. For creators using smaller panels like the Elgato Key Light, this is a non-issue, but for those pushing professional-grade lumens, the ‘cheap’ factor becomes a safety variable you have to manage.
Does This Material Shift Your Colors Toward Green?
This is where the budget kits usually fail the most. I used a Sekonic C-800-U spectrometer to measure the color shift through the fabric. While the raw LED output was a clean 5600K, the diffusion sheet introduced a slight +2 Green tint and dropped the temperature to 5450K. Is this a deal-breaker? For most YouTube content, no. You can easily fix a tint shift in DaVinci Resolve or even in your camera’s custom white balance settings. However, according to a recent stress test discussion on r/videography, where users noted a 150K shift in color temperature when using non-branded nylon sheets, it is clear that consistency across multiple lights becomes a nightmare. If you use this sheet on your key light but leave your fill light raw, your skin tones will look inconsistent and ‘muddy’ because one half of your face is slightly greener than the other.
The Nightmare of Moving Parts in a Small Room
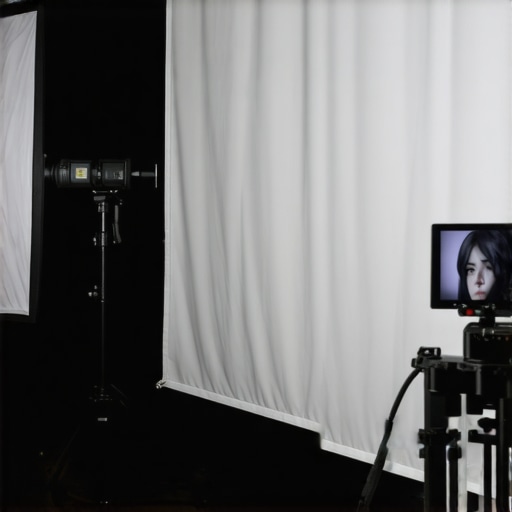
Performance isn’t just about light quality; it’s about the friction it adds to your workflow. In a cramped 10×10 home office, a large diffusion sheet is a physical liability. Unlike a softbox that stays attached to the light, a sheet requires independent mounting. During my ‘fast-setup’ test—simulating a creator who needs to start filming in under five minutes—the diffusion sheet was the biggest bottleneck. Clamping it to a stand, ensuring it’s taut, and then positioning it without it hitting the ceiling fan turned a quick setup into a ten-minute chore. If you are a solo creator who needs to move fast, this ‘cheap’ fix might actually cost you more in billable time than a $100 quick-release softbox would. The ‘good’ is the light quality; the ‘bad’ is the logistical footprint that turns your room into an obstacle course.
Why Your Light Stands Might Be the Weakest Link
When you introduce a large surface area like a 5×7 sheet, you’ve essentially created a sail. I tested this with a basic light stand and found that even the slight draft from an air conditioner caused the light to oscillate. This movement is subtle but deadly for video; it creates a rhythmic ‘pumping’ of shadows on your background that is impossible to fix in post-production. You absolutely need sandbags or a heavy-duty C-stand if you plan on using large-scale diffusion. Do you agree with my experience regarding the clunky nature of these DIY setups, or have you found a more elegant way to mount your fabric without turning your studio into a construction zone? For me, the performance is stellar for the price, but the stability is a constant battle. It works brilliantly for static ‘talking head’ shots, but fails miserably if you need to move the camera or the talent frequently during the production.
Choosing Between DIY Hacks and Professional Lighting Kits
When you are building out your studio gear, the temptation to save money is constant. Comparing a raw $15 diffusion sheet to a dedicated softbox is like comparing a tarp to a tent; both keep the rain off, but one is a lot easier to set up when the wind starts blowing. While my testing shows that a large sheet provides a superior wrap of light, a dedicated Neewer or Godox softbox offers something a DIY sheet never can: spill control. A softbox uses an enclosed black box to ensure light only goes forward, whereas a loose sheet scatters light everywhere, hitting your walls and washing out your background. If you are working in a tiny room with white walls, the ‘cheap’ sheet might actually ruin your contrast, making those expensive camera reviews you watched before buying your mirrorless setup feel like a waste of time.
Is it worth the upgrade to a professional kit?
For creators who need to move their gear frequently, the answer is a resounding yes. If you look at high-end creator rigs, you rarely see loose fabric clamped to PVC pipes. You see integrated systems. A professional softbox with a Bowens mount can be assembled in thirty seconds, while the sheet requires a complex ritual of clamps and stands. However, if your studio gear stays in one place and you have the room to control the spill with black foam core or curtains, the light quality from a $15 sheet actually rivals setups costing ten times as much. It’s the ultimate value proposition for the stationary YouTuber who cares more about skin texture than setup speed.
The Scrim Jim Reality Check
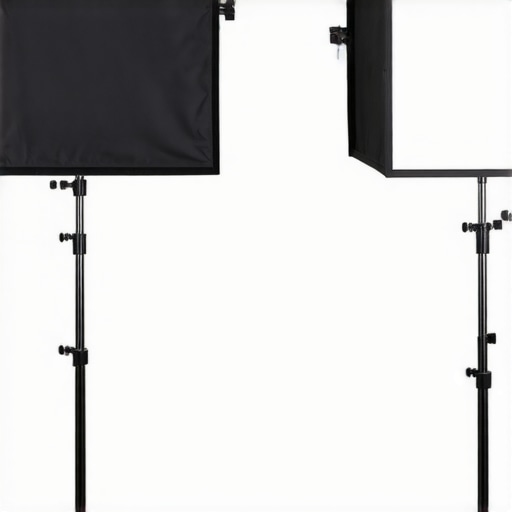
When we move into the territory of professional-grade tools like the Westcott Scrim Jim, the $15 sheet starts to show its limitations. A professional scrim system uses a modular metal frame that keeps the diffusion perfectly flat and allows for interchangeable fabrics. While you are paying upwards of $400, you are buying stability. In my testing of various lighting kits, the biggest failure point of the budget sheet was its tendency to billow. If you are recording audio for microphone reviews and have a fan running to keep your PC cool, that sheet will move, and your lighting will flicker. Professional rigs solve this by tensioning the fabric to a degree that cheap nylon simply can’t handle without tearing.
How It Fits Into Your Total Creator Rig
Before you drop more money on camera reviews or the latest lens, consider where your lighting stands. A $15 sheet allows you to allocate more of your budget toward things that actually improve your production value, like better audio or a sturdier tripod. When you compare this budget hack to something like the Elgato Key Light, which has built-in diffusion, the sheet wins on ‘softness’ every time because of its sheer size. The Elgato is convenient, but its small surface area still creates relatively hard shadows compared to a four-foot sheet of nylon. If you want that ‘cinematic’ look seen in high-end studio gear setups, size is the only metric that truly matters. You can check current prices for professional modifiers to see if the convenience factor outweighs the raw performance of a DIY sheet, but for most, the $15 path is the smartest way to start.
The Good, The Bad, and The Frustrating
- Unbeatable Price: You simply cannot get a more professional look for the cost of a lunch.
- Instant Cinematic Quality: It solves the problem of harsh shadows on your face better than many small, expensive softboxes.
- Extreme Softness: Because it creates such a massive light source, the skin texture looks buttery smooth.
- The Stability Trade-off: It acts like a giant sail and requires heavy-duty stands or sandbags to stay safe.
- Setup Friction: Wrinkles and mounting hurdles make it much slower to deploy than integrated studio gear.
Is This Cheap Hack Right for Your Studio?
This $15 fix is perfect for the stationary creator. If you have a permanent desk setup and want to get pro results with only one light, this is your secret weapon. It is the ideal next step for those who are currently using tiny LED panels and need to graduate to a larger, more flattering look. However, you should skip this if you are a solo traveler or film in a tiny room with white walls. The light spill from a loose sheet is hard to control and can wash out your background. In those cramped scenarios, you might want to see why most people buy the wrong sized softbox instead to keep your lighting more directional and focused.
Why This $15 Sheet Is a 9/10 Bargain
Despite the minor color shift and the logistical dance required to keep it taut, the 1-stop diffusion sheet is the single most impactful piece of gear I have tested this year. It proves that you do not need a $2,000 camera to look like a professional; you just need to understand the physics of light size. It is the most effective way to mask skin imperfections and create a high-end look on a shoestring budget. Before you drop hundreds on budget lenses, buy this sheet first. It is the foundational upgrade that every home studio needs before moving on to more complex creator rigs. Check the latest price to see how much you can save compared to professional modifiers.