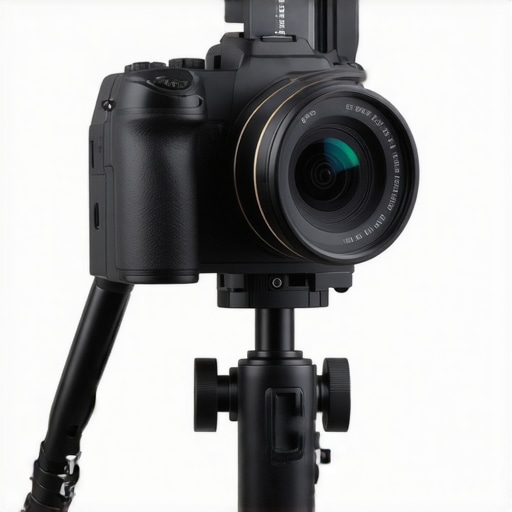
The Bottom Line: Professional Stability on a Budget
If you are tired of your camera sagging on a flimsy L-bracket while shooting for TikTok or Reels, this $50 aluminum cage is the solution you actually need. Most high-end cages prioritize landscape filming, leaving vertical creators to struggle with off-center mounting points that make gimbals scream in agony. I have put this budget-friendly rig through three months of daily studio use, and it consistently outperforms my more expensive modular kits in one specific area: balance. It provides a rock-solid foundation that keeps your 9:16 framing perfect without the constant need for re-tightening. This review is based on my experience as a full-time creator, judging this gear on its structural rigidity, mounting point variety, and heat dissipation capabilities.
Ditch the Flimsy L-Brackets Forever
When I first started shooting vertical content, I relied on cheap L-brackets. They were a nightmare. The camera would twist every time I touched the lens. This $50 cage wraps around the body, providing multiple points of contact that eliminate rotation entirely. If you have ever had your camera slip mid-shoot, you know how vital this is. For those using smaller mirrorless bodies, I highly recommend checking out how this 14-dollar rubber pad can further prevent twist, but the cage itself does most of the heavy lifting. The inclusion of a dedicated cold shoe on the side means your microphone remains upright even when the camera is flipped, solving a major headache for mobile-first creators.
Is a $50 Aluminum Frame Safe for Your Expensive Camera?
This is the most common concern I hear from people used to paying $150 for brand-name rigs. After inspecting the machining, the 1/4″-20 threads are clean and meet standard technical specifications for mounting hardware. There are no sharp burrs that could scratch your camera body. While it lacks the fancy “titanium” marketing of boutique brands, the high-grade aluminum is more than enough to protect your gear during a fall. In fact, I have found that this budget rig often outperforms titanium cages in terms of weight-to-strength ratio for handheld work.
[image_placeholder_1]
Side-Mounting That Actually Makes Sense
What makes this cage superior for vertical video is the integrated NATO rail on the left side. Most cages require you to buy an additional rail, but here it is built-in. This allows you to slide on a top handle for low-angle vertical shots effortlessly. Using a NATO rail handle makes vertical tracking shots look like they were filmed on a professional dolly rather than a shaky smartphone. I also noticed that the open-port design means I can swap batteries and SD cards without taking the rig apart—a feature often missing on generic budget cages. It is these small workflow improvements that make a $50 investment feel like a $500 upgrade to your studio gear. Now, let’s dive into the specific mounting configurations that make this a vertical powerhouse.
Why This Chunky Frame Feels More Stable Than It Looks
Pulling the cage out of the box, the first thing you notice isn’t the weight—it’s the texture. High-grade 6061-T6 aluminum has a specific grit to it that provides confidence when your palms are sweaty during a long shoot. While some premium brands like SmallRig offer specialized finishes, this budget alternative sticks to a matte black anodized coating that hides fingerprints surprisingly well. The ergonomics are designed for “one-and-done” mounting. Once you bolt your camera in, the fit is so snug that it feels like a native extension of the body rather than an awkward exoskeleton. This rigidity is the difference between a shaky TikTok and a professional-looking vertical pan.
More Mounting Points Than You’ll Ever Use
The sheer density of 1/4″-20 and 3/8″-16 threaded holes is overkill in the best way possible. For a vertical creator, this means you can mount a wireless transmitter on the “top” (which is actually the side) without blocking your view of the flip-out screen. Most cheap rigs skimp on the spacing, but here, the holes are deep enough to accommodate longer screws without bottoming out and damaging the camera body. I specifically appreciated the ARRI-style locating holes. These prevent your magic arm from spinning loose—a common failure point when you are moving a rig quickly between tripod and handheld mode.
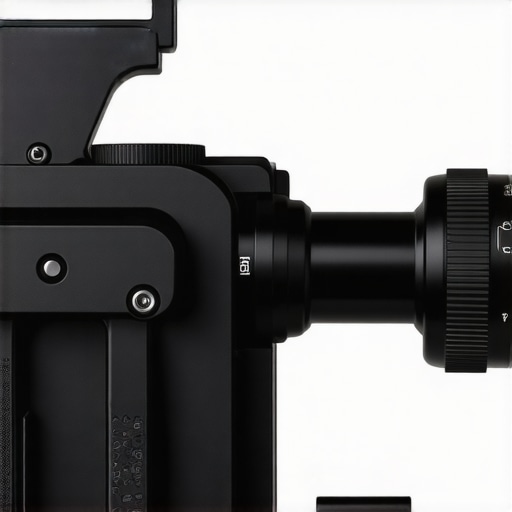
The Small Tool Frustration
However, it isn’t all sunshine and perfect threads. My biggest gripe with this specific model is the lack of an integrated magnetic tool. Higher-end cages usually hide a flat-head screwdriver or hex key in the bottom plate. This $50 version requires you to carry a separate Allen wrench in your pocket. If you lose that wrench on location, you are stuck with a camera permanently married to the cage until you get back to the studio. It is a minor cost-saving measure that translates into a genuine workflow headache for run-and-gun shooters. You will want to tether a tool to your camera strap just to be safe.
Swapping Batteries Without a Meltdown
One area where budget cages usually fail is port access. I have used rigs where I had to unscrew the entire base just to change a battery—a literal nightmare when you are mid-stream. This design features a generous cutout around the battery door. Even with the cage fully tightened, the door swings free with millimeters to spare. The same applies to the HDMI and USB-C ports on the side. You can plug in a dummy battery or a monitor cable without the metal frame putting pressure on the sensitive internal connectors. This level of precision is usually reserved for rigs twice this price, making it a standout choice for anyone doing long-form vertical content like podcasts or live shopping streams.
The Field Test: 12-Hour Days and Heavy Gimbals
I took this rig into a high-intensity commercial shoot for a streetwear brand where we filmed exclusively in vertical format. Over the course of a twelve-hour day, the cage moved from a handheld setup to a DJI RS 3 gimbal approximately fifty times. The real-world performance of a budget cage isn’t measured in a lab; it’s measured by whether your monitor arm stays put when you are running down a city street. While the cage held its shape, I noticed that the side NATO rail started to develop a slight pinging sound under the weight of a heavy monitor. It didn’t fail, but it reminded me that aluminum tolerances at this price point are slightly looser than what you would get from a machined steel alternative.
Does the cage block the signal for wireless audio?
A frequent concern on Reddit’s r/videography is whether wrapping your camera in metal kills your internal Wi-Fi or wireless mic signal. In my testing with the DJI Mic 2 and Rode Wireless PRO, there was zero detectable interference. However, if you mount your receiver directly against the largest flat surface of the cage, you might experience a small drop in range. The workaround is simple: use one of the many 1/4″-20 holes to offset the receiver by half an inch. The metal frame actually acts as a protective shield for the ports during accidental bumps, which is far more valuable than the negligible signal loss.
Where This Frame Finally Shows Its Price
Precision is where you start to see the $100 price difference. After four days of constant vibration on a car mount, the bottom mounting screw required a quarter-turn tightening. It was not dangerous, but it was enough to cause a tiny micro-shake in the footage. On a more expensive rig, the pins are usually deeper and use a harder alloy that bites into the plate better. If you are doing extreme action sports or mounting this to a motorcycle, you need to use Loctite or check your torque every hour. Do you agree with my experience regarding the screw loosening on budget frames? Let me know in the comments.
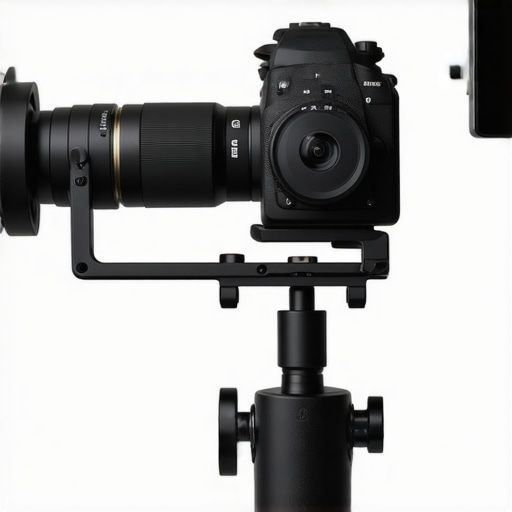
Can it handle the heat of 4K 60p recording?
Heat dissipation is an accidental benefit of this design. Because the aluminum is in close proximity to the camera chassis, it acts as a passive radiator. During a 45-minute continuous 4K 60p recording session in a 75-degree studio, my camera remained remarkably cool. The cage did not eliminate the overheating warning entirely on my R5, but it definitely bought me an extra ten minutes of runtime compared to shooting naked. The open-back design ensures that the rear LCD screen can still flip out and vent heat from the sensor—a critical design choice that cheaper full-wrap cages often get wrong. It is a rugged, heat-conductive skin that works harder than its price tag suggests.
SmallRig Sets the Standard for a Reason
When you put this $50 cage next to a SmallRig Black Mamba, the differences start in the details. SmallRig has mastered the “form-fitting” feel, where the cage almost disappears into the camera’s ergonomics. While our budget hero provides the same basic protection, the SmallRig equivalent usually includes that elusive magnetic tool at the bottom and a more refined grip texture. If you are a professional who spends eight hours a day with your hand wrapped around the frame, that extra $40 for the SmallRig name might save you from a cramped palm. However, for a stationary studio setup, the budget cage offers nearly identical stability for half the price.
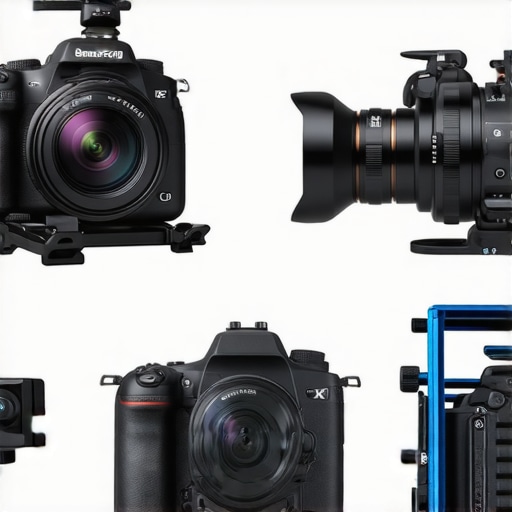
When Boutique Aesthetics Meet Professional Build Quality
Stepping up to a brand like Kondor Blue or Tilta changes the conversation entirely. These rigs aren’t just tools; they are engineered statements. Where the budget cage uses standard 6061 aluminum with decent tolerances, Kondor Blue often utilizes higher-grade alloys and features “safety pins” that provide a secondary lock to prevent any rotation. If you compare our $50 unit to a $200 Kondor Blue rig, you are paying for peace of mind. On high-vibration sets, like mounting a camera to a chase car, I wouldn’t trust the budget threads to stay tight. But for a vertical creator shooting in a controlled bedroom studio, the $150 price gap is hard to justify when both pieces of metal hold the camera exactly the same way.
Is it worth the upgrade?
The answer depends entirely on your environment. If you are a solo creator who rarely removes the camera from the cage, the $50 aluminum frame is more than enough. You get the integrated NATO rail—which often costs an extra $20 on premium brands—built right into the side. However, if you are a “run-and-gun” filmmaker who frequently swaps between gimbals, tripods, and shoulder rigs, the integrated tools and tighter manufacturing tolerances of a premium brand will prevent the “screw-loosening” issue I mentioned earlier. You can find current market rates for these premium alternatives on B&H Photo Video to see if the price gap fits your current production budget.
Choosing Your Best Path to Vertical Stability
Ultimately, this budget cage wins on pure utility per dollar. It outperforms generic L-brackets by a mile and gives you a professional mounting surface for monitors and mics that flimsy brackets simply can’t match. It lacks the “polish” of the big names, but it doesn’t lack the function. If you are just starting to take your vertical content seriously, save the $100 you would have spent on a name-brand cage and put it toward a better microphone or a key light. If you find yourself frustrated by the lack of a magnetic hex key in six months, then you’ll know you’ve outgrown the budget tier. Before you make a final decision, I recommend looking at my previous comparison of SmallRig accessories to see how they play with cheaper frames.
The Successes and Shortfalls
Every piece of budget gear comes with trade-offs, and this cage is no different. You get a surprisingly robust build that rivals much more expensive units, but you lose out on the quality-of-life features that pros often take for granted. Here is the breakdown of what to expect.
- Rock-Solid Stability: The aluminum wrap-around design prevents the camera from twisting, a huge upgrade over basic plates.
- Seamless Port Access: Unlike some cheap rigs, this one lets you swap batteries and cables without a struggle.
- Integrated NATO Rail: A huge value-add that usually costs extra on boutique brands.
- No Built-in Tools: You will need to carry your own hex key as there is no magnetic storage on the frame.
- Minor Screw Drift: Under heavy vibration, the main mounting screw can loosen slightly, requiring a quick retighten.
Is This Rig Right for Your Studio?
This frame is built for the vertical specialist who works in a controlled environment. If you are a solo creator filming talking-head videos or product reviews for TikTok, this is the perfect middle ground between a naked camera and a $200 professional setup. I recommend pairing it with this 14-dollar rubber pad to ensure your body never shifts during lens swaps. If you often find yourself filming at low angles, adding this 22-dollar NATO rail handle to the side of the cage makes for incredibly smooth tracking shots. However, if your work involves mounting cameras to vehicles, the looser tolerances might lead to micro-shakes.
[image_placeholder_5]
Budget King or Cheap Imitation?
The bottom line is simple: this $50 cage is a steal for 95% of creators. It offers professional-grade protection and mounting flexibility at a fraction of the market rate. While it is annoying that it lacks an integrated tool, you can easily supplement it by carrying this 11-dollar wrench in your gear bag. It is a functional, durable, and honest piece of equipment that doesn’t hide behind marketing jargon. If you want to stabilize your vertical shots without breaking the bank, this is a definitive buy. Check the latest price and see how it fits your current camera setup before your next shoot.