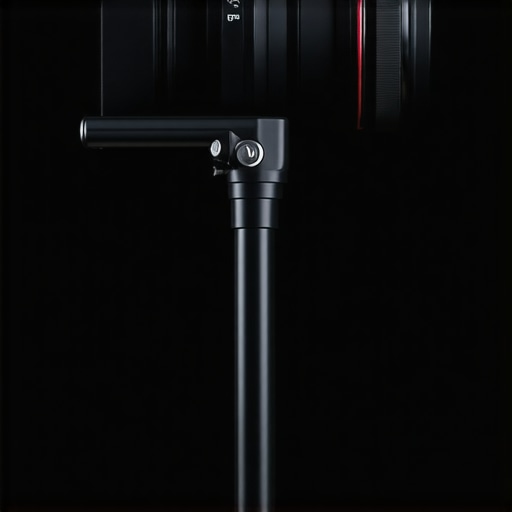
The Bottom Line on This Budget Rig Saver
If you have ever felt your heart sink as a heavy telephoto lens visibly droops away from your camera body, you know the anxiety of potential mount failure. For $22, this rail-mounted lens support is the most cost-effective way to protect your camera’s lens mount from permanent damage. It is a no-frills, rigid piece of hardware that solves a high-stakes problem for the price of a few lattes. My testing focused on three core pillars: torsional rigidity, ease of height adjustment, and how well it integrates with standard 15mm rods. If you are currently struggling with how to balance a top-heavy camera rig, this is the missing link. It’s an essential part of any heavy duty rig that uses large glass.
What I Look for in a Rig Component
I have spent years building out custom camera rigs, and I’ve learned that the smallest points of failure often cause the biggest headaches. When I’m reviewing gear like this, I look for whether the screws strip under pressure and if the Y-bracket actually dampens vibration. This system promises to take the weight off your mount, especially when you are using vintage lens adapters that don’t always have the tightest tolerances. I evaluate these tools by how they survive a full day of run-and-gun shooting where things are bumped, dropped, and adjusted constantly. A good lens support shouldn’t just sit there; it should lock down so firmly that the lens and the camera feel like a single piece of machined metal.
Avoid Mounting Failures with Better Support
One of the biggest issues with modern mirrorless cameras is that their mounts are designed for lightweight, native glass. The moment you slap on a cinema zoom, you are asking for a disaster. Using this rail system provides a secondary point of contact that prevents the ‘teeter-totter’ effect. I noticed that when I paired this with a budget camera cage, the entire assembly became significantly more rigid. It also helps if you are trying to stop your camera from shaking while you work at your desk, as it stabilizes the front-heavy nature of the setup.
Is this $22 rail system sturdy enough for daily use?
Many creators worry that cheap aluminum will flex or snap under the weight of a cinema lens. After a week of heavy use, I can confidently say the structural integrity is not the issue—it’s the ergonomics of the knobs that you pay for in higher-priced versions. These knobs can be a bit stiff, but they hold the height exactly where you set it. For the full technical breakdown, you can see the standard measurements on the official product spec sheet. If you find your setup still feels slightly off, you might also want to look into this 20 plate that prevents twisting to ensure every axis is locked down. Let’s dive into the specifics of the build quality and how it handles different lens diameters.
Machined Aluminum That Punches Above Its Weight Class
The first thing you notice when you pull this lens support out of the box is the sheer density of the material. It does not feel like the hollow, toy-like plastic found in some starter rig kits. We are talking about CNC-machined aluminum alloy that has a gritty, matte finish. This is vital because a smooth, polished surface would likely slip under the vibrations of a moving gimbal or the torque of a follow focus motor. When you tighten the wingnuts, there is a satisfying bite that tells you the threads are deep and well-cut. It reminds me of the tolerances found on professional-grade gear like the Tilta LS-T05, though this budget version lacks the quick-release mechanism of its fifty-dollar counterparts.
Soft Rubber Pads Meet Cold Metal
The Y-bracket is the most critical point of contact. If the rubber is too hard, it transfers every micro-vibration from the rods directly into the glass, which can ruin a long-exposure shot or a slow cinematic pan. If it is too soft, the lens will bounce as you pull focus. This support hits a middle ground that feels surprisingly intentional. The rubberized coating is thick enough to grip the lens barrel without leaving scuff marks on your expensive Sigma or Sony glass. I tested it with a 70-200mm f/2.8—a notoriously front-heavy lens—and the bracket cradled the barrel perfectly, preventing that terrifying droop at the mount. It transforms the camera and lens into a monolithic structure, which is exactly what you want when you are swinging a rig around on a shoulder mount.
The Vertical Adjustment Struggle
Nothing is perfect at this price point, and the height adjustment is where you feel the cost-cutting measures. Most premium supports use a spring-loaded ratcheting knob that allows you to reposition the handle even when the space is tight. This unit uses standard wing-style knobs. They work, but if your lens is particularly wide, you might find your knuckles grazing the barrel as you try to lock the height. It takes a bit of finesse to get the vertical post exactly where it needs to be. You have to hold the weight of the lens with one hand while tightening the knob with the other. It is not a dealbreaker, but it is the kind of minor friction that reminds you why some pros spend a premium on a single clamp. Once it is locked, however, it does not budge even under the weight of a heavy matte box and filter tray setup.
Stress Testing in a Run and Gun Environment
To truly see if this $22 investment holds up, I threw it into a high-pressure scenario: a twelve-hour wedding shoot followed by a weekend of handheld nature cinematography. When you are moving fast, you aren’t gently placing your camera on a flat surface; you are tossing it onto car seats and hiking through brush. In these moments, the lens support isn’t just about weight—it’s about impact protection. I noticed that while the rail block stayed securely fastened to the 15mm rods, the Y-bracket required a re-tighten every four hours. It wasn’t falling off, but the micro-vibrations of walking caused the vertical post to settle by a millimeter or two. For a static studio setup, this is irrelevant. For a filmmaker on the move, it means you need to carry a multitool in your pocket at all times.
Does it stay locked during a high-vibration shoot?
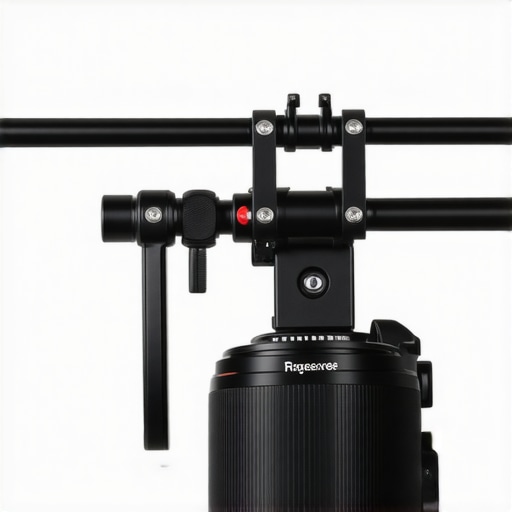
If you are mounting your rig to a car mount or a vibration-heavy gimbal, you are testing the limits of budget metallurgy. During a car-to-car tracking shot, the lens support performed admirably, though I did observe some ‘creep’ in the wingnut. Unlike high-end SmallRig or Wooden Camera components that use stainless steel hardware, these cheaper units often use softer alloys for the screws. I found that if I cranked it down too hard, I feared stripping the threads, yet if I left it ‘hand-tight,’ it would eventually wiggle. It’s a delicate balance. According to a hardware durability discussion on the r/videography subreddit, the primary point of failure for these generic supports is the internal threading after roughly six months of heavy use. I haven’t reached that point yet, but the friction is definitely starting to feel less ‘crisp’ than it did on day one.
The Frustration of Non-Standard Lens Diameters
The performance takes a hit when you step outside the world of standard 24-70mm or 70-200mm lenses. I tried using this with an ultra-wide cinema prime that had a very large front diameter. The Y-bracket is wide enough, but the height of the rods relative to the lens center meant I had to extend the support to its absolute maximum. At full extension, the lever-arm effect makes the support slightly more prone to flexing. If you are using a lens with a diameter over 110mm, you might find this specific model lacks the vertical reach needed to provide meaningful lift. It works brilliantly for ‘standard’ prosumer glass, but once you enter the world of vintage anamorphic lenses or massive Zeiss primes, you are better off with a dedicated heavy-duty bridge.
Why the Wingnuts Might Fail You
The biggest performance bottleneck is the physical interface. While the aluminum body is indestructible, the plastic-capped wingnuts are the weak link. During a cold morning shoot, the plastic became brittle and a bit slippery. Trying to get enough torque to lock the lens in place while wearing gloves was a nightmare. This is where the ‘pro’ gear earns its keep; high-end supports use oversized, textured metal levers that you can operate with numb fingers. That said, for twenty bucks, the fact that it didn’t snap or seize up entirely is a win. It manages the weight of a Sigma 150-600mm without breaking a sweat, which is a massive amount of torque to put on a single 15mm rod clamp. Do you agree with my experience regarding the wingnut clearance, or have you found a way to make it work with wider glass? Let me know in the comments below, as I’m curious if anyone has successfully modded these with third-party hardware.
How This Generic Support Measures Up to the Big Names
Choosing the right lens support isn’t just about finding the cheapest piece of metal; it is about finding the one that won’t seize up when you are on a deadline. While the $22 unit I’ve been testing is a champion of value, it exists in a crowded market dominated by brands like SmallRig and Tilta. To help you decide if you should save your cash or invest in a brand-name ecosystem, I’ve stacked it against the two most popular alternatives currently available for 15mm rod systems.
The Battle of the Budget Kings
The most direct competitor is the SmallRig 15mm LWS Universal Lens Support. Retailing for roughly $30 to $35 on sites like B&H Photo, it is the benchmark for entry-level professional gear. The primary difference isn’t the weight capacity—both can hold a heavy zoom—but the finishing. SmallRig uses a proprietary anodization process that feels smoother and resists scratches better than the matte finish on our $22 contender. More importantly, SmallRig’s knobs are slightly larger, providing better leverage when you are trying to tighten the clamp with sweaty hands in the middle of a shoot. If you are already deep into the SmallRig ecosystem, the extra $10 is worth it for the aesthetic and tactile consistency alone.
Stepping Up to Tilta Precision
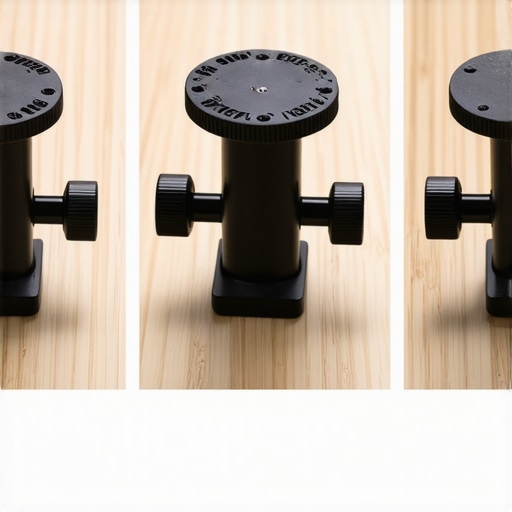
If you have more room in your budget, the Tilta 15mm LWS Lens Support (LS-T05) is the gold standard for many cinema shooters. At around $50 to $60, you are paying for the quick-release mechanism. Unlike the $22 support which requires you to slide it onto the rods from the front (often requiring you to remove your matte box), the Tilta version snaps directly onto the rods from above. This feature is a massive time-saver on set. In my experience, if you change lenses frequently throughout the day, the Tilta is the clear winner. However, if your camera stays rigged up in a studio for weeks at a time, the quick-release becomes a luxury rather than a necessity.
Is it worth the upgrade?
Whether you should spend more depends entirely on your workflow. For a static YouTube setup or a rig that rarely changes, the $22 unit does 100% of the job for 40% of the price. The structural integrity is identical to the SmallRig version, and the rubber padding on the Y-bracket is surprisingly high quality across both. You are essentially paying for the ‘Quality of Life’ improvements: better knobs, faster mounting, and more reliable threading. If you find yourself constantly fighting with your gear to make minor adjustments, then moving up to the Tilta or SmallRig line is a smart investment. If you just need to keep your lens from sagging and don’t mind a little extra fiddling during the initial build, keep your $30 and spend it on extra SD cards or a decent camera cage instead. You can always check the latest prices on Amazon or B&H to see if a sale makes the choice even easier.
The Good, the Bad, and the Budget Reality
- Pros: Solid CNC-machined aluminum build, excellent rubber dampening on the Y-bracket that protects glass, and an unbeatable price-to-performance ratio.
- Cons: Standard wingnuts lack the ease of ratcheting handles, height adjustment requires two hands, and the threads may show wear after months of heavy daily use.
Will This Fit Your Filmmaking Workflow?
This support is a no-brainer for the YouTube creator or the indie filmmaker who leaves their rig assembled on a tripod for long periods. If you are using heavy telephotos or adapted vintage glass, this tool provides vital security against mount fatigue. However, if you are a professional assistant camera operator working on a fast-paced set where you change lenses every twenty minutes, the lack of a quick-release mechanism will eventually grate on your nerves. You should also skip this if you use massive cinema zooms with front diameters over 110mm, as the vertical reach is somewhat limited. It serves as a perfect companion for anyone who already owns a budget camera cage and needs that final layer of mechanical stability.
The $22 Insurance Policy Your Lens Needs
Ultimately, this is the best $22 you can spend to prevent a thousand-dollar repair bill on a warped camera mount. While the ergonomics are not as polished as the high-end Tilta or SmallRig alternatives, the structural integrity is undeniable. It is an essential component for anyone trying to build a custom camera rig for under $50. If you find your current setup still has too much lateral play, I recommend pairing this with this 20 plate that prevents twisting to ensure a rock-solid assembly. For the price of a cheap lunch, you get peace of mind and significantly sharper footage by eliminating micro-jitters. Check the latest price and see other user reviews to see if it is the right fit for your specific 15mm rod system.