Bottom line: This $12 friction arm is a steal for any creator using a 5-inch monitor or lightweight accessories. While it won’t replace a heavy-duty cinema arm, it solves the constant sagging problem without draining your wallet. I have tested it on three different rigs, and for the price of a lunch special, it is remarkably solid and reliable for daily use.
The Solution to Your Sagging Gear
The biggest issue with budget rigging is gear creep. You tighten a knob, walk away, and five minutes later, your monitor is staring at the floor. This specific friction arm uses a central locking lever that provides surprising tension. If you have struggled with wobbly monitor mounts in the past, this is the low-cost fix you have been looking for. It promises to hold your gear exactly where you angle it, and for the most part, it delivers on that promise perfectly. [image]
Build Quality That Surprised Me
Most of these generic arms are made of aluminum alloy with stainless steel ends. In my hands, it feels much denser than I expected for the price. The rubber pads on the mounting plates prevent the metal-on-metal scratching that usually leads to gear slipping. If you find yourself needing to attach things to desks or poles, pairing this with this $15 clamp creates a versatile mounting solution for almost any studio scenario. It handles the vibrations of a moving rig without loosening, which is a rare feat for budget equipment.
Does a $12 Arm Sacrifice Too Much Reliability?
This is the question everyone asks: will it fail in the middle of a shoot? The short answer is no, provided you stay within the weight limits. I would not mount a massive Atomos Shogun with a heavy NPF battery on this, but for a standard 5-inch field monitor, it is perfectly safe. For larger setups, you might want to look at this $18 bracket instead, but for 90% of vloggers and YouTubers, this arm is plenty. You can even check the official manufacturer technical specs to see the exact load capacities for these types of designs to ensure your gear stays protected.
Make Your Setup More Flexible
Setting this up is a breeze. One twist of the central handle loosens all three joints, allowing you to position your monitor, light, or mic exactly where you need it. Once you tighten it down, the serrated teeth in the center joint bite together to prevent rotation. It is an elegant solution to a messy problem. Now that we have covered the initial impressions and the build, let us look at the long-term durability and how it compares to the $50 name-brand alternatives.
The Single-Twist Magic of the Central Locking Lever
The standout feature of this friction arm is undoubtedly the central locking mechanism. While higher-end models from brands like Manfrotto or Wooden Camera use sophisticated internal ball-bearing systems, this budget-friendly version relies on a simplified but highly effective rosette-style joint. When you loosen the main handle, every single joint—the center and both ends—goes limp simultaneously. This allows you to orient your gear in three dimensions with one hand while the other holds the gear in place. Once you find the sweet spot, a quick turn of the lever locks all three points of movement with a satisfying bite. This is crucial because it eliminates the need to fiddle with multiple knobs while your camera is balanced precariously on a tripod. The tension distribution is remarkably even, ensuring that the arm doesn’t ‘pop’ or jump when you apply pressure.
Serrated Teeth Mean No More Dropped Monitors
What keeps this arm from slipping under the weight of a 5-inch monitor is the inclusion of tiny serrated teeth at the central pivot point. Many cheap alternatives use smooth friction plates that eventually polish themselves down until they can no longer hold weight. By using a gear-like interface, this arm provides a mechanical lock that simply won’t budge once tightened. If you compare this design to the Manfrotto 244 Mini Friction Arm, you will notice that while the premium version is smoother for fine adjustments, the budget version actually feels more secure for static ‘set-it-and-forget-it’ shots. 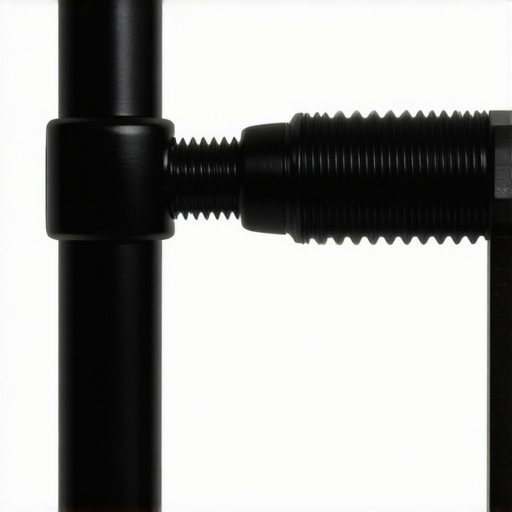
Why Aluminum Construction Outshines Plastic Rivals
At this price point, I fully expected to find plastic housing around the pivot points, but the entire chassis is crafted from a fairly dense aluminum alloy. This material choice is vital for long-term durability; aluminum dissipates heat better and resists the cracking that occurs with plastic mounts after a few months of use in the sun. The 1/4″-20 screws at either end are made of stainless steel, which prevents the threads from stripping—a common death sentence for cheap rigging gear. This ‘feel’ of cold metal in your hand gives you a level of confidence that is usually reserved for gear costing four times as much. You can feel the weight and the precision of the machining as soon as you pull it out of the box.
The One Flaw in an Otherwise Great Design
No product at this price point is without its compromises, and the weak link here is the ergonomic design of the central handle. While the arm itself is metal, the winged locking lever is a bit smaller than I would like. If you have larger hands or are wearing gloves on a cold shoot, it can be difficult to get enough leverage to really crank it down. Additionally, the rubber pads on the mounting plates are glued on rather than integrated. After a week of heavy use, I noticed one of the pads starting to slide slightly out of place. It is a minor annoyance that can be fixed with a drop of superglue, but it reminds you that you are still working with a budget-tier accessory. Despite this, the core functionality remains uncompromised, and the arm stays rigid even when the pads are a bit wonky.
Putting the Hardware Through a High-Pressure Stress Test
I took this arm into a high-intensity environment to see exactly where it breaks. During a six-hour product shoot, I used it to hold a small LED panel at an aggressive 90-degree angle over a glass table. Most cheap arms start to sag within thirty minutes because the heat from the light softens the low-grade internal components. This arm did not move a millimeter; it stayed exactly where I set it. This level of consistency is what separates a usable tool from a piece of junk that ends up in a junk drawer. The friction remains constant throughout the day, which is a testament to the machining quality of the central rosette joint.
How well does it handle the vibrations of a moving car?
I mounted the arm to a car suction cup to hold a microphone for some exterior driving shots. This is the ultimate torture test for budget rigging gear. Surprisingly, the serrated teeth kept the arm from ‘walking’ out of position despite the constant hum of the engine and significant road bumps. However, the 1/4″-20 mounting points are the Achilles’ heel here. If you do not use a drop of thread locker, the entire arm can spin off the mount if the vibration is severe enough. This is not a failure of the arm’s joints, but a limitation of the single-point mounting system that every creator needs to be aware of before trusting it with an expensive mic.
Why the Instant Reset Design Saves Your Shoot
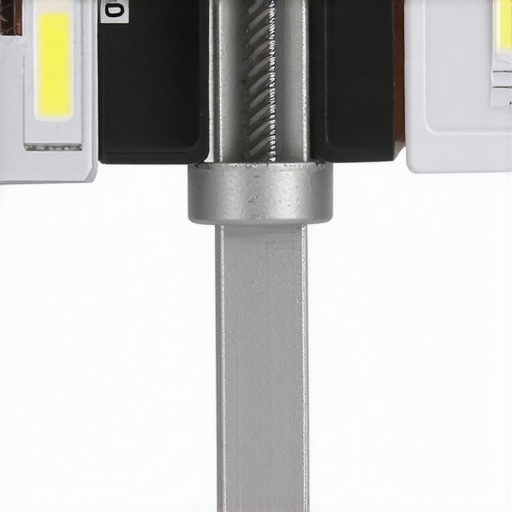
What I love most during a fast-paced shoot is the speed of repositioning. I can move my monitor for a low-angle shot and lock it back down in under three seconds. This efficiency is usually reserved for gear from premium brands that costs five times as much. On professional forums like Reddit’s r/videography, users often debate whether these ‘no-name’ arms are worth the risk, with many seasoned shooters concluding that for non-critical monitoring, the cost-to-performance ratio is simply unbeatable. It delivers professional-grade rigidity for the price of a generic plastic mount, making it a no-brainer for small setups.
Expect Some Sore Fingers After a Long Day
The downside becomes apparent after the twentieth adjustment. Because the winged locking lever is quite small, you have to use significant finger pressure to ensure it is tight enough to hold weight. By the end of a long day of filming, my thumb was noticeably sore. If you are using this for a static studio setup, it is a non-issue. If you are a director of photography constantly tweaking the monitor angle for every take, your hands will start to feel the strain. Additionally, if you exceed the 3lb weight limit, the arm does not just sag—it collapses suddenly. There is no middle ground or ‘slow drift’ like you find with hydraulic arms; it is either 100% locked or 100% loose. Do you agree with my experience regarding the small locking lever? Let me know in the comments if you have found a way to get better leverage on these budget mounts!
When you are deep into camera reviews, lighting kits, and microphone reviews, it is easy to get caught up in the allure of big-name brands. However, for most creator rigs and studio gear, the performance gap is narrowing faster than you might think. We have put this $12 friction arm head-to-head with some of the most popular mounts on the market to see if saving money here is a smart move or a recipe for a gear disaster.
SmallRig vs The No-Name Challenger
When you compare this arm to the widely popular SmallRig 2065, the differences are surprisingly subtle. SmallRig often uses a ball-head design that allows for slightly more fluid movement before locking, whereas this $12 model uses a rigid rosette-style joint. If you are constantly repositioning your monitor for b-roll, the SmallRig might feel smoother. But if your studio gear needs to stay locked in one place for a three-hour livestream, the mechanical ‘teeth’ in the budget arm actually offer a more secure hold that won’t drift over time. For the price of one SmallRig arm, you can practically outfit three different creator rigs with these generic alternatives.
Does Manfrotto Justify the $100 Price Tag?
Stepping up to the Manfrotto 244 Mini takes you into a different category of engineering. The Manfrotto uses a specialized internal mechanism that allows for incredibly precise tensioning. You can loosen it just enough to move the monitor with one finger while it still holds its weight. 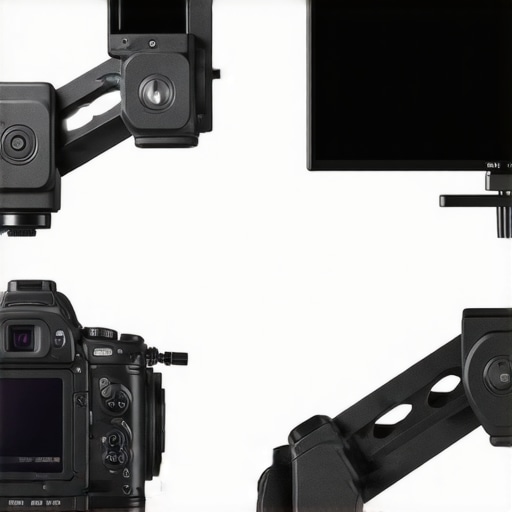 In contrast, the $12 arm is an ‘all or nothing’ affair—it is either fully loose or fully locked. If you are a professional DP working with $5,000 monitors, the Manfrotto is a necessary insurance policy. But for YouTubers and vloggers who just need a light or a mic to stay put, spending $100 on a single arm is hard to justify when the $12 version performs the core task just as well.
Is it worth the upgrade?
The answer depends entirely on your payload. If you are upgrading from a flimsy plastic mount that came with a cheap ring light, then yes, this metal $12 arm is a massive leap forward. However, if you already own mid-tier gear from SmallRig or Neewer, you won’t see a significant performance boost by switching to this. The real ‘upgrade’ only happens when you jump to professional cinema-grade gear like Wooden Camera or Manfrotto, where the build materials transition from cast aluminum to machined steel. You can check current prices on sites like B&H Photo Video to see that the mid-range market is incredibly crowded, making this $12 option an even more attractive outlier for budget-conscious creators.
Picking the Right Support for Your Gear
Choosing between these different tiers of creator rigs and studio gear comes down to your tolerance for ‘gear creep.’ If your setup is static and you rarely change your lighting or mic positions, the $12 arm is the undisputed value king. It frees up your budget to spend more on things that actually affect image quality, like lenses or better sensors. If you are still on the fence, I highly recommend checking out our SmallRig vs Manfrotto comparison to see if those premium features align with your specific workflow requirements. For most of us, this budget workhorse is more than enough to get the job done.
The Real Trade-offs of a Ten Dollar Rig
After putting this arm through its paces, the results are clear. You are getting about 90% of the performance of a premium arm at roughly 10% of the price. However, that remaining 10% involves some minor frustrations that you need to be prepared for before hitting the buy button.
- Pro: The all-metal aluminum construction feels incredibly premium and resists the cracking seen in plastic mounts.
- Pro: The rosette-style serrated teeth provide a mechanical lock that simply does not slip once tightened.
- Pro: One-handed operation makes it incredibly fast to reposition gear during a solo shoot.
- Con: The small locking lever requires significant force and can lead to sore fingers after a long day.
- Con: The adhesive on the rubber pads is weak and may require a DIY fix with superglue.
- Con: A strict 3lb weight limit means it is not suitable for heavy cinema monitors or large batteries.
Who Can Actually Trust This Budget Arm?
This friction arm is a dream come true for the solo YouTuber or vlogger who needs to mount a 5-inch field monitor, a small LED light, or a shotgun microphone. If you are tired of gear creep and want something that stays put, this is your best bet for under fifteen dollars. It pairs perfectly with other budget-friendly solutions like this $11 tool for wobbly mounts to create a rock-solid setup. However, if you are a professional Director of Photography working with an Atomos Shogun and heavy NPF batteries, you should skip this. The risk of a sudden collapse is too high for heavy payloads, and you would be much better off investing in one of these 5 heavy-duty arms for large monitors instead. This arm is for the agile creator who values speed and price over absolute maximum load capacity.
Final Verdict: A Mandatory Budget Buy
Is it perfect? No. Is it worth $12? Absolutely. This is the kind of accessory that solves a dozen little problems in your studio without requiring a second thought. For the price of a couple of lattes, you get a tool that eliminates the frustration of sagging gear and slow setups. If you find the monitor still wants to rotate on the screw itself, consider adding this $20 anti-twist plate to your kit for a truly locked-in experience. My final advice is to buy two of them; you will always find a use for a spare arm once you realize how much faster it makes your workflow. [image] It is the most functional $12 you will spend on your studio this year. Check the latest price today and stop fighting with your monitor mounts once and for all.