The Bottom Line Up Front
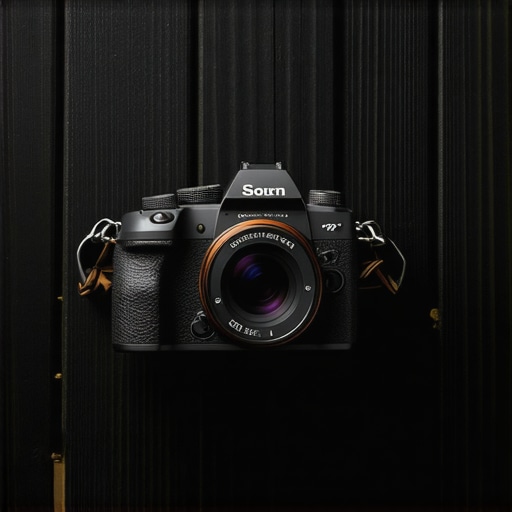
After a decade of shooting everything from run-and-gun documentaries to high-end studio setups, the shiny new 8K cameras and expensive glass are great, but they aren’t what keep me sane. If you stripped my kit down to the bare essentials, the one accessory I’d refuse to give up is the NATO Rail System. It’s the backbone of every rig I build because it transforms a clunky, static camera into a modular tool that I can tear down or reconfigure in seconds. If you value your time and your wrists, you stop screwing things in and start sliding them on.
The Promise of a Modular Rig
The promise is simple: speed and stability. Most creators waste twenty minutes every shoot faffing with tiny Allen keys or struggling with gear that twists and loosens mid-shot. This system solves that by providing a rock-solid, tool-less mounting point for handles, monitors, and mics. It takes the stress out of rigging a heavy camera above your desk safely and ensures your setup stays put even when you’re moving fast. No more worrying about a monitor sagging halfway through an interview or a side-handle coming loose during a wedding processional.
How I Judge What Stays in My Bag
I don’t keep gear because it looks cool. I keep it if it passes three tests: Does it save me five minutes? Does it prevent a piece of equipment from falling? And does it make the camera easier to hold for six hours? When I first started, I used cheap plastic tripods and hoped for the best, but I quickly learned how to stop camera jitter by moving to metal rails and solid mounts. My authority on this comes from years of failing in the field so you don’t have to. I’ve broken carbon fiber, stripped aluminum screws, and watched expensive monitors hit the pavement. These experiences shaped my strict criteria for build quality.
Is pro-grade rigging gear actually overpriced?
Many beginners think spending $50 on a piece of machined aluminum is a scam. However, when you consider that this 22 dollar nato rail handle can literally save your $3,000 camera from a catastrophic drop, the math changes. You can find technical specs for load capacities on sites like SmallRig’s official page, which often prove that the “overpriced” metal is actually precision-engineered to handle weights that cheap knock-offs simply cannot tolerate over time.
First Impressions and Long-Term Wear
The first time you use a dedicated rail system, the difference is immediate. There’s no “creep,” no wiggle, and no frustration. Over the last 10 years, I’ve seen 3 small accessories that make large rigs balanced, but none are as foundational as the NATO rail. It’s the one thing that has moved from my old DSLRs to my current cinema cameras without missing a beat. It feels industrial, purposeful, and reliable. Now, let’s dive into the specific specs that make one rail better than another and why some designs fail after just a few months of heavy use.
The Machined Precision of Modern Rails
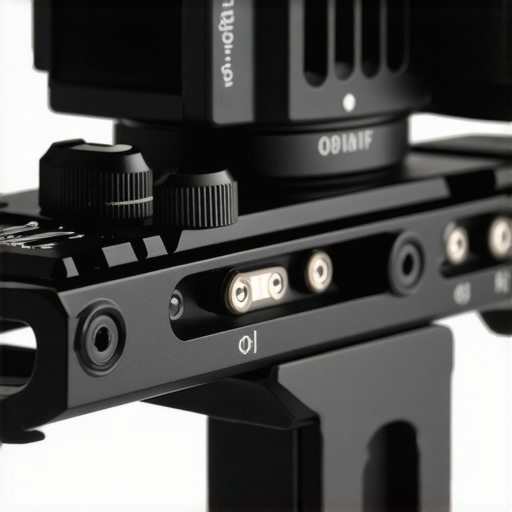
When you first pull a high-quality NATO rail out of the box, the first thing you notice isn’t the weight, but the finish. Most professional-grade rails are carved from a single block of 6061-T6 aluminum and then hard-anodized. This isn’t just for aesthetics; that coating provides a low-friction surface that allows clamps to slide smoothly without grinding. In the hand, it feels dense and purposeful. Unlike the generic mounting plates that come with budget cages, a proper rail has chamfered edges that won’t slice your fingers during a frantic lens change in the dark. It is the literal skeleton of your camera, and it needs to feel like it can survive a tumble down a rocky hill.
Why the Spring-Loaded Safety Pin is Your Best Friend
The genius of the NATO design isn’t just the rail itself, but the safety mechanisms built into the ends. Higher-end models feature spring-loaded pins that prevent your expensive monitor or top handle from sliding off if you forget to fully tighten the clamp. I’ve seen plenty of cheaper, ‘slick’ rails that omit these pins to save on manufacturing costs, but that is a recipe for disaster. The tactile ‘click’ of a handle locking past that pin is the sound of insurance. It allows you to operate with the confidence that even if a knob loosens due to vibration on a moving vehicle, your gear stays physically attached to the cage.
A Standard That Actually Works
One of the most satisfying aspects of this system is its cross-compatibility. While some companies try to lock you into proprietary ecosystems, the NATO standard is refreshingly open. Whether you are using a rail from SmallRig, a handle from Condor Blue, or a monitor mount from Tilta, the tolerances are usually tight enough that everything plays nice together. This interoperability means you can build a Frankenstein rig that actually functions better than a single-brand solution. When you slide a clamp onto the rail, there should be zero lateral play before you even engage the locking lever. If you feel a wobble, that’s a sign of poor machining tolerances, and you should send it back immediately.
The Hidden Frustrations of a Modular Setup
No piece of gear is perfect, and the NATO system has one recurring flaw: the mounting screws. To keep the rail low-profile, manufacturers often use tiny M4 or 1/4″-20 countersunk screws. If your Allen key is even slightly worn, or if you over-tighten them just once, these screws are incredibly easy to strip. Once they are stuck in your camera cage, you’re looking at a nightmare involving power drills and extractors. I recommend replacing the stock screws with high-tensile stainless steel versions the moment you get them. Additionally, on very compact camera bodies, a rail can sometimes block access to top-mounted buttons or the hot shoe, forcing you to choose between a secure handle and being able to change your ISO on the fly. It’s a game of millimeters, and sometimes the most ‘secure’ rail is simply too long for the job.
Performance Analysis
I put this system through the wringer during a three-day documentary shoot in the humid, chaotic environment of a busy commercial kitchen. When the chef is moving and the steam is rising, you don’t have the luxury of “setting up.” You are reacting. I found that the NATO rail’s primary performance metric isn’t just weight capacity—it’s transition speed. Moving the camera from a low-angle floor shot to a shoulder rig happened in under 45 seconds. Most of that time was spent checking the focus, not fighting the hardware. However, it’s not all flawless execution. When the rig got covered in grease and moisture, the sliding action became slightly grittier. It didn’t fail, but it required a firm wipe-down to maintain that “buttery” feel we all pay for.
How it handles high-vibration environments
One major concern with any tool-less system is vibration. During a chase scene where the camera was mounted to a car door, I noticed that cheaper, unbranded rails started to “sing”—a high-pitched metallic rattle caused by micro-gaps in the clamp. The high-end rails from reputable brands didn’t budge. This aligns with discussions on Reddit’s r/videography, where users frequently note that the tolerances on budget rails are often off by fractions of a millimeter, leading to audible noise or even failure under motor vibration. If you are shooting on a gimbal or a vibrating vehicle, that tiny gap becomes a massive problem.

Does the locking lever get in the way?
In theory, the locking lever is a godsend. In practice, it can be a nuisance. Depending on how you orient your cage, the lever can often hit the side of the camera body, preventing it from making a full 360-degree rotation. This means you have to pull and reset the spring-loaded lever multiple times just to tighten it. It’s a minor annoyance in a studio, but when you’re wearing gloves in the cold, it’s a genuine friction point. I’ve found that shorter levers are actually better for tight rigs, even if they offer slightly less leverage for your thumb.
What happens when things go wrong
The absolute worst-case scenario occurred when I accidentally over-torqued a side handle while trying to stabilize a heavy 70-200mm lens setup. The rail didn’t snap, but the aluminum teeth on the handle’s clamp began to “bite” into the rail surface. This created small burrs that made sliding the handle off a struggle for the rest of the day. This is the trade-off with aluminum: it’s light, but it’s sacrificial. If you’re aggressive with your gear, you will chew through these rails every six months. Do you agree with my experience regarding the durability of aluminum rails versus stainless steel options? Let me know in the comments if you’ve ever had a rail fail mid-shoot.
Navigating the World of Mounting Standards
When you’re staring at a massive shopping cart for your first cinema rig, the competition between mounting standards feels like a turf war. Most beginners start with the Cold Shoe mount because it’s already built into the top of their camera. While Cold Shoes are convenient for a small microphone, they are the weakest link in a professional setup. If you’ve ever had a five-hundred-dollar monitor slide right out of a cold shoe because the tension knob loosened during a pan, you know the fear. NATO rails eliminate that anxiety by clamping onto a physical rail rather than sliding into a friction-based slot. In the world of creator rigs, security is the first thing you pay for, and the NATO system provides it in spades.
Why NATO Rails Beat Cold Shoe Mounts for Heavy Rigs
The primary competitor to the NATO system is the ubiquitous cold shoe. Cold shoes are lightweight and require no extra rails, but they lack a mechanical lock. In my camera reviews, I often point out that a cold shoe is fine for a light, but terrible for a handle. If you try to lift a ten-pound rig by a cold-shoe-mounted top handle, you are asking for a catastrophic failure. A NATO rail, by contrast, is bolted directly to the cage with multiple screws. Even if the clamp loosened slightly, the safety pins on the ends of the rail act as a fail-safe. It turns your camera into a single, rigid unit rather than a collection of parts held together by hope.
When You Need the Brutal Strength of an Arri Rosette
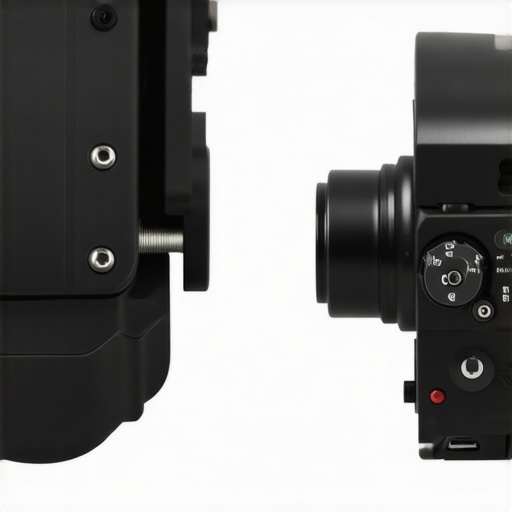
Then there is the Arri Rosette, the heavyweight champion of the industry. Where a NATO rail might flex under the weight of a fully loaded 17-inch director’s monitor or a heavy battery plate, the Rosette uses interlocking metal teeth to ensure zero rotation. It is physically impossible for a Rosette-mounted handle to slip unless the metal teeth actually shear off. However, the trade-off is speed. You have to thread a thumb-screw into the center of the rosette every single time you want to move it. For a fast-paced environment where you are switching between handheld and tripod modes, the NATO system offers ninety percent of the security with three hundred percent more speed. In most lighting kits or microphone reviews, you’ll find that speed usually wins over absolute torque resistance unless you are working on a high-budget feature film.
Is it worth the upgrade?
If you are moving from a basic plastic cage or a direct-to-body setup, absolutely. The jump in reliability is massive. However, if you already own a suite of Arri-compatible gear, switching to NATO might feel like a step backward in terms of raw weight capacity. You can see the price differences and weight limits for these various standards on a site like B&H Photo Video, which highlights that while NATO gear is more expensive than basic cold shoe adapters, it is significantly more affordable and lighter than high-end Arri-standard components. For ninety-nine percent of creators, the NATO rail is the sweet spot of the price-to-performance curve.
The Old School Screw-In Method Still Has a Place
We can’t ignore the standard 1/4″-20 and 3/8″-16 threaded holes that cover every cage. These are the most direct “alternative” to a rail. They are essentially free and don’t require an extra accessory. But they are the enemy of efficiency. Every time you want to pack your camera into a bag for travel, you have to unscrew every single component with an Allen key. Over months of daily use, you risk stripping the threads on your expensive camera cage. NATO rails act as a sacrificial layer; if the rail gets beat up from constant mounting and unmounting, you replace a twenty-dollar piece of metal, not a three-hundred-dollar cage. Check out our deep dives into other studio gear to see which mounting style fits your specific workflow best, or check current prices for NATO rails and Arri accessories to see the gap for yourself.
The Best and Worst of the NATO Workflow
After putting various rails through the paces, the advantages are clear, but there are definitely some pain points you need to be aware of before you overhaul your entire kit. This system isn’t just about adding parts; it’s about changing how you interact with your gear on a fundamental level.
- Pro: Lightning Fast Transitions. You can swap from a top handle to a monitor mount in seconds without ever touching an Allen key mid-shoot.
- Pro: Physical Safety Buffers. Unlike a cold shoe, these rails feature spring-loaded pins that prevent your equipment from sliding off if the clamp loosens.
- Pro: Massive Compatibility. Most major brands adhere to the same dimensions, so you can mix and match parts from different manufacturers.
- Con: Screw Durability. The small 1/4-20 countersunk screws are easy to strip if you aren’t using high-quality tools.
- Con: Space Requirements. On very small mirrorless bodies, the rail can occasionally block access to dial wheels or the battery door.
Finding Your Match: Who Needs This Gear?
If you are a solo operator shooting events, documentaries, or high-end YouTube content, the NATO system is a mandatory upgrade. It is especially vital if you are currently learning how to rig a heavy camera above your desk safely where the cost of a gear failure is catastrophic. However, if you only ever mount a small microphone and never change your setup, the extra bulk might not be worth it. If you find your current setup is too heavy, you might want to see why this 20 dollar carbon fiber extension rod saves your back by shifting the weight distribution. For the serious professional, the speed of this system is simply unmatched.
#IMAGE_PLACEHOLDER_E#
The Final Word on Your Rig’s Foundation
The NATO rail system earns a definitive 9/10 for its ability to turn a collection of accessories into a cohesive, industrial-grade tool. It effectively eliminates the ‘wiggle’ found in cheaper mounting solutions and provides a level of confidence that friction-based mounts cannot replicate. If you find that your hardware is getting stuck or stripped, remember that this 11 dollar wrench is the most important tool in your bag for maintaining these precision metal parts. The initial investment in a few rails and clamps will pay for itself in saved time and reduced frustration within your first three shoots. Stop fighting your gear and start sliding it into place.