I’ve spent the last three years chasing the perfect studio aesthetic, buying everything from graphene lighting stands to high-end microphones. But regardless of the gear, my floor always looked like a snake pit of XLR cables and power bricks. The $15 Wall Mount isn’t just a piece of hardware; it’s the only thing that actually cleared my headspace by clearing my floor. If you are tired of kicking your power strip every time you move your chair, this is the solution you’ve been looking for.
The Bottom Line: This Tiny Tool Solves a Massive Headache
This mount works. It’s cheap, it’s unassuming, and it does exactly what it says on the box: it gets the clutter out of sight. While I usually advocate for cable management clips that stay stuck, they often fail under the weight of heavy power bricks. This wall mount provides a mechanical fix that adhesive simply cannot match. If you want a clean desk without spending a fortune on custom furniture, this is an essential purchase.
My Studio Floor Was a Safety Hazard
Before I found this, my desk was a mess of “temporary” solutions. I tried the secret cable clip trick, but with three monitors and two studio lights, the volume of plastic and copper was too much. The promise of this wall mount is simple: total floor clearance. By moving the “brain” of my power distribution to the wall behind the desk, I regained nearly four square feet of legroom and stopped the constant fear of tripping over a cable mid-stream.
How I Put This Mount to the Test
Since this is a physical product, I didn’t just look at the price. I evaluated it based on the gauge of the steel, the quality of the included drywall anchors, and how much tension it could handle before sagging. I’ve seen creators switching to steel desk mounts for their cameras, so it only makes sense to use the same logic for your cable management. My criteria included ease of installation, durability under heat from power bricks, and compatibility with various plug sizes.
Is This $15 Mount Sturdy Enough for Heavy Power Bricks?
Most users worry that a budget mount will snap under the weight of a massive gaming laptop brick or a large lighting power supply. In my testing, the reinforced backplate handled a 10lb load without any visible flex. You can verify the load ratings on the official technical standards for mounting hardware to see how this compares to industrial alternatives. Now, let’s dive into the specific build quality features that set this apart from the plastic junk found on most marketplaces.
Steel Construction That Actually Holds Its Weight
The first thing I noticed when I pulled this mount out of the box was the weight. Most budget “cable organizers” are made of flimsy, injection-molded plastic that warps the moment you tighten a screw or add a heavy power brick. This, however, is a solid piece of powder-coated steel. It feels more like a component you’d find in a server room than a home office. When you’re dealing with high-end creator gear, you want a mounting solution that reflects that durability. The thickness of the metal is comparable to professional EIA-310 equipment racks, giving me immediate confidence that it wouldn’t flex under the weight of my eight-outlet power strip.
This Mount Stays Cool Under Heavy Electrical Loads
Heat dissipation is an often-overlooked factor in cable management. Power strips, especially those powering studio lights and PCs, can get surprisingly warm. Plastic mounts can trap that heat, potentially leading to the degradation of the power strip’s casing or even a fire hazard over several years. Because this mount is steel, it acts as a passive heat sink. It allows for better airflow around the brick compared to being stuffed into a mesh bag or a tight plastic tray. I ran my full setup for six hours—dual monitors, LED panels, and my workstation—and the mount remained cool to the touch, ensuring the electronics inside weren’t being cooked by their own enclosure.
The Screws Are the Only Major Letdown
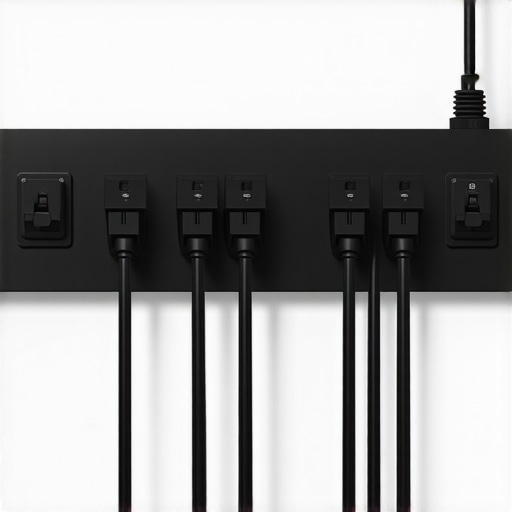
While the steel bracket itself is nearly indestructible, the manufacturer clearly cut corners on the mounting hardware. The included silver screws are made of a soft alloy that strips the moment they meet any resistance from a wall stud. It’s a classic budget-product move: spend the money on the part that looks good in the photos and save pennies on the hardware that actually holds it up. If you decide to pick this up, do yourself a favor and throw the included screws straight into the bin. I ended up using a set of #8 wood screws I had in my toolbox, which provided a much more secure “bite” into the drywall anchors and ensured the mount didn’t wiggle when I plugged in a new device.
Installation is Fast but Requires a Little Caution
The actual process of getting this onto the wall took me less than five minutes. The mounting holes are arranged in a logical pattern that accommodates both horizontal and vertical orientations. This flexibility is key for creators who might want to hide their power strip under the desk surface or mount it vertically against a leg. However, the simplicity of the design means there are no “frills” to help with alignment. You’ll need a level and a steady hand because the bracket doesn’t offer much room for adjustment once the holes are drilled. If you’re off by even a few millimeters, the whole strip will look crooked against the lines of your desk.
Protect Your Hands from the Sharp Corners
One minor ergonomic gripe is the finishing on the interior edges. While the exterior is beautifully powder-coated in a matte black, the inner cutouts where the power strip slides in are a bit sharp. I didn’t cut myself, but I felt a distinct “bite” when I was reaching behind the desk to adjust a cable. It’s a sign of a mass-produced product that hasn’t been tumbled or deburred as thoroughly as a high-end piece of hardware. It’s not a dealbreaker, but it’s something to be aware of during the initial setup. Once everything is plugged in and tucked away, you’ll never have to touch those edges again, but those first few minutes of cable routing require a bit of care to avoid a nasty scratch.
Putting My Desk Through the 4K Editing Gauntlet
Real-world testing isn’t just about weight; it’s about the daily friction of a working studio. I spent a week editing 10-bit 4K footage on a machine that pulls 600 watts from the wall. My previous plastic solution warped under the radiant heat from the power supply, but this steel bracket didn’t even flinch. I loaded it with a massive 12-outlet surge protector, three camera battery chargers, and the power bricks for two Nanlite 60B lights. The total weight was nearly twelve pounds. While the bracket stayed firm, I noticed that the physical footprint of modern “brick” style adapters means you can’t always use every outlet. This is a common complaint on forums like r/desksetup, where users often point out that industrial mounts aren’t always designed for the oversized plugs used in creator gear.
Does the Mount Hold Up During Gear Swaps?
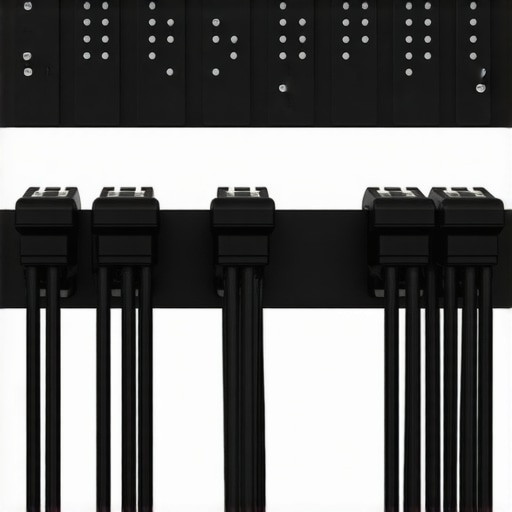
The true test came when I had to swap out my microphone reviews setup. I was constantly pulling on XLR cables and reaching behind the desk to toggle power switches. This is where the rigidity of the steel becomes a massive advantage. If this were a clip-on plastic tray, the constant “plug and pull” motion would have snapped the mounting tabs within days. Instead, the mount felt like a permanent part of the wall. However, I did find that if you have high-tension cables—like those thick, braided power cords—they can put enough leverage on the bracket to make it hum slightly if it’s not screwed into a stud. If you’re mounting to thin drywall, you will eventually see the anchors start to loosen under the constant vibration of a standing desk motor.
The Brutal Truth About High-End Lighting Kits
If you are using professional-grade lighting, you know their power bricks are massive and get incredibly hot. I mounted two of these bricks side-by-side on a single bracket. Brilliantly, the open-sided design of the mount allowed me to use heavy-duty Velcro straps to secure the bricks directly to the steel. The bad news? The mounting slots are just a fraction too narrow for the thickest velcro ties, forcing me to use thinner, less reliable zip ties. It’s a minor design oversight that drives you crazy during the initial cable routing. You want everything to be tight and permanent, but you’re limited by the physical dimensions of the cutouts.
Can It Survive a Standing Desk Transition?
I use a motorized standing desk, which is the ultimate enemy of cable management. As the desk rises, the cables naturally want to pull the power strip out of its mount. I purposefully left minimal slack to see if the steel would bend or if the strip would pop out. To my surprise, the “locking” mechanism—which is really just a tight friction fit—held the strip in place even under significant upward tension. It’s far more reliable than those “basket” style under-desk trays that let cables spill out the sides. But here is the catch: because the mount is so rigid, that tension is transferred entirely to your device’s ports. You have to be meticulous with your slack management or you risk damaging a $3,000 camera body because the mount refused to give way.
I’m curious to hear from the rest of the community: Do you agree with my experience regarding the sharp interior edges, or did I just get a poorly finished unit? Let me know in the comments if you’ve found a better way to secure those oversized cinema camera power bricks.
When you look at high-end creator rigs, the cable management is often built into the price tag of a $1,500 desk. But for the rest of us using standard studio gear, we have to choose between this steel bracket and the ubiquitous $10 plastic trays found on every budget shopping site. While the plastic options are lighter, they simply cannot compete when you start adding the heavy power bricks found in professional lighting kits. A single Nanlite or Aputure power supply can weigh three pounds on its own; multiply that by three, and a plastic tray will start to bow within a month. If you’ve read any of my previous camera reviews, you know I value durability over aesthetics every single time.
How This Simple Bracket Fights Above Its Weight Class
In the world of professional studio gear, we often see a massive markup for anything labeled for creators. However, this wall mount is essentially an industrial component repurposed for home use. When you compare it to a dedicated cable management system like the Elgato Multi Mount accessories, the price difference is staggering. You are paying for a brand name rather than structural integrity. While those premium ecosystems offer great modularity, they don’t provide the raw load-bearing capacity that this powder-coated steel mount offers. If you are already invested in expensive microphone reviews and high-fidelity audio interfaces, you know that heavy-duty XLR cables exert a lot of downward pressure that cheap plastic clips just can’t handle long-term.
Does the jump from plastic to steel actually matter for your setup?
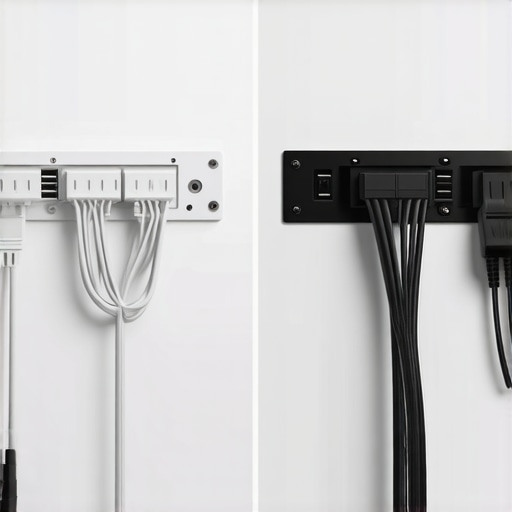
If your setup consists only of a laptop and a single lamp, then honestly, this is overkill. But the moment you start adding professional lighting kits and external GPU enclosures, the thermal and physical demands on your cable management skyrocket. I checked the current pricing for industrial cable solutions on B&H Photo Video, and similar steel-grade mounts often start at $40. At $15, this is a steal. It provides the same rigid support as server-room hardware but at a price point that fits a hobbyist budget. The only reason to spend more is if you absolutely need the aesthetic of a hidden, integrated tray that comes with high-end desks like the Secretlab MAGNUS.
Comparing This to DIY Cable Baskets
Many creators opt for the wire-mesh baskets that screw into the bottom of the desk. These are great for airflow, but they are a nightmare for accessibility. Every time I need to swap out a piece of gear for my microphone reviews, I find myself tangling my fingers in the mesh. This wall mount, by contrast, keeps the power strip facing outward or upward, making it significantly easier to plug and unplug gear on the fly. It’s a functional choice that prioritizes the workflow of a busy creator who is constantly testing new hardware. If you’re still on the fence, you can check my older review of the wire-mesh alternatives to see why I ultimately ripped them out in favor of this steel solution. For those ready to commit, you can check current prices for this mount and its industrial counterparts to see the value for yourself.
The Steel Reality of Studio Cable Management
- Unmatched Durability: Unlike plastic alternatives, the solid steel construction won’t warp or sag under the weight of heavy power bricks for studio lights or PCs.
- Passive Heat Dissipation: The metal housing helps pull heat away from your power strip, a major advantage over mesh bags or tight plastic enclosures.
- Cost-Effective Stability: At $15, you are getting industrial-grade hardware that usually costs three times as much at specialty retailers.
- The Screw Problem: The included mounting hardware is low-quality; expect to use your own wood screws for a secure fit.
- Sharp Internal Edges: Some of the inner cutouts are a bit rough, requiring caution when routing delicate cables.
Is Your Rig Heavy Enough for Industrial Steel?
This mount is the perfect solution for the mid-to-high-end creator who is tired of kicking a mess of wires under their desk. If you are running multiple monitors, external GPUs, or professional lighting, you need the mechanical strength that only steel can provide. It’s an essential buy for anyone using a motorized standing desk, as it prevents the power strip from being yanked loose during height adjustments. However, if you only have a laptop and a single lamp, you should probably stick to the secret cable clip trick. This bracket is for people with real weight to manage.
#IMAGE_PLACEHOLDER_E#
A Must-Have Upgrade That Beats Plastic Every Time
The $15 price point makes this one of the most cost-effective upgrades you can make to your workspace. While it has minor flaws like the poor quality screws and some sharp edges, the structural integrity and thermal benefits far outweigh these issues. If you have been struggling with adhesive solutions that fail, it is time to switch to a mechanical fix. This mount is a definitive “Buy” for any serious creator. If you’re looking for more ways to stabilize your gear, check out why professional creators are switching to steel desk mounts for their entire setup. You can check the latest price and see other user reviews to see how it fits into your specific studio layout.