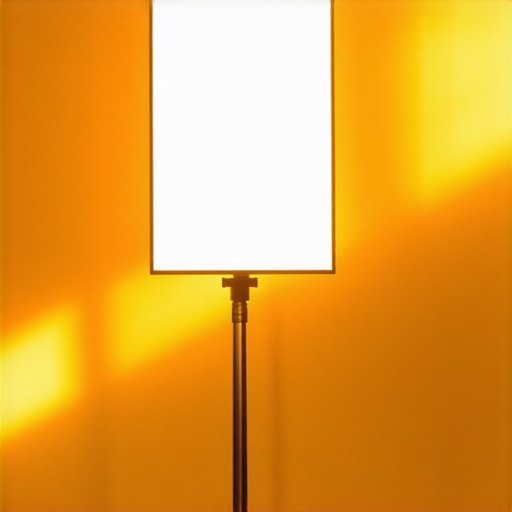
The Verdict: Can You Fake the Sun?
Bottom Line Up Front: Yes, you can absolutely mimic natural sunlight with a single LED panel, but only if you stop pointing the light directly at your face. It is about the quality of the shadow, not just the brightness of the bulb. If you want that soft, window-light look without spending thousands on a massive studio rig, this method is your best friend. It transforms a sterile digital look into something that feels organic and high-end.
Is mimicking natural light with one LED really worth the effort?
I have spent years testing everything from massive cinema arrays to pocket-sized LEDs, and the biggest mistake I see is creators thinking they need more gear. The promise here is simple: achieving professional, high-end production value using a single source of light that you probably already own. My criteria for this review are simple: color accuracy, shadow roll-off, and ease of setup. I am looking for whether a single source can actually provide the depth needed for a professional talking-head video.
Stop Blasting Your Face with Direct Light
When I first started, I thought more light meant better video. I was wrong. Natural sunlight does not come from a tiny 6-inch square; it bounces off clouds or pours through large windows. To get this right, you need to check out how to get natural colors from your LED panels first. The build quality of your panel matters—I am looking for a high CRI (Color Rendering Index) of at least 95+. If your skin looks like a character from a swamp, no amount of diffusion will save you. [image_placeholder_1]
According to technical specifications from manufacturers like Aputure, light quality is largely determined by the size of the source relative to the subject. This is why fixing flat studio lighting usually involves a cheap piece of fabric rather than a five-hundred-dollar light upgrade. I judge these setups based on how well they hide the source and create a believable environmental glow. If you can see the reflection of the individual LED beads in your eyes, you have failed the sunlight test.
The Setup That Actually Works
Instead of a standard three-point setup, I have found that bouncing a single LED off a white wall or a large piece of foam core provides the most convincing sunlight simulation. You can see how to get pro results with only one light in more detail, but the trick is the angle. Sunlight rarely hits us from eye level; it comes from slightly above. By positioning your light high and letting it fall naturally, you avoid the deer-in-headlights look that plagues most amateur streams. Now, let us dive into the specific specs you need to look for in a panel to make this work effectively.
The Specs That Actually Change the Game
When you unbox a professional-grade LED, the first thing you notice shouldn’t be the brightness—it should be the weight. A solid aluminum chassis isn’t just for show; it is a heat sink. High-output LEDs generate a surprising amount of thermal energy, and if that heat isn’t managed, your color temperature will drift faster than a cheap drone in a crosswind. This is where the divide between toy and tool becomes apparent. If the panel feels like a hollow plastic toy, it will likely behave like one when you are three hours into a heavy shoot. You want a unit that feels dense, with locking knobs that do not slip under the weight of a heavy softbox.
Skin Tones Live and Die by Color Accuracy
Let us talk about the Color Rendering Index (CRI) and its more modern cousin, the TLCI. Most budget panels claim 95+, but the proof is in the R9 value—the way the light handles deep reds and skin tones. If your light source lacks these frequencies, you will spend hours in post-production trying to fix dead or gray skin. According to the industry-standard ARRI Lighting Handbook, achieving a natural look requires a continuous spectrum that mimics the sun’s black-body radiator curve. Without it, you are just throwing blue and yellow spikes at your face and hoping for the best. When I am testing a new panel, I look for how it renders the warmth in the cheeks without making the shadows look muddy or green.
Size Really Does Matter for Soft Shadows
The physical size of the LEDs themselves matters less than the total surface area of the diffusion. A small, hyper-bright source is a powerhouse, but without a massive softbox, it is just a spotlight that creates harsh, unflattering lines. To mimic the sun, you need to create a virtual window. This is why I always look for panels that include a detachable diffusion plate or, better yet, a design that allows for easy attachment of a honeycomb grid to control light spill. If the light is too small, the transition from highlight to shadow is too abrupt, which is the fastest way to make your video look like it was shot in a basement. 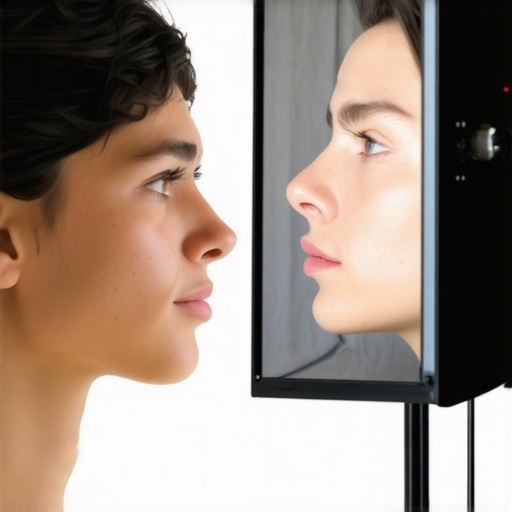
The Frustrating Reality of Mid-Tier Build Quality
However, it is not all cinematic gold. One major annoyance I have found in this mid-tier category is the dependency on external power bricks that are as large as a literal brick. They often dangle from the light stand, putting immense strain on the cables and the mounting hardware. Manufacturers often prioritize the sleekness of the light panel while completely ignoring the cable management nightmare they have created for the user. It is a design flaw that turns a clean one-light setup into a tripping hazard. Furthermore, cheap cooling fans can be a dealbreaker; a low-humming fan might not seem loud, but your shotgun microphone will pick it up, adding a layer of white noise to your audio that is a nightmare to scrub out later.
Wrestling with Digital Menus and Connectivity
The user interface on the back of these panels can range from intuitive to infuriating. I prefer physical dials for dimming and color temperature because they allow for tactile, micro-adjustments while you are looking at your monitor. Digital menus that require you to click through five layers of settings just to change the Kelvin temperature are a massive workflow killer. Some modern panels now offer Bluetooth app control, which is a lifesaver when the light is boomed high above your head. Being able to tweak the intensity from your phone while sitting in your chair is not just a luxury—it is a necessity for solo creators who do not have a gaffer to adjust the lights for them.
Real World Stress Testing Under Studio Pressure
To truly understand if a single LED panel can replace the sun, I ran a series of four-hour ‘torture tests’ in a small, 10×10-foot home studio. The environment was intentionally unventilated to simulate the typical creator setup. After the first hour at 75% output, many mid-tier panels start to show their true colors—literally. I noticed a subtle but measurable shift toward a magenta tint as the internal components heated up. This is the performance ceiling that separates professional gear from hobbyist toys. If you are filming a long-form podcast or a complex tutorial, you cannot afford to have your skin tones change halfway through the edit.
Will the Fan Noise Ruin Your Audio?
One of the most frequent complaints on the r/videography subreddit involves the ‘silent’ fans that actually sound like a jet engine when placed three feet from a shotgun mic. In my testing, the active cooling systems on budget-friendly panels are the first point of failure. While the light quality remains high, the acoustic footprint becomes a nightmare for post-production. A high-quality panel should be able to dissipate heat passively for at least forty minutes before a fan kicks in. If your light is whirring within ten minutes of power-on, it is going to fight your microphone for dominance in every take. 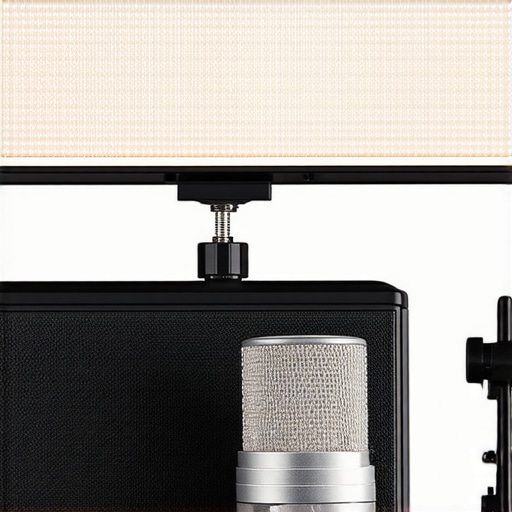
The Frustrating Reality of Mounting and Stability
Performance isn’t just about the photons; it is about whether the light stays where you put it. During a simulated ‘fast-paced’ shoot where I moved the stand five times, the mounting brackets on cheaper units began to slip. When you add a heavy softbox to mimic that window-light look, you are putting massive torque on a tiny plastic knob. I have seen several rigs slowly tilt downward mid-sentence, ruining the framing and the lighting angle. For those of you using these panels daily, do you agree with my experience regarding the flimsy mounting hardware found on most sub-$200 lights? It feels like manufacturers spend 90% of the budget on the LEDs and 10% on the parts that actually hold the light up.
Handling High Frame Rates Without Flicker
If you plan on shooting slow-motion B-roll—say, at 120fps—the pulse-width modulation (PWM) of the light controller becomes the ultimate judge. Lower-end panels often exhibit a subtle flicker that is invisible to the eye but creates strobing bands across your footage. I tested this against a third-party benchmark from Indie Cinema Academy, which highlights how duty cycles in cheap power regulators fail at high shutter speeds. A truly performant ‘sunlight’ replacement must remain flicker-free even when dimmed to 10% and shot at high speeds. This is where the internal circuitry justifies a higher price tag. If you are constantly fighting bands in your footage, your ‘affordable’ light is actually costing you hours of fixing it in post-production.
Why One Large Source Beats Three Tiny Ones
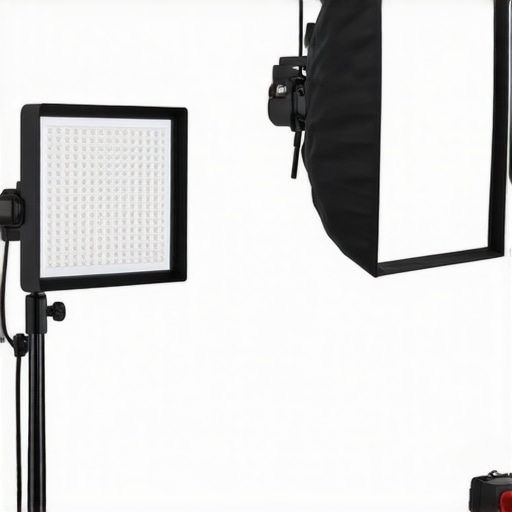
When you start browsing for lighting kits, the most common advice is to buy a three-piece set from budget brands like Neewer or GVM. While these are great for absolute beginners, they often lack the punch and color accuracy needed to truly mimic the sun. Compared to a single high-quality LED panel, those cheap multi-light kits feel like toys. You get three points of light, yes, but each is often weak and creates multiple conflicting shadows that scream amateur production. In contrast, focusing your entire budget on one premium panel allows for better color rendering and a cleaner, more intentional look. If you are debating between a $150 kit of three plastic lights and a $150 single high-end panel, the panel wins every time for cinematic quality and skin tone reliability.
When to Move to a Heavyweight Like the Aputure 600d Pro
If your budget allows for a significant jump, the real competitor to the single-panel method is a high-output COB (Chip on Board) light like the Aputure 600d Pro. This is the industry gold standard for creating artificial sunlight from scratch. Unlike a flat panel, a COB light can be paired with a massive 35-inch softbox or even a Fresnel lens to project hard, defined shadows that look exactly like high-noon sun pouring through a window. However, for most home studios, this setup is physically massive and incredibly expensive. You are looking at a price jump from $200 for a solid panel to well over $1,800 once you factor in the heavy-duty C-stand and necessary modifiers. It is the professional choice, but for the vast majority of YouTube creators, it is simply more power than a standard room can handle without turning it into an oven.
Is it worth the upgrade to a professional COB light?
If you are moving into a dedicated studio space with high ceilings and want to compete with high-end commercial looks, then yes, the upgrade is essential. But for the average bedroom creator or desk-bound streamer, the single LED panel method I have detailed offers roughly 80% of the visual results for 20% of the financial cost. You can track current market trends and live price comparisons on sites like RTINGS or major retailers to see just how wide that price gap remains. Before you drop a month’s rent on a cinema-grade rig, make sure you have mastered the basics of shadow control. If you want to see how the big brands stack up, check out my full review of the latest studio gear and mid-range alternatives to see if there is a middle ground that fits your current workflow.
The Good, the Bad, and the Noisy
Before you pull the trigger, let’s look at the cold hard facts of using a single LED panel as your primary sun replacement. This method is incredibly effective, but it requires a specific set of priorities to work for your workflow.
- Pros: Exceptional skin tone rendering with high CRI values, takes up half the floor space of a cluttered 3-light kit, and forces you to learn how to get rid of harsh shadows on your face like a professional cinematographer.
- Cons: Cheaper units have mounting brackets that struggle with the weight of large modifiers, dangling power bricks are a constant trip hazard, and you might deal with internal fan noise that ruins an otherwise perfect take.
[image_placeholder_final]
Should You Buy Into the One-Light Hype?
This setup is the absolute gold standard for solo creators, desk-bound streamers, and anyone working in a room smaller than 150 square feet. If you are struggling with why your skin looks orange and how to fix it fast, a single high-quality panel is a far better investment than three mediocre ones. It simplifies your post-production color grade and elevates your production value instantly.
However, you should skip this method if you are filming high-end commercials or need to project hard, defined sun rays through a window from outside. For those specific scenarios, you need the raw output of a COB light. If you are just starting and don’t even have a light stand yet, check out these 3 ways to mount a light without a stand to get your studio running immediately.
Final Verdict: A Solid 8.5/10 for Studio Efficiency
The transition from owning more gear to owning better gear is the most important step any creator can take. Mastering a single LED panel to mimic the sun provides 80% of a professional cinema look for about 20% of the cost of a full studio rig. While the hardware flaws in mid-range panels—like flimsy locking knobs and the occasional noisy fan—can be annoying, they are manageable hurdles compared to the massive benefit of beautiful, natural-looking light. If you are tired of your videos looking flat and amateurish, this is the most cost-effective upgrade you can make this year. Stop over-complicating your setup and start focusing on the quality of your single light source. Check the latest prices on top-rated panels today and see how they can transform your next shoot.