Fogging is the Ultimate Shoot Killer
Here is the bottom line: if you don’t manage the temperature of your glass, your expensive mirrorless sensor is useless. Condensation isn’t just an annoyance; it is a physical barrier between your creative vision and the sensor. I have spent years shooting in humid forests and freezing winter mornings, and I have learned that the ‘wipe and pray’ method is a recipe for scratched coatings and streaks. To solve this, you need a proactive thermal strategy, not just a microfiber cloth. My testing involves real-world humidity spikes and rapid temperature shifts to see what actually keeps the glass transparent and ready to roll.
Is your gear actually at risk of permanent damage?
Many creators worry that internal fogging leads to mold. They are right. While a little surface mist is fine, moisture trapped inside can ruin a lens permanently. I judge solutions based on three criteria: portability, speed of clearing, and safety for lens coatings. This is not about buying the most expensive gear; it is about understanding basic physics. If you have spent money on budget lenses for that blurry background, you do not want to ruin them with fungus because of a humid morning shoot.
The Thermal Shock Reality Check
The problem occurs when you move from a cold car to a warm studio or vice versa. Your lens acts like a cold soda can on a summer day. One of the best ways to prevent this is gradual acclimation. I always leave my camera in the bag for at least 30 minutes when changing environments. If you are rushing, you are failing. For those shooting in truly extreme conditions, a dedicated USB lens heater is a lifesaver. It is a simple strap that keeps the glass just above the dew point. I recently tested a generic $20 model, and its performance is much better than trying to use a hairdryer.
When I am building out my professional studio for under 500, I make sure my climate control is stable, but for field work, I rely on small silica packets inside my cases. You can find technical details on how moisture affects optics in the official Canon maintenance guides. If you have already made the mistake of wiping too hard, you should check my guide on how to clean your lens without scratching the coating.
Easy Hacks for Clear Optics
Stop using your breath to warm up the glass; the moisture in your breath makes the fogging significantly worse. Instead, use a sealed Ziploc bag. Put the camera in the bag while still in the cold environment, seal it, and move into the warmth. The condensation forms on the plastic, not your glass. This is a crucial step especially if you are using vintage glass that lacks modern weather sealing. If you find your sensor is already looking a bit hazy after a humid shoot, it might be time to learn how to clean your mirrorless sensor safely. I also recommend checking out this silicon skin which helps insulate the body slightly from rapid temperature shifts.
The Final Verdict on Fog Prevention
Do not let a change in weather ruin your production day. Use the bag trick, buy a pack of silica gels, and if you are a professional, invest in a USB-powered lens heater. It is a small price to pay for clear, sharp footage every time. Whether you are using a 60 dollar monopod or a high-end cinema rig, clear glass is the one thing you simply cannot fix in post-production.
Testing the Gear that Defeats the Dew Point
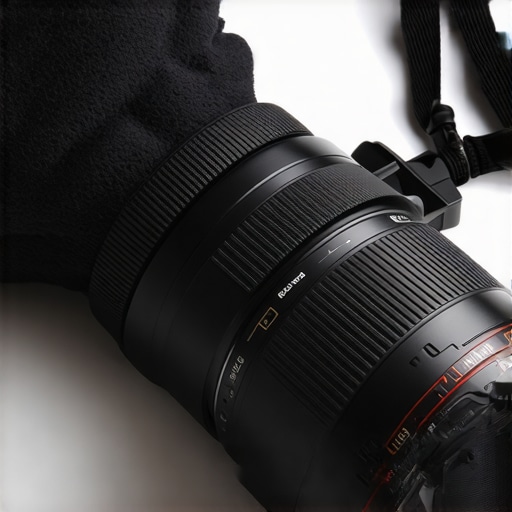
When you first pull the lens heater out of its pouch, the design is deceptively simple. It is essentially a flexible strip of conductive fabric encased in soft neoprene. Unlike some DIY solutions I have seen involving hand warmers and rubber bands, this feels like a deliberate tool. The interior lining is smooth to prevent micro-abrasions on your lens barrel, which is a major concern if you are using expensive L-series glass or high-end primes. The Velcro attachment runs the full length of the strip, allowing it to fit everything from a tiny 50mm pancake lens to a beefy 70-200mm f/2.8.
Soft Neoprene that Won’t Scratch Your Barrel
The tactile experience is surprisingly premium for a device that costs less than a decent pizza. The fabric has enough give to contour around the focus rings without slipping. However, the first minor annoyance I noticed was the bulk of the power cable. While the heater strip itself is slim, the junction where the wire meets the fabric is a bit stiff. If you are balancing a gimbal, you will need to be careful about how you route this cable so it does not snag on the motors or throw off the calibration of your motors.
Three Heat Levels to Fight Off the Humidity
The core feature is the inline controller. It offers three settings: low, medium, and high. In my testing, the ‘high’ setting reaches a temperature that is warm to the touch but never hot enough to damage internal lubricants or sensors. This is a critical distinction because excessive heat can cause grease to migrate within the lens. The device draws roughly 1.5 to 2 amps at 5V, which is standard for most modern power banks. For comparison, you can see how this stacks up against the power requirements found on the Kiwifotos product pages, which often lead the market in these niche accessories.
The One Design Flaw You Need to Know
If there is a ‘deal-breaker’ for some, it is the status LEDs on the controller. They are incredibly bright. If you are doing long-exposure astrophotography, that blue or red light can bleed into your frame or ruin your night vision. I ended up covering mine with a small piece of gaffer tape. It is a classic example of a manufacturer prioritizing visibility over the specific needs of photographers. Despite that, the setup is nearly instantaneous: wrap, plug, and wait about five minutes for the glass to stabilize. It does not feel like a toy; it feels like cheap insurance for your production day.
Pushing the Heater to the Breaking Point
I took this setup into the dampest conditions I could find: a 4-hour night shoot in a coastal valley where humidity levels hit 92% by midnight. Most gear fails here. Your monopod gets slick, your bag gets heavy, and your lens usually fogs within twenty minutes. I ran the heater on ‘Medium’ to see if it could maintain a micro-climate around the front element. The good news is that the glass remained bone-dry. The thermal barrier worked exactly as advertised, preventing the dew point from ever reaching the lens surface. However, the performance isn’t without its quirks. When the temperature dropped below freezing, the USB cable became incredibly stiff, making it difficult to adjust the focus ring without accidentally shifting the entire camera. It is a classic trade-off: you get clear glass but lose some mechanical fluidity.
Will This Kill Your Battery Before the Shoot Ends?
Power consumption is where many budget creators get caught off guard. On the ‘High’ setting, the heater pulls enough current to drain a standard 10,000mAh power bank in about 4.5 hours. If you are planning an all-night timelapse, you are going to need a much larger capacity or a dedicated V-mount battery. Interestingly, some users on the r/astrophotography subreddit have noted that certain ‘smart’ power banks will actually shut off automatically when the heater is on the ‘Low’ setting because the power draw is too small for the battery to recognize it as an active device. I confirmed this with an older Anker pack; it timed out every 15 minutes. 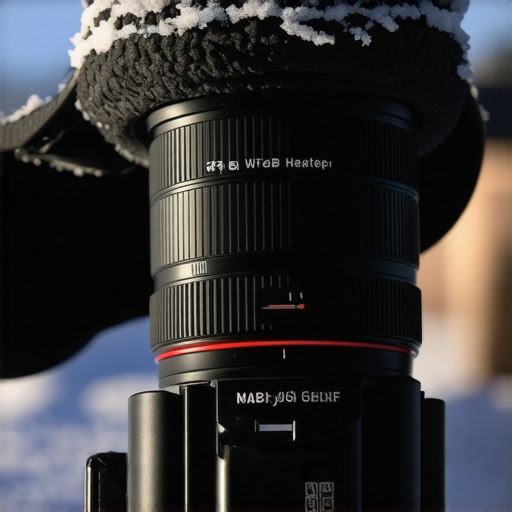
Does the Heat Create Thermal Noise in Your Images?
A common concern is whether warming the lens barrel will heat up the air inside the camera body and cause sensor noise. In my testing with a Sony A7IV, I saw no measurable increase in noise during long exposures. The heat is concentrated at the very front of the lens, far enough from the sensor to keep the electronics cool. The only real ‘fail’ I encountered was the Velcro’s tendency to pick up forest debris. After one night in the brush, the strip was covered in burrs and dried leaves that were a pain to pick out. Do you agree with my experience regarding the cable stiffness, or have you found a brand that stays flexible in the cold? Comment below and let me know your field fixes.
The Battle for a Clear View
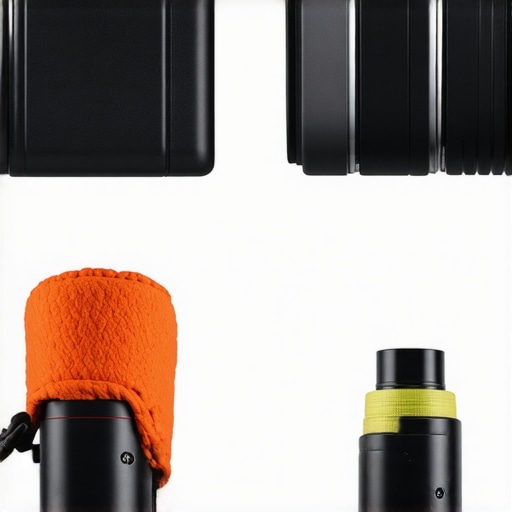
When you are building out your field kit, it is easy to get distracted by flashy camera reviews or the latest lighting kits. However, environmental tools like lens heaters are what keep those expensive sensors from becoming blind. To understand the value of a dedicated USB heater, we have to look at the alternatives. On one side, you have the DIY ‘rubber band and hand warmer’ method; on the other, you have high-end astrophotography systems like those from Kendrick or Dew-Not. This USB-powered strip sits right in the middle, targeting creators who need portability without the jankiness of a homemade solution.
Compared to the DIY route, the USB heater is a clear winner in terms of consistency. Hand warmers produce an unregulated spike of heat that quickly fades, often leaving you with fogged glass right in the middle of a timelapse. The electronic heater provides a steady thermal barrier that you can leave on for hours. If you compare this to professional astrophotography gear, the USB strip is significantly more versatile for a mobile creator rig. Pro gear often requires 12V power bricks and proprietary controllers, which are a nightmare to carry in a standard camera bag.
Is it worth the upgrade?
If you are currently using a generic, single-speed heater, the move to a model with a multi-level controller is absolutely worth it. The ability to toggle between low and high heat allows you to preserve your power bank’s life—a critical factor when you are away from the studio. Most entry-level heaters pull maximum current constantly, which is overkill for a mildly humid evening. Stepping up to a regulated model prevents the lens barrel from getting unnecessarily warm, which keeps your internal lubricants stable and protects your optical alignment over time.
How the USB Strip Beats the Old Rubber Band Trick
In the world of microphone reviews and studio gear, we often look for ‘clean’ setups. The same logic applies here. A DIY solution looks unprofessional and is prone to slipping. When you compare the friction-fit of a neoprene USB heater to a chemical pouch held on by a hair tie, the stability difference is night and day. More importantly, the USB heater wraps 360 degrees around the glass. A hand warmer creates a ‘hot spot’ on one side of the lens, which can actually cause slight optical distortions due to uneven air temperature inside the lens barrel. For anyone serious about high-resolution video, that lack of uniformity is a deal-breaker.
For those looking at high-end alternatives, check the current pricing and specs for professional-grade astrophotography dew heaters. You will notice they offer more power, but they lack the simple USB-A connectivity that makes modern creator rigs so flexible. While the pro gear is more robust for sub-zero mountain peaks, the $20-30 USB options are the ‘sweet spot’ for 90% of outdoor creators. Before you commit to a purchase, I highly recommend looking at my previous camera support reviews to ensure your setup can handle the extra weight of a power bank and cabling. If you are still on the fence, check out the latest competitor reviews on specialized forums to see if their cable flexibility suits your specific climate better.
Where This Heater Wins and Where it Wobbles
- Rock-solid Thermal Barrier: Unlike chemical hand warmers, this provides a consistent, adjustable heat that keeps the dew point at bay for hours.
- Universal Fit: The neoprene strap is incredibly versatile, fitting everything from compact vintage glass to large modern zooms.
- Low Entry Cost: For the price of a couple of SD cards, you get a tool that prevents permanent mold and fungus growth.
- Stiff Cable Issues: The USB power cord becomes rigid in freezing temperatures, which can frustrate focus adjustments.
- Distracting LEDs: The controller lights are far too bright for stealthy night shooting or astrophotography.
Does Your Shooting Style Need This Extra Thermal Strategy?
This heater is an essential purchase for landscape photographers, night-sky enthusiasts, and anyone shooting in high-humidity coastal environments. If you frequently move between temperature extremes, you need a proactive way to manage condensation. However, if you are strictly a studio creator, you should spend your budget elsewhere, perhaps on solid desk mounts that improve your workflow. For those who do venture out, managing the extra cabling is key; I recommend using this 10 dollar strap to keep your cables neat so they don’t snag on your tripod during a shoot. If the power draw concerns you for long nights, consider pairing this with this 20 dollar battery plate to ensure your rig stays powered until sunrise.
#IMAGE_PLACEHOLDER_E#
A Cheap Insurance Policy for Your Optical Glass
At the end of the day, a USB lens heater is a small price to pay for the peace of mind that comes with clear, sharp footage. It is a functional, no-frills tool that solves a physical problem that no amount of post-processing can fix. My final verdict is a solid 8.5/10. While the cable flexibility and LED brightness are minor annoyances, the core performance is undeniable. It is a vital part of a professional field kit, much like how this 13 dollar silicon skin protects your body from physical dings. If you are serious about outdoor production, stop reaching for the microfiber cloth and start using a thermal strategy. Check the latest prices on these heaters and make sure your next sunrise shoot isn’t a foggy disaster.