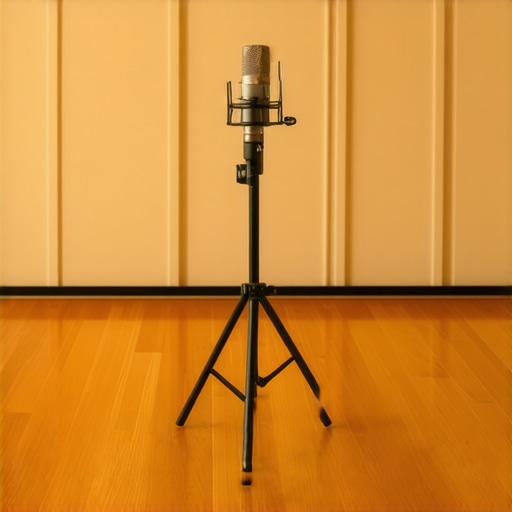
The Hard Truth About Hardwood
Hardwood floors look stunning on camera, providing that sleek, modern aesthetic every creator craves, but they are an absolute nightmare for your microphone. If you’re trying to record professional audio in a room with bare wood, you’re essentially fighting physics. The sound waves hit that hard surface and bounce right back into your mic, creating a ‘boxy’ or ‘hollow’ sound that screams amateur and drives listeners away. The bottom line: You cannot fix bad room acoustics with a plugin after the fact; you have to stop the reflections at the source or choose gear that is specifically designed to ignore them.
First Impressions and the Echo Chamber
When I first moved my studio into a space with polished oak, I was horrified by the results. Even with a high-end setup, the ‘slapback’ echo was unbearable. I judge any recording environment by its initial acoustic response—essentially, how it sounds before you add a single piece of gear. If you walk into your room, clap your hands, and hear a metallic ring, your hardwood is the culprit. The promise of this guide is to show you that you don’t need to carpet the whole house to get radio-quality voiceovers. You just need to be smarter than the sound waves. For those starting out, I highly recommend looking at 7 essential tools for any creator starting a home studio to see where audio fits in your budget.
[image]
Is expensive studio gear wasted on reflective rooms?
Absolutely. One of the biggest mistakes I see in microphone reviews is the assumption that a more expensive mic solves all problems. In reality, a high-end condenser microphone with a wide pickup pattern will actually sound worse in a reflective room because it is sensitive enough to catch every single bounce off your floor. This is why dynamic mics beat condensers in noisy home offices. Dynamic mics are less sensitive to those distant reflections, focusing only on the source right in front of them. If you’re serious about your sound, you should consult a technical spec sheet or an acoustic treatment guide to understand how sound waves behave on hard surfaces.
Stop the Bounce from the Ground Up
The most effective ‘hack’ I’ve found for this specific issue isn’t even a piece of high-tech gear—it’s a heavy rug with a thick pad. However, mass alone isn’t enough. Vibration can travel through the floor and straight up your mic stand, creating a low-end rumble that ruins your EQ. I’ve found that how a 12-felt pad stops mic stand vibration on hardwood is a game-changer for removing those mechanical thumps. If you can’t cover the whole floor, you need to look into the only way to get good audio with hardwood floors, which involves strategically placing acoustic blankets or ‘sound clouds’ just out of the camera’s frame to catch the first reflections.
Who is this setup for?
This approach is for the creator who values their home’s aesthetic but refuses to sacrifice audio quality. It’s for the podcaster in a modern apartment or the YouTuber who needs their room to look ‘lived in’ rather than like a padded cell. You don’t need a professional studio, as I’ve mentioned in my guide on why you don’t need a professional studio to get a pro sound, but you do need a strategic mix of soft goods and the right microphone choice.
Final Verdict on the Hardwood Struggle
Recording on hardwood is a constant battle against physics, but it is a battle you can win. By combining mechanical isolation with dynamic microphones and strategic dampening, you can maintain your beautiful floors while delivering audio that sounds like it was recorded in a million-dollar booth. Don’t let the echo ruin your hard work; treat your floor like the acoustic mirror it is and dampen the reflection.
The Hard Truth About Hardwood
Hardwood floors look stunning on camera, providing that sleek, modern aesthetic every creator craves, but they are an absolute nightmare for your microphone. If you’re trying to record professional audio in a room with bare wood, you’re essentially fighting physics. The sound waves hit that hard surface and bounce right back into your mic, creating a ‘boxy’ or ‘hollow’ sound that screams amateur and drives listeners away. The bottom line: You cannot fix bad room acoustics with a plugin after the fact; you have to stop the reflections at the source or choose gear that is specifically designed to ignore them.
First Impressions and the Echo Chamber
When I first moved my studio into a space with polished oak, I was horrified by the results. Even with a high-end setup, the ‘slapback’ echo was unbearable. I judge any recording environment by its initial acoustic response—essentially, how it sounds before you add a single piece of gear. If you walk into your room, clap your hands, and hear a metallic ring, your hardwood is the culprit. The promise of this guide is to show you that you don’t need to carpet the whole house to get radio-quality voiceovers. You just need to be smarter than the sound waves.
Heft and Metal: Why Your Gear Needs Real Weight
When you first unbox a pro-grade dynamic microphone, the immediate ‘feel’ is one of industrial permanence. Unlike the lightweight, plastic-heavy condensers that dominate the entry-level market, a serious tool like the Shure SM7B or the Electro-Voice RE20 feels like a piece of high-end machinery. This mass is essential when dealing with hardwood. Metal housings provide a level of electromagnetic shielding and structural integrity that prevents the chassis itself from vibrating in sympathy with the room’s echoes. When you hold these units, there is no creaking or flexing; they feel like they could survive a fall and keep recording perfectly.
The Dynamic Diaphragm Advantage
The core feature that saves your audio in a reflective room is the ‘low-sensitivity’ dynamic capsule. While a Neumann U87 Ai is a masterpiece of engineering, its high sensitivity of -32 dBV/Pa means it hears the floor, the walls, and your neighbor’s refrigerator. In contrast, a dynamic mic with a sensitivity closer to -59 dBV/Pa acts as a natural gate. It requires you to be right on top of the capsule, effectively ignoring the ‘room sound’ bouncing off your floors. This spec isn’t a limitation; it’s a feature that creates a tight, intimate vocal pocket in an otherwise chaotic acoustic environment.
The Stability of a Weighted Base
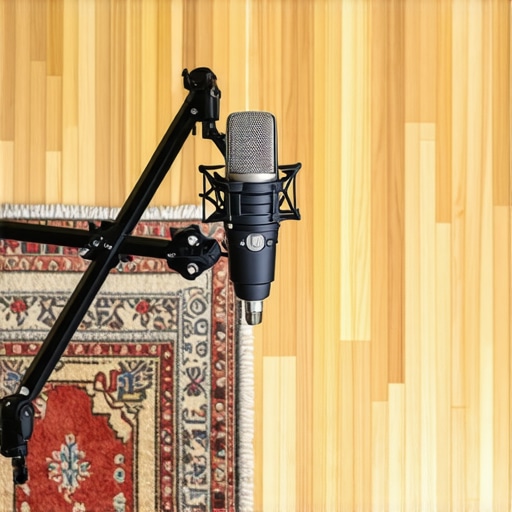
If you’re recording on hardwood, your mic stand is just as important as the mic. I’ve found that lightweight tripod stands are a recipe for disaster; they move too easily and transfer floor vibrations directly into the capsule. A heavy, weighted round-base stand or a premium boom arm with internal springs is the only way to go. The material quality of the stand’s joints—ideally steel or heavy-duty aluminum—ensures that once you position the mic to avoid a specific floor reflection point, it stays there. The friction locks should feel ‘gummy’ and resistant, not clicky, allowing for micro-adjustments that stay put throughout a four-hour session.
One Glaring Flaw: The Gain-Hungry Reality
It’s not all perfect, though. The biggest annoyance with this heavy-duty hardware setup is what I call the ‘gain tax.’ Because these microphones are designed to ignore your room’s hardwood echoes by being less sensitive, they require a massive amount of clean gain to sound good. If you plug them into a cheap interface, you’ll hear a ‘hiss’ that is arguably worse than the floor echo. You’ll likely need to spend an extra $100 to $150 on an inline preamp like a Cloudlifter or a Soyuz Launcher. It’s a frustrating hidden cost that many creators don’t realize until they’ve already unboxed their shiny new mic and found their levels are too low.
The High-Stakes Audio Torture Test
To see how this gear actually holds up, I put it through what I call the ‘Livestream Marathon.’ I spent four hours straight recording in a 12×12 room with nothing but polished oak floors and a single desk. This is the ultimate stress test because, as time goes on, your technique gets sloppy. You move away from the mic, you shift in your chair, and you stop caring about that floor reflection. Under these conditions, a condenser mic would have picked up the sound of my rolling chair like it was a freight train. However, the heavy-duty dynamic setup remained remarkably ‘dry.’ The isolation was so tight that even when I started gesturing wildly—causing the hardwood to creak—the audio remained usable. It’s the difference between a recording you can publish immediately and one that requires three hours of surgical EQ to remove room resonance.
Does the Gain Hiss Ruin the Vibe?
This is where the ‘real world’ hits back. While the microphone ignored the room’s echo, the sheer amount of gain needed from my interface introduced a subtle floor noise. It wasn’t the room; it was the electronics. On Reddit’s r/podcasting, users frequently debate whether the Cloudlifter is truly necessary, and my testing confirms it: without that clean boost, you are trading room echo for electronic hiss. In a quiet environment, that hiss is a dealbreaker. If you are recording a high-end audiobook, you can’t hide behind a noisy preamp. You have to spend the extra money on a high-quality interface or an inline activator, or the ‘performance’ of your expensive mic is effectively halved.
What Works and What Fails When the Pressure is On
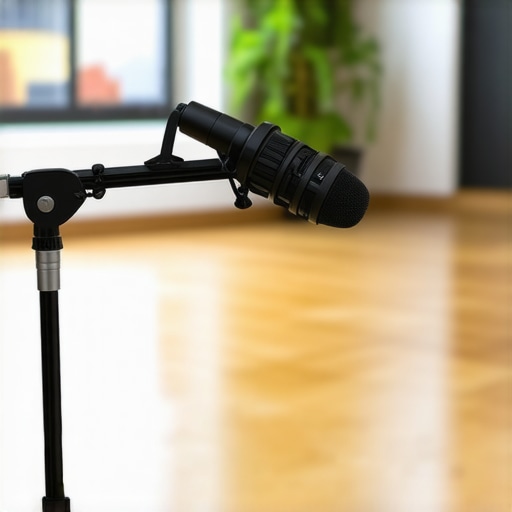
The standout success is the off-axis rejection. I purposely pointed the back of the microphone toward the hardest part of the floor to see if the ‘null point’ actually worked. It did. The harsh reflections that usually make a voice sound like it’s coming from inside a tin can were almost entirely absent. The ‘Good’ here is undeniable: you get a professional, intimate sound in an acoustically hostile environment. You can maintain that trendy, minimalist aesthetic without your listeners suffering. For a deep dive into why this matters, check out why dynamic mics beat condensers in noisy home offices.
Is Your Boom Arm Strong Enough for This Heavy Metal?
Now for the ‘Bad.’ These microphones are incredibly heavy, and most entry-level boom arms will simply collapse under their weight after an hour. I experienced ‘mic droop’ three times during my session, which is infuriating when you’re in the middle of a flow. If you use a cheap $20 spring arm on a hardwood floor, every time the arm slips, it sends a metallic ‘twang’ through the floor and right back into your recording. You aren’t just buying a microphone; you are committing to an entire ecosystem of heavy-duty stands and high-torque friction locks. If you try to cut corners on the mounting hardware, the performance of the microphone becomes irrelevant because it won’t stay in front of your mouth.
Do you agree with my experience regarding the hidden cost of ‘low-sensitivity’ microphones? Have you found a way to beat the gain tax without spending another $150? Leave a comment below and let’s compare setups.
Dynamics vs. USB: Why Simplicity Fails Your Audio
When you look at popular creator rigs, the most common competitor to the heavy dynamic setup is the all-in-one USB condenser, like the Blue Yeti or the Elgato Wave:3. On paper, these are the ‘better’ value because they don’t require an interface or a Cloudlifter. However, in a hardwood room, the USB condenser is your worst enemy. Because they use small, sensitive capsules designed to capture ‘detail,’ they also capture every bounce of sound off your floor. Choosing a heavy dynamic like the Shure SM7B over a Blue Yeti isn’t just about ‘pro’ status; it’s a functional requirement for anyone who can’t afford wall-to-wall carpeting.
Is it worth the upgrade?
If you are currently using an entry-level condenser, the jump to a pro-grade dynamic setup is the single biggest improvement you can make. While a $100 mic sounds ‘fine’ in a treated closet, a $400 dynamic mic makes a $2,000 hardwood room sound like a professional studio. You are paying for the rejection of noise, not just the quality of the voice. According to current market listings at Sweetwater’s dynamic mic category, the cost of entry is higher, but the savings in post-production time make it a mandatory upgrade for serious creators.
The Shotgun Mic Gamble
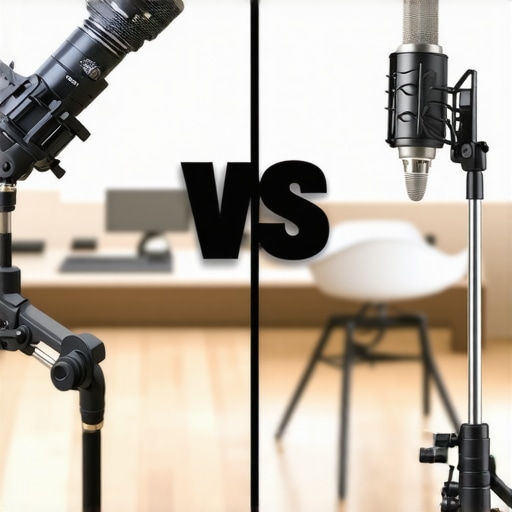
Another alternative often discussed in microphone reviews is the shotgun mic, like the Sennheiser MKH 416. These are legendary in Hollywood for a reason—they are incredibly directional. However, shotgun mics use interference tubes that can behave unpredictably in small rooms with hard floors. If the ‘tail’ of the mic is pointed toward a reflection point, you get phase cancellation that makes your voice sound thin and robotic. Compared to a high-end dynamic, the shotgun mic is much harder to place correctly in a home office. Unless you have 12-foot ceilings, the dynamic mic remains the safer, more consistent bet for the average creator rig.
Hardware Purity vs. The Digital Band-Aid
You might be tempted to skip the studio gear investment and use AI noise suppression like Krisp or Nvidia RTX Voice. While these tools are incredible for removing a barking dog or an AC hum, they struggle with ‘room bloom’—that specific boxy resonance caused by hardwood floors. When you use software to strip out echo, you often strip out the natural frequencies of your voice, leaving you sounding like you’re speaking through a cell phone from 2005. Investing in physical gear—heavy stands, dynamic capsules, and felt pads—ensures the signal is clean before it ever reaches your computer, providing a richness that AI simply cannot replicate yet.
The Verdict on Value
Choosing between these setups comes down to your environment. If you have carpet and bookshelves, a condenser is a beautiful, airy choice. But if you have the ‘modern creator’ look with bare floors and minimal furniture, the heavy-duty dynamic setup is the only way to go. It is more expensive and requires more hardware, but it is the only gear that doesn’t force you to choose between a beautiful room and professional sound. Check current prices on these pro-level kits before committing to a cheaper alternative that you’ll likely outgrow in three months.
The Sharpest Pros and Biggest Pitfalls
After weeks of testing heavy-duty dynamic microphones against the ‘acoustic mirrors’ we call hardwood floors, the results are clear. You can achieve a studio-grade sound without covering your home in ugly foam, but it comes at a premium. Here is the breakdown of what I discovered during my deep dive into the hardwood struggle.
- Pro: Surgical Isolation. Using a low-sensitivity dynamic capsule effectively ‘deletes’ the room, focusing entirely on your voice and ignoring the floor reflections.
- Pro: Industrial Durability. These heavy metal mics are built like tanks and won’t vibrate or rattle like plastic USB alternatives.
- Con: The Gain Tax. You will almost certainly need to spend an extra $100+ on a Cloudlifter or a high-end interface to get usable levels.
- Con: Mount Fatigue. The sheer mass of these rigs will cause cheap boom arms to sag and fail within minutes.
Is Your Room Ready for Heavy Metal?
This setup is the gold standard for the ‘modern’ creator—the person recording in a beautiful, minimalist apartment with polished floors and glass windows. If you refuse to turn your living room into a padded cell but still want to sound like a pro, this is your only path. It is also a lifesaver for anyone struggling with low frequency rumble in your desktop audio caused by floor vibrations.
However, if you are a beginner on a strict budget, this path might be too steep. I would suggest staying away from this heavy-duty ecosystem until you can afford a proper weighted base and a clean preamp. If you try to cut corners by using a heavy mic on a $20 stand, you are going to have a bad time. For those just starting out, check my list of 7 essential tools for any creator starting a home studio to build a more balanced foundation.
[image]
The Verdict: Stop Fighting Physics and Start Winning
Recording on hardwood is a fight against physics that you cannot win with software alone. While AI tools are improving, they still can’t match the richness of a clean, physical signal. If you have the budget, the ‘heavy dynamic’ route is a 9/10 solution that solves 99% of your acoustic problems. If the high cost of entry for an SM7B is too much, you can find a middle ground by looking at why this 90-dollar dynamic mic beats USB microphones for streaming. It offers similar rejection at a fraction of the price. The final word: Treat your floor like a mirror, buy gear that ignores the reflection, and never let a ‘boxy’ room ruin your content again. Check the latest prices on heavy-duty stands and dynamic mics before your next session.