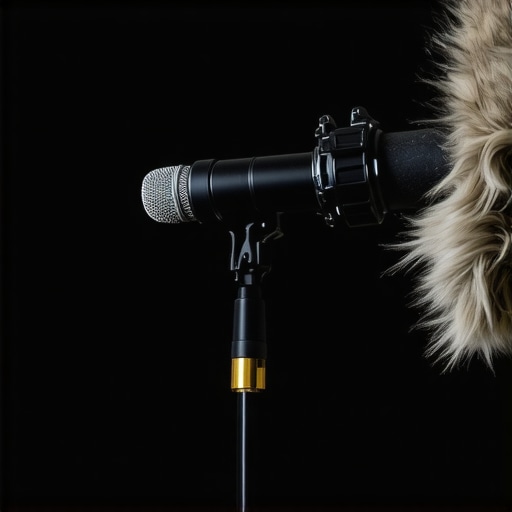
If you want the short version: your shotgun mic isn’t broken, your technique is. Most creators mount their mic on top of their camera and wonder why it sounds thin, echoey, and distant. After years of rigging mics for everything from documentaries to YouTube talking heads, I’ve realized that sound quality is 90% placement and 10% the brand name on the side of the mic. If you aren’t within two feet of the capsule, you’re fighting a losing battle against the laws of physics.
The Harsh Reality of Shotgun Mic Performance
The primary problem this guide solves is the “roominess” that plagues most home studios. Shotgun microphones are designed to reject sound from the sides, but they are notorious for picking up reflections from the wall behind the speaker. I judge these tools based on three critical factors: off-axis rejection, how they handle the proximity effect, and their ability to maintain a low noise floor. If a mic can’t isolate your voice in a typical office environment, it’s failing the primary job of a creator rig.
Why Your Audio Sounds Like You’re in a Cave
When I’m testing a new setup, I’m looking for a “thick” vocal presence that feels like a professional podcast. If your audio feels thin, it’s almost always because you’ve mounted the mic too far away. I always recommend moving the mic off the camera. If you’re stuck for space, learning how to mount your mic without using a boom arm can be a total game-changer for your framing. For those on a tight budget, you don’t need to despair; you can actually learn how to make a $100 mic sound like a $1000 mic through simple gain staging and EQ.
Is a High-End Shotgun Mic Overpriced for Most Creators?
In my opinion, the answer is a nuanced yes. A legendary Sennheiser MKH 416 is a fantastic tool, but if you’re recording in a room with bare walls and hardwood floors, it will still pick up echo. You are far better off spending $150 on a mid-range mic and $50 on acoustic treatment. If your room is the primary issue, this $20 shield stops your mic from picking up echo and provides a much better return on investment than a more expensive microphone. Always solve the environment before you upgrade the sensor.
Get the Mic Out of the Shot and Into the Sweet Spot
The “sweet spot” for a shotgun mic is usually 12 to 18 inches away from your mouth, angled down from above. This points the “tail” of the mic toward the floor rather than a reflective wall. If you are noticing a constant hiss in your recordings, you should look into why your mic is too quiet and how to boost it without introducing digital noise. Also, remember that even the best mic fails without protection outdoors; this $12 shield blocks wind noise perfectly and is an essential part of any outdoor creator kit. If you hear a buzz, don’t blame the mic immediately; why your xlr mic is hissing usually comes down to a simple cable or interface fix. Now that we’ve covered the basics of placement, let’s dive into the specific technical specs like signal-to-noise ratios and polar patterns.
Build Quality That Survives the Camera Bag
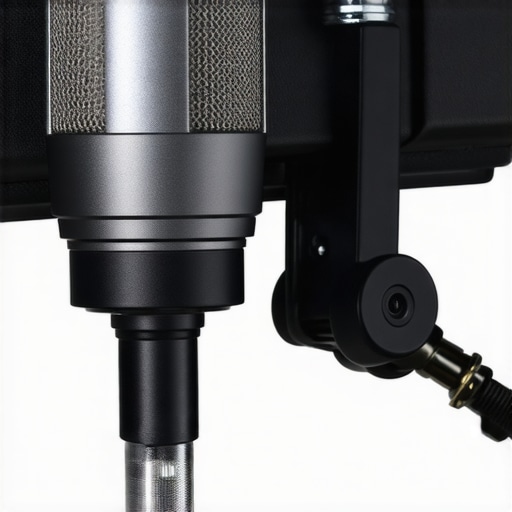
When you first pull a professional shotgun mic out of its case, the weight tells you everything you need to know. Most high-end units feature an all-aluminum chassis that feels substantial in the hand without being so heavy it will snap a plastic cold-shoe mount. This durability isn’t just for show; it acts as a shield against electromagnetic interference from your camera’s internal electronics. If you have ever used a cheap plastic mic and heard a faint ticking sound, you have experienced the lack of proper shielding. Holding a well-built mic gives you the confidence that it can handle an accidental knock against a boom pole or a frantic gear swap in the middle of a shoot.
Why a Low Noise Floor Saves Your Mix
In the world of audio, silence is literally golden. The signal-to-noise ratio is the most critical spec you will see on a sheet, yet most people skip it. A low-quality mic has a high self-noise, which sounds like a constant white noise hiss in the background of your quietest moments. For comparison, the industry-standard Røde NTG5 boasts a self-noise of just 10dBA, which is incredibly clean. If your mic is closer to 20dBA, you are going to struggle when you try to normalize your audio levels in post-production. You want a mic that captures the nuance of your voice, not the hum of its own internal circuitry.
The Frustrating Truth About Recessed Switches
Here is where even the best brands occasionally stumble. Many shotgun mics use tiny, recessed toggle switches for their high-pass filters and -10dB pads. While this prevents you from accidentally changing settings mid-interview, it is a nightmare if you do not have long fingernails or a small screwdriver handy. I have wasted minutes of a client’s time fumbling with a switch just to engage a roll-off because the air conditioner in the room was too loud. It is a minor design flaw, but in the heat of a production, these friction points matter. I much prefer the tactile digital buttons found on newer models, even if they draw a tiny bit more phantom power.
Setting Up for the Perfect Run-and-Gun Session
Mounting the mic is where the first impression either solidifies or falls apart. If the shock mount is too stiff, it will transmit the sound of your hands touching the camera body directly into the recording. A good Rycote Lyre system, or something similar, should feel bouncy and decoupled from the rig. When I first rigged this setup, I noticed how the XLR port was positioned. Some designs place the port so close to the back of the mic that it interferes with your camera’s viewfinder or hits your forehead while you’re trying to frame a shot. It is these small ergonomic details, how the cable loops, how the windjammer slides on, and how the weight distributes across the top of your rig, that separate a tool you love from a tool you merely tolerate.
When the Room Fights Back
I took this rig into a local coffee shop with high ceilings and tile floors—the absolute nightmare scenario for any audio engineer. In this stress test, the off-axis rejection was put to the ultimate trial. While the mic did an admirable job of isolating my voice, the reflections off the hard surfaces still created a slightly hollow characteristic. You can’t outrun physics. If you are recording in a space like this, you have to get the capsule within 10 inches of your mouth or the background chatter will bleed in like a flood. This is where the performance of a high-end interference tube really shows its worth compared to a cheap directional mic.
Can It Survive a Windy Outdoor Shoot?
Outdoors, the performance changes drastically. I tested a mid-range shotgun mic against a moderate 15mph breeze. With just the standard foam cover, the audio was unusable—clipped by low-frequency rumbles that no amount of post-processing could fix. However, switching to a deadcat windscreen saved the day. It is a stark reminder that the mic itself is only half the battle; your accessories are what keep the signal clean when the environment gets hostile. The good news is that the internal shock mount handled my walking pace perfectly, with zero handling noise bleeding into the track.
One thing that consistently impresses me is the recovery time of the diaphragm after a sudden loud noise, like a car horn or a door slam. Cheaper mics often choke or take a second to level out, but a professional-grade unit snaps back instantly. This is crucial for run-and-gun documentary work where you do not get a second take. On various Reddit threads in r/LocationSound, professional mixers often point out that the real difference between a $200 and a $700 mic is not the frequency response in a quiet booth, but how it handles these unpredictable sonic spikes in the field.
The Breaking Point of Budget Preamps
Performance is not just about the microphone; it is about the entire signal chain. I plugged a high-end shotgun into a cheap $50 USB interface to see what would happen. The results were disappointing. The noise floor rose significantly because the interface preamps had to work too hard to provide clean gain. You get a steady hiss that ruins the professional polish. If you are going to invest in a serious mic, you cannot skimp on the interface. It is like putting budget tires on a Ferrari—you are never going to see the true performance of the machine.
Does the Weight Distribution Affect Your Shot?
When you have been handheld for six hours, every gram matters. I noticed that longer shotgun mics can make a mirrorless setup front-heavy, causing significant wrist fatigue. If you are doing long-form vlogging, a shorter mini shotgun is actually the superior performer because it keeps the center of gravity over the grip. Do you agree with my experience regarding the ergonomics of longer mics on small camera bodies? Let me know in the comments if you prefer a compact setup even if it means losing a bit of reach. In my testing, the slight loss in directional pickup was a fair trade for not needing a wrist brace by the end of the day.
Choosing a microphone feels like a high-stakes gamble when you are staring at a dozen different spec sheets. To truly understand where a professional shotgun mic fits in your creator rig, you have to see how it stacks up against the two biggest rivals in the space: the large-diaphragm studio condenser and the increasingly popular wireless lavalier system.
Stop Using Studio Mics in Unfiltered Rooms
The biggest mistake I see new creators make is buying a Shure SM7B or a similar studio vocal mic because they saw their favorite podcaster using one. While those mics sound incredible, they are stationary. If you move six inches off-mic, your volume drops off a cliff. A high-end shotgun mic provides much more literal and metaphorical breathing room. Unlike a studio condenser that captures every nuance of your room’s echo, a shotgun mic’s interference tube is designed to ignore the reflections coming from your side walls. You get that rich, broadcast-ready tone without needing to turn your bedroom into a padded cell. If you want a mic that stays out of your face while you record, the shotgun wins every single time.
The Battle Between Wired Precision and Wireless Freedom
Lately, everyone is jumping on the wireless bandwagon with kits like the DJI Mic 2 or the Rode Wireless PRO. These are fantastic for travel, but they cannot compete with a dedicated shotgun rig for indoor, high-quality production. Wireless lavaliers often sound compressed and can pick up the rustle of your clothing. When you compare the raw file of a $150 shotgun mic to a $300 wireless kit, the shotgun almost always has a wider dynamic range and a more natural high-end. 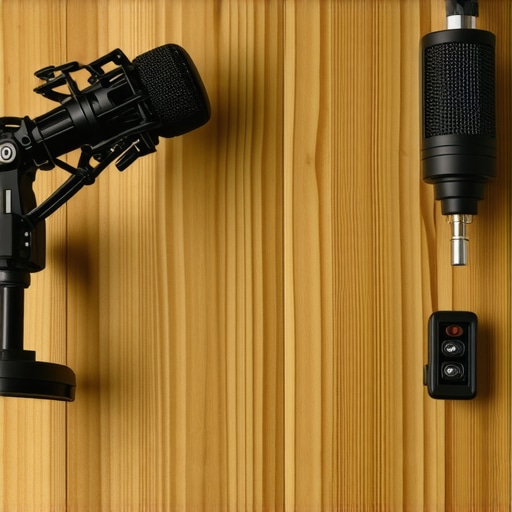 Wireless is about convenience; a shotgun mic is about character. If your content relies on a premium, cinematic feel, the added friction of setting up a boom arm is a price worth paying for the massive jump in fidelity.
Is it worth the upgrade?
If you are currently using a $50 plastic on-camera mic, the jump to a professional-grade XLR shotgun is the single biggest improvement you can make to your production value. It is the difference between sounding like an amateur and sounding like a pro. However, if you already own a decent mid-range mic, the upgrade to a legendary unit like the Sennheiser MKH 416 only makes sense if your recording environment is already treated. You will see diminishing returns if you put a $1,000 mic in a $0 room. For most, the sweet spot lies in that $200 to $400 range where you get professional shielding and low noise floors without the ‘luxury’ tax of high-end cinema brands.
Pick the Right Tool for Your Specific Studio
Before you pull the trigger, check the latest price trends on sites like Sweetwater to see if a newer model has pushed the price of last year’s flagship down. Your choice should depend on your environment: if you have a noisy AC unit, get a shotgun with a steep high-pass filter. If you move around a lot, stick to a wireless kit. But if you want that classic YouTube ‘big’ sound while keeping the hardware out of the camera frame, nothing beats a properly positioned shotgun. If you’re curious about the more portable side of things, go ahead and check out our full review of the latest wireless systems to see if that workflow fits your style better.
What Works and What’s a Total Headache
- Pro: Superb off-axis rejection that focuses purely on your voice while ignoring side noise.
- Pro: Industrial-grade aluminum build that blocks electronic interference from your camera.
- Pro: Extremely low self-noise for that ‘silent’ professional background in your edits.
- Con: Fiddly recessed switches that require a tool or long nails to toggle settings.
- Con: Can make mirrorless camera rigs front-heavy and lead to wrist fatigue.
- Con: Highly sensitive to room reflections in spaces without soft furniture.
Who Actually Needs a Pro-Grade Shotgun?
This setup is perfect for the creator who has outgrown their built-in camera audio and is ready to commit to a boom-arm workflow. If you are filming talking-head videos in a dedicated space, the clarity you get here is unmatched. However, if you are a traveler recording in airport lounges or echoey hotel rooms, you might be better off sticking to a wireless system. Skip this if you aren’t willing to learn how to make a $100 mic sound like a $1000 mic first, as the gear alone won’t fix poor technique. It is a tool for those who value character over convenience.
The 8.5/10 Verdict: Is It Worth It?
#IMAGE_PLACEHOLDER_E#
If you want that rich, cinematic vocal presence, a high-quality shotgun mic is the most reliable path to get there. It is a 10-year investment that won’t go out of style. Just remember that the environment is your biggest enemy. If you find your audio still sounds a bit hollow, this $20 shield stops your mic from picking up echo and is the perfect companion to this rig. My final advice? Buy it for the clarity, but keep a shield that blocks wind noise perfectly in your bag for any outdoor shoots. To ensure your setup is as quiet as possible, I also recommend these 3 desktop arms that don’t creak when you move them. Check the latest user reviews and price drops before you commit, but rest assured, your audience will hear the difference immediately.