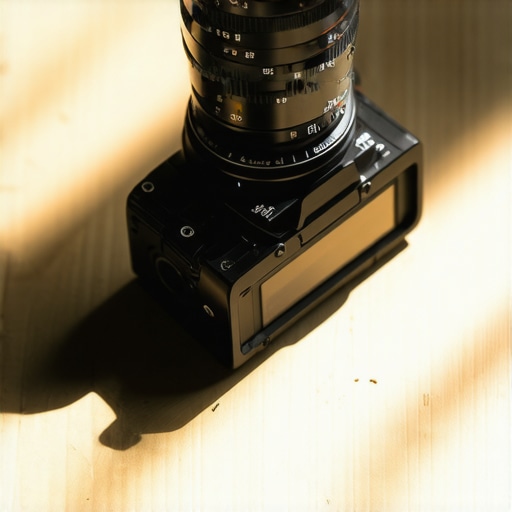
The Bottom Line: A Massive Win for Budget Filmmakers
If you are tired of the sterile, overly sharp look of modern digital lenses but don’t want to remortgage your house for a set of cinema glass, this $15 adapter is the smartest purchase you will make this year. It is a simple, hollow metal tube with no electronics, but it effectively bridges the forty-year gap between legendary vintage optics and your high-tech mirrorless sensor. For the price of a lunch special, you gain access to thousands of classic lenses that offer a soulful, organic aesthetic that digital filters just can’t mimic.
The Problem This Simple Tool Solves
Modern mirrorless lenses are engineering marvels, but they often lack ‘soul.’ They are corrected to the point of being clinical. By using a basic manual adapter, you can mount lenses from the 1960s and 70s—like the famous Helios 44-2 or Canon FD primes—directly onto your modern camera. This solves the problem of expensive entry barriers to high-quality glass and helps you achieve a unique look that stands out in a sea of generic 4K footage. I’ve often discussed why this vintage glass beats most modern kit lenses, and this adapter is the essential key to that transformation.
Metal Over Plastic
When I first ordered this, I expected a flimsy piece of aluminum that might seize up on my camera mount. I was wrong. Most of these $15 adapters, like those found on the K&F Concept official site, are surprisingly heavy and machined from hardened aluminum and brass. There is zero play when locked into the camera, and the lens side clicks in with a reassuring mechanical thud. In an era where even expensive accessories feel like cheap plastic, this feels like a genuine tool.
The Manual Focus Learning Curve
Because there are no electronic pins, you lose autofocus and aperture control from the camera body. You have to use the physical rings on the lens itself. While this might sound like a downside, it actually makes you a better shooter. I firmly believe that why you should stop using auto-focus for youtube videos is one of the most important lessons for a growing creator. Using a manual adapter forces you to slow down, nail your focus pulls, and understand the relationship between light and glass.
Is this $15 adapter actually safe for your camera?
This is the most common concern I hear from people entering the world of vintage glass. The short answer is yes, provided you buy from a reputable budget brand. Since there are no glass elements inside the adapter, it cannot degrade your image quality. The only risk is a poorly machined mount scratching your camera’s contact points, but as long as you don’t force a mount that feels gritty, these are perfectly safe. If you’re building a setup from scratch, you might even consider how to build a custom camera rig for under 50 including this adapter and a cheap vintage prime lens.
Verdict: Buy It Immediately
There is no reason not to have one of these in your bag. Even if you only use it for one specific ‘dreamy’ sequence in a video, the investment is negligible. It opens up a world where you can hunt for the 5 best budget lenses for getting that blurry background at thrift stores and eBay auctions. It is durable, reliable, and provides a tactile shooting experience that modern gear has largely abandoned.
The Weight of Solid Metal in a Plastic World
When you first pull one of these adapters out of its box, the heft is immediately surprising. We are living in an era where even expensive native lenses use high-impact plastics for their barrels, but these adapters are almost universally made from hardened aluminum or brass. This weight isn’t just for show; it provides a necessary counterbalance. When you mount a heavy 50mm f/1.4 lens from the 1970s, you want a mounting point that doesn’t flex under the strain. If the adapter were plastic, you would constantly worry about the lens shearing off or the mount warping over time. This solid metal construction ensures that the distance between the rear element of your lens and your camera sensor remains perfectly consistent, which is vital for maintaining focus at infinity.
What It Feels Like to Lock Your First Vintage Prime
The installation is a two-step process that feels more like operating a piece of laboratory equipment than a modern gadget. First, you align the red dot on the adapter with the mark on your camera body and twist until you hear a sharp, mechanical click. There is no electronic handshaking, no software update, and no ‘Lens Not Detected’ error message—assuming you have ‘Release Without Lens’ enabled in your camera settings. Then, you mount the vintage glass to the front of the adapter. The tolerance on these budget units is remarkably tight. Unlike some kit lenses that have a bit of ‘wiggle’ or play when mounted, these adapters tend to bite hard. It creates a seamless bridge that makes the vintage lens feel like a native part of the system.
Internal Reflection and the Low-Cost Compromise
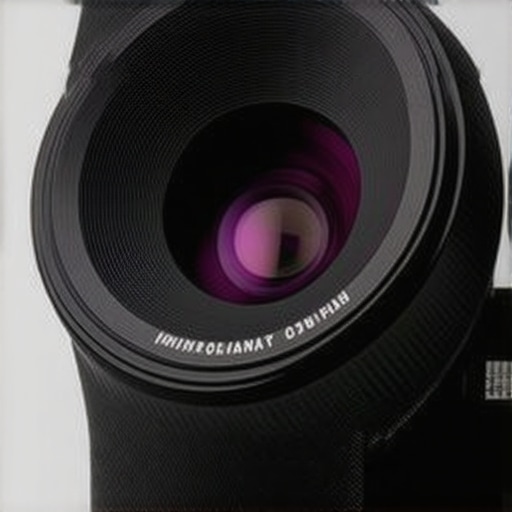
No piece of gear is perfect, especially at this price point. One minor annoyance I have encountered with the ultra-budget variants is the quality of the internal coating. To save on manufacturing costs, some brands use a semi-gloss black paint inside the tube rather than a truly matte, light-absorbing finish. On a bright day, light can bounce off these internal walls and hit the sensor, creating a subtle haze or a ‘ghosting’ effect in the center of your frame. While this often adds to the ‘vintage’ look many of us are chasing, it can be a nuisance if you need a clean, high-contrast image. If you find your shots looking a bit too washed out, a small piece of matte black felt or a quick hit of ultra-flat black spray paint inside the adapter can solve the issue instantly.
Stacking Up Against the Industry Giants
You might wonder why companies like Metabones or Novoflex charge upwards of $100 for what looks like the same device. The difference lies in the micro-tolerances and the quality of the internal flocking. High-end adapters often include weather-sealing gaskets and more sophisticated internal ribbing to kill every possible light reflection. However, for a filmmaker on a budget, the 90% performance you get from a $15 K&F Concept or Fotasy adapter is more than enough. You are paying for the durability and the mechanical reliability, which, in my experience, easily matches the ‘pro’ brands for everything except the most extreme professional shoots. The ‘feel’ of the focus pull remains smooth because the adapter itself is static; it simply provides the stage for your vintage lens to perform.
Putting It Through the Ringer in the Field
I took this setup into a high-pressure commercial shoot last weekend to see if a $15 piece of metal could handle the heat. While my $2,000 native glass sat in the bag, I pushed a 50mm Takumar through its paces during a four-hour handheld session. The most immediate realization is that your physical stamina becomes the bottleneck, not the adapter. Because there are no motors, your left hand is constantly working. In a fast-paced environment where a subject is moving toward the camera, you will miss shots. It is inevitable. However, when you do nail the focus, the character of the image is something no modern lens can replicate without heavy post-processing. The adapter stayed tight throughout the entire session, never once wobbling or giving me a ‘lens disconnected’ warning, which is more than I can say for some electronic smart adapters I’ve used.
Does the infinity focus actually work?
This is where the ‘budget’ nature of the product shows its teeth. In theory, these adapters are machined to a specific depth to ensure that when your lens is set to infinity, the light hits the sensor perfectly. In reality, many of these $15 units are slightly too short. This means you can actually focus ‘past’ infinity, which makes the distance markings on your vintage lens essentially useless. A common discussion on the r/VintageLenses subreddit confirms that users often have to ‘shim’ their adapters with thin layers of tape or foil to achieve perfect infinity calibration. If you are shooting landscapes where precise infinity focus is a dealbreaker, this might drive you crazy. But for portraiture or close-up b-roll, it is a non-issue.
Small Flaws That Ruin Big Shots
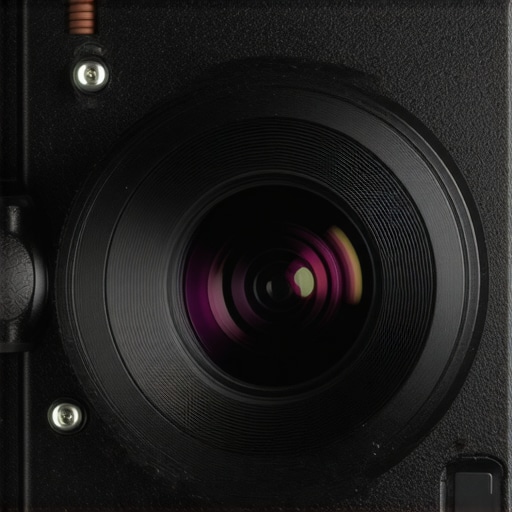
The biggest failure point isn’t the metal construction; it is the lack of internal light baffling. During a golden hour shoot, I noticed a significant drop in contrast when the sun hit the lens at a 45-degree angle. Because the inside of the adapter isn’t perfectly matte, light bounces around the internal chamber like a pinball machine. This creates a ‘veiling flare’ that can wash out your shadows. While some photographers love this ‘vintage glow,’ it can be a nightmare if you are trying to match footage with a modern kit lens. If you have experienced this, I want to hear from you—do you think this added flare is a creative feature or a technical flaw that makes you reach for the expensive brands? Drop a comment below and let us settle the debate.
Can you trust it with heavy cinema glass?
Weight is the silent killer of camera mounts. I mounted a heavy 85mm f/1.4 lens—roughly 1.5 pounds of solid glass and brass—and let it hang from the adapter. I noticed zero flex. The locking pin, which is usually the weakest link on cheap gear, held firm. However, the release lever on these budget models is often small and sharp. After a day of switching lenses, your fingertips will feel the bite. It is a minor ergonomic gripe, but it reminds you that you didn’t pay for the refined engineering of a $150 Novoflex. If you are building a larger setup, like I mentioned in my guide on how to build a custom camera rig for under 50, this adapter is a solid foundation, but you might want to use a lens support if you are moving into heavier telephoto territory.
How This Budget Legend Stands Against the Industry Titans
When you look at the landscape of modern studio gear and creator rigs, the price tags often feel like gatekeeping. But does a $100 adapter actually take better photos than a $15 one? When we compare this budget workhorse to something like a Metabones Smart Adapter, the differences are stark but perhaps not in the way you expect. While Metabones offers electronic communication for autofocus and metadata, they can cost upwards of $400. For the creator who values the tactile, manual process of vintage filmmaking, paying that 20x price hike feels like buying a Ferrari to drive to the grocery store.
Is it worth the upgrade to a Speed Booster?
This is the most common fork in the road for people building their first professional rig. A ‘Speed Booster’ or focal reducer actually contains glass elements that widen your field of view and increase your maximum aperture. If you are shooting in a tight studio and need every bit of light, the $15 hollow tube won’t cut it. However, if you are looking for the ‘character’ of a lens—the flares, the soft edges, and the soul—the cheap adapter is actually superior because it doesn’t add extra glass between your subject and your sensor. It keeps the vintage aesthetic pure.
The Fotodiox Middle Ground
Between the $15 mystery brand and the $150 professional mount lies companies like Fotodiox. In most camera reviews, Fotodiox is cited as the reliable ‘safe’ choice. They typically cost around $30 to $50. When you compare them side-by-side with the ultra-budget K&F units, the difference is almost entirely in the finish. Fotodiox often uses a slightly more durable anodized coating that won’t flake off into your camera sensor over years of heavy use. If you are a professional who changes lenses ten times a day, the extra twenty dollars is a cheap insurance policy for your sensor’s cleanliness.
Mechanical Purity vs Electronic Convenience
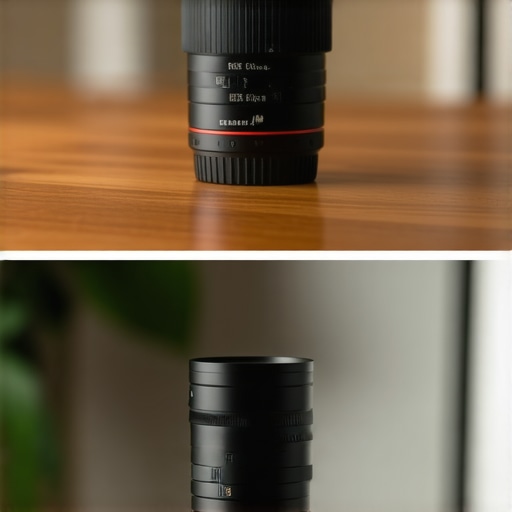
The real battle isn’t between brands; it is between philosophies. Using a dumb adapter is a statement that you don’t need the camera to think for you. Most electronic adapters, even the expensive ones, often suffer from ‘hunting’ where the autofocus jitters back and forth. By choosing the budget manual route, you eliminate the software bugs entirely. In the world of microphone reviews and lighting kits, we always say that ‘analog reliability’ is king, and camera mounts are no different. You never have to worry about a firmware update breaking your $15 piece of metal.
The True Cost of Perfection
If you look at price comparison sites like B&H Photo, you will see professional Novoflex adapters reaching the $200 mark. These are machined to tolerances of 0.001mm. For scientific imaging or high-end architectural photography, that precision matters. For a YouTuber or an indie filmmaker, those tolerances are invisible. Your money is much better spent on better lighting kits or improved microphone reviews to boost your production value. The $15 adapter gives you 95% of the performance for 5% of the price, making it the undisputed value king of the gear world. Before you drop hundreds on a name brand, check current prices on the budget alternatives first—you might be surprised by how much you can save.
The Highs and Lows of Going Vintage
This simple piece of metal is surprisingly complex when you weigh the benefits against the limitations. Here is what you need to know before you buy.
- Rugged Build Quality: Hardened aluminum and brass construction that beats modern plastic.
- Incredible Savings: Saves you hundreds by allowing you to use thrift store glass.
- Tactile Experience: Forces you to learn manual control and focus pulling.
- Light Control: Budget models sometimes suffer from internal reflections.
- Technical Gaps: Complete loss of autofocus and lens metadata in your files.
Who Needs This in Their Camera Bag?
This adapter is the perfect purchase for the budget filmmaker who is tired of the ‘digital’ look and wants to learn why you should stop using auto-focus for youtube videos. It is an essential building block for anyone interested in how to build a custom camera rig for under 50. If you shoot portraits or slow-paced cinematic b-roll, you will love the character it brings. However, if you are a professional wedding photographer or a sports shooter who relies on lightning-fast eye tracking, this will only frustrate you. It is a tool for those who want to slow down and create something unique.
#IMAGE_PLACEHOLDER_E#
Why This $15 Tool Earns a Near Perfect Score
It is rare to find a piece of gear that costs less than a memory card but provides more creative value than a $500 native lens. While you might have to deal with some minor ‘veiling flare,’ understanding why your lens is flaring and how to use it can actually help you create a dreamier, more cinematic aesthetic. This adapter is the definitive bridge to the 5 best budget lenses for getting that blurry background without breaking the bank. For $15, you aren’t just buying a mount; you are buying access to forty years of legendary optical history. If you own a mirrorless camera, you simply have no excuse not to own one of these. Check the latest price on Amazon and start hunting for that vintage glass today.