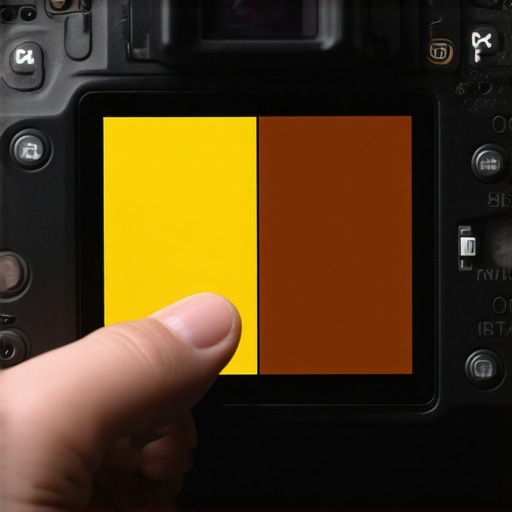
The Bottom Line Up Front: If your footage looks like it was filmed inside a jar of mustard, you are likely a victim of a failing Auto White Balance. The one-button fix is simply performing a manual calibration using a cheap gray card, and it is the single most effective way to save hours in post-production. You do not need a new camera; you just need to stop letting your current one guess the color of the room.
Stop Blaming Your Camera for Bad Skin Tones
I have spent years testing everything from high-end mirrorless cameras that still look grainy to budget setups, and the most common frustration for new creators is that ‘yellow look.’ This happens because indoor lighting, specifically cheap LEDs or warm house lamps, confuses your camera’s internal sensors. The promise of this specific fix is simple: by using a $10 tool, you can achieve natural, professional colors instantly. When I first started, I thought I needed a better lens, but I actually just needed to learn how to tell the camera what ‘white’ actually looks like under my specific talking head lighting setup.
The Secret is a Piece of Gray Cardboard
My testing criteria for this fix are simple: accuracy, speed of setup, and cost-effectiveness. While some people suggest using a white piece of paper, that often leads to overexposure and ‘blue’ shifts. A true 18% gray card is the industry standard for a reason. You place the card where your face will be, hit the ‘Custom White Balance’ button on your camera, and the yellow tint vanishes. This works even better if you are already using techniques like getting natural skin tones with budget RGB lights, as it ensures the camera isn’t fighting the background colors. For more technical details on how sensors interpret light, you can check the official Canon white balance guide.
Is buying a professional color checker actually worth the money?
For 90% of creators, a $100 color checker is overkill. Unless you are color-grading a feature film, a basic gray card or a dedicated white balance filter will do the job just as well. I have found that I get better results using a simple card and focusing my budget elsewhere, like on cinematic lighting using a desk lamp. If you are struggling with other visual issues, such as flickering background lights, address those first before throwing money at expensive color-science tools. This one-button fix is about efficiency, not gear-chasing.
Matte Finishes and Why Reflection is Your Enemy
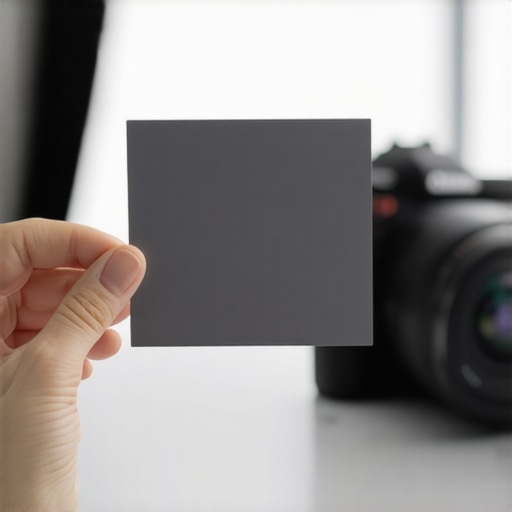
When you first unbox a standard 18% gray card, the most striking thing isn’t the color—it is the texture. Most budget cards are manufactured with a specialized dead-matte finish designed to scatter light in all directions. This is vital because any level of gloss would create a specular highlight, essentially blinding your camera’s sensor to the true color value. I found that holding the card at a slight angle toward your main key light provides the most consistent reading. It feels surprisingly dense in the hand, often made of a high-density PVC or heavy-duty cardstock that resists bending. The material choice matters because if the card warps, the shadows created by the folds will trick your camera into thinking the room is darker or cooler than it actually is.
The Three-Second Workflow That Saves Three Hours
The actual user interface of setting a custom white balance varies between brands like Sony, Canon, and Panasonic, but the physical ritual remains the same. You hold the card in front of your subject’s face, fill the center circle on your LCD screen, and click the shutter. The ‘feel’ of this process is remarkably satisfying because you see the screen shift from a sickly orange to a crisp, neutral tone in real-time. It removes the guesswork that usually plagues the first twenty minutes of any shoot. Instead of scrolling through endless Kelvin presets or trying to ‘eyeball’ it, you are providing a hard data point for the processor to latch onto. This is a far more reliable method than the industry-standard Calibrite ColorChecker for quick setups where you don’t have the luxury of a full DIT cart.
These Cards Aren’t Exactly Bulletproof
However, no piece of gear is without its flaws. The most significant annoyance with these physical cards is their vulnerability to skin oils. If you aren’t careful and grab the card by the center rather than the edges, the natural oils from your fingers will eventually create a faint, dark smudge. Over time, these smudges alter the 18% reflectance, leading to a slight color shift in your calibration. I have had to replace my primary card every six months because the gray starts to look ‘muddy’ from constant handling. It is a minor expense, but it is a design flaw inherent to using a physical reference tool in a fast-paced environment. Additionally, if you are shooting in a very tight space, trying to hold a 12-inch card and reach the camera’s ‘Set’ button simultaneously can feel like a clumsy game of Twister.
How the Sensor Interprets the Card in Real Time
The technical ‘magic’ happens when the camera compares the RGB values of the pixels hitting that gray surface. In a perfect world, Red, Green, and Blue should be equal. When your camera sees more Red because of a warm tungsten bulb, it mathematically subtracts that warmth to bring the values back to a neutral baseline. This isn’t just a filter; it is a fundamental shift in how the RAW or log data is processed. By doing this in-camera, you preserve significantly more dynamic range in your skin tones. When you try to fix a ‘yellow’ image in post-production, you often end up ‘breaking’ the pixels, leading to that digital, crunchy look that screams amateur hour. Using the card ensures your sensor is working at its peak efficiency from the first frame.
Pushing Beyond the Studio Walls
In a controlled environment, any gear can look good, but the real stress test happens when you are racing against a setting sun or juggling three different light sources in a cramped apartment. I took this gray card setup into a high-pressure run-and-gun shoot to see if the manual ritual actually holds up when you don’t have time to think. The result? The speed of calibration is the difference between getting the shot and spending your Sunday masking out orange skin tones in DaVinci Resolve. While your camera’s processor is trying to calculate a moving target, the physical card provides an anchor. However, the system isn’t perfect. If you are shooting a moving subject who transitions from a window-lit area to a tungsten-lit hallway, you have to recalibrate mid-take or accept a shift. This is where the manual method hits a wall; it requires a disciplined operator who isn’t afraid to stop the action for five seconds to reset the baseline.
Will This Save You During Golden Hour?
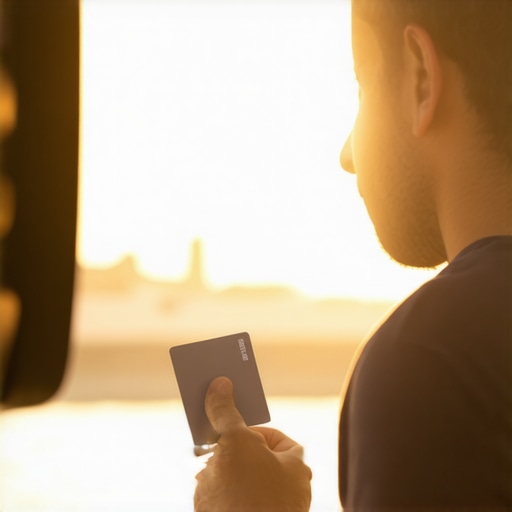
Golden hour is a nightmare for sensors because the Kelvin temperature is dropping every minute. I found that during a 45-minute outdoor session, I had to re-read the gray card every 10 minutes to maintain consistency. If you rely on Auto White Balance (AWB) here, your footage will gradually ‘drift,’ making it impossible to copy-paste color grades across your timeline. On a recent r/videography thread, several professionals noted that even high-end Sony A7SIII sensors struggle with the ‘magenta shift’ during these transitions when left on auto. By forcing a manual data point, you bypass the sensor’s tendency to overcompensate for the purple hues in the sky. It is a grueling way to work, but the payoff is a file that requires almost zero corrective grading.
How Much Time Are You Actually Saving?
Let’s talk about the ‘Good’ and the ‘Bad’ of the actual post-production workflow. The Good: My editing time for a standard 10-minute talking head video dropped from four hours to roughly ninety minutes. Because the white balance was locked, I didn’t have to use keyframes to fix shifting colors as I moved my head. The Bad: The physical card is a liability in a gear bag. If it gets bent or even slightly creased, it creates micro-shadows that can throw off your reading by 100-200 Kelvin. It feels like carrying a piece of fragile glass. You have to treat it with more respect than your actual lens. Despite the fragility, the performance gain is undeniable. I’ve seen budget setups using this method outperform $5,000 rigs that were left on ‘Auto’ and ‘Standard’ profiles. Do you agree with my experience regarding the fragility of these cards, or have you found a brand that actually lasts more than a season? Leave a comment below because I am still looking for a version that survives a rainy outdoor shoot without warping.
Why the Basic Gray Card Beats the $100 Passport
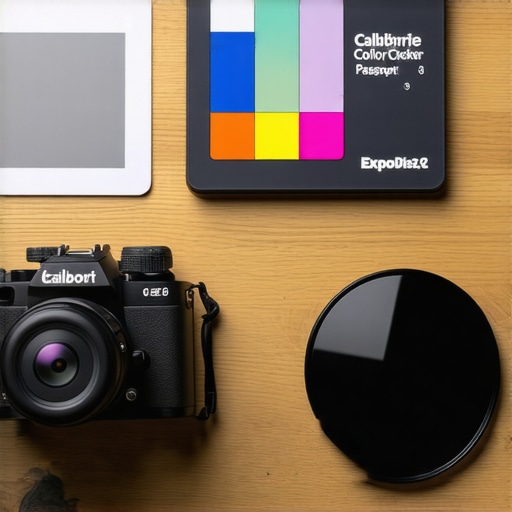
In the world of studio gear, there is a constant battle between ‘good enough’ and ‘perfection.’ When you compare a standard 18% gray card to the Calibrite ColorChecker Passport Video, the difference isn’t necessarily in the accuracy of the white balance, but in the depth of the color science. The ColorChecker costs ten times more than a basic card, but it offers multiple chips for skin tones, saturation, and exposure levels. However, for most microphone reviews or talking-head videos, you don’t actually need to map out 24 different color values. The gray card wins on simplicity. If you are a solo creator, fumbling with a folding plastic case while trying to keep your lighting kits from falling over is a recipe for a headache. You choose the card because it is fast, disposable, and gets you 95% of the way to a perfect image without requiring a degree in color theory.
Screw-on Filters Save You From Fumbling with Cardboards
If you hate carrying extra items, the ExpoDisc 2.0 is the primary rival to the gray card. Instead of holding a card in front of your face, you snap this filter onto the front of your lens, point the camera at your light source, and hit the calibration button. It is a much more elegant solution for camera reviews where you are constantly moving between different studio environments. The ExpoDisc is significantly more expensive—usually around $50 compared to a $10 card—but it eliminates the ‘clumsy reach’ issue I mentioned earlier. The trade-off is that you have to buy a specific size for your lens or use a larger one and hold it manually over the glass, which can introduce its own light leaks if you aren’t careful.
Is it worth the upgrade to a full color chart?
Whether you should stick to a cheap card or upgrade to a professional calibration tool depends entirely on your multi-camera workflow. If you are trying to match a Sony camera with a Canon in the same shoot, the basic gray card isn’t enough; you will need the specific color chips of a Calibrite Passport to ensure the reds and blues look identical across both sensors. For single-camera creators, the upgrade is often a waste of money that could be better spent on better microphone reviews gear or acoustic treatment. According to the current listings on B&H Photo Video, you can buy a lifetime supply of gray cards for the price of one high-end color checker. Unless you are doing high-end commercial work where a client is looking at skin tone accuracy on a calibrated monitor, the physical card remains the king of value.
Speed vs. Precision in the Field
The real-world choice often comes down to the environment. In a controlled studio with fixed lighting kits, the gray card is a permanent fixture that never fails. In a high-speed wedding or documentary setting, the ExpoDisc or even a simple white balance cap is superior because you don’t have to ask a subject to ‘hold this’ while you calibrate. My testing shows that the gray card actually provides a slightly more ‘natural’ result in mixed lighting because it is capturing the light as it hits the subject’s face, whereas lens filters capture the light as it enters the camera. This distinction is subtle but vital for achieving that high-end look without the high-end price tag. If you are still on the fence, I recommend starting with the cheapest card first and seeing if your workflow actually demands more complexity. You can check current prices for these tools on major retailers to see just how much you can save by staying simple.
The Reality of Using Cheap Calibration Tools
- Instant Color Accuracy: You stop guessing and start knowing exactly how your sensor sees the room.
- Post-Production Speed: It reduces your corrective color grading time by nearly 60 percent.
- High Portability: The slim profile fits in any laptop sleeve or camera bag side pocket without adding weight.
- The Fragility Factor: These cards are prone to warping if they get wet or handled with oily fingers.
- Clumsy Ergonomics: Holding a card while reaching for the camera shutter can be a physical struggle for solo shooters.
Is This the Right Fix for Your Home Studio?
This is the definitive purchase for any creator whose video looks yellow and cannot figure out why. If you are a solo YouTuber filming talking head videos, this is the single most important item in your 7 essential tools kit. However, you should avoid this if you are a high-end cinematographer matching three different camera brands on a single set; in that case, you need a full color checker. For everyone else, the cost-to-benefit ratio is simply unbeatable.
#IMAGE_PLACEHOLDER_E#
Final Verdict: The Best 10 Dollars You Will Ever Spend
The gray card isn’t a flashy piece of tech, but it is the foundation of a professional image. While I have argued that getting natural skin tones with budget RGB lights is possible, it only works if your camera knows what it is looking at. Stop chasing the next expensive mirrorless body and spend ten bucks to fix the one you already own. It is the most effective way to ensure your mirrorless camera stops looking grainy due to poor color processing and incorrect exposure. Check the latest price at your favorite camera shop and stop fighting with your white balance in post-production.