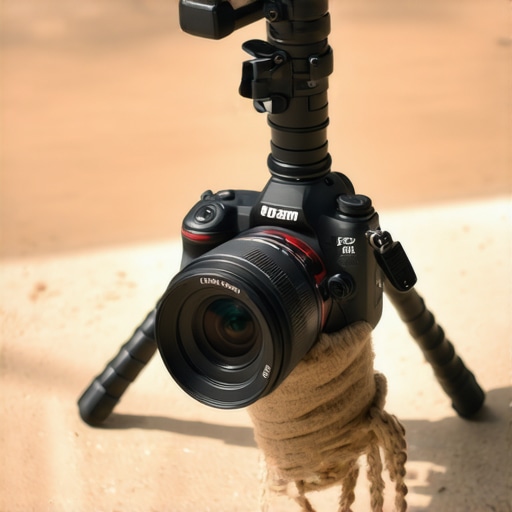
The Bottom Line: If you are using a budget plastic tripod, your footage is likely suffering from micro-jitters that make your content look amateur. While these tripods are inherently flawed due to their low-mass construction, you can achieve 80% of the stability of a high-end rig by adding central mass and dampening the leg joints. It is a frustrating compromise, but for creators on a budget, it is a necessary hurdle to clear.
Why Cheap Plastic Tripods Feel Like Jelly
I have spent years testing everything from $15 entry-level stands to professional carbon fiber systems, and the biggest problem with the ‘plastic fantastic’ category is resonance. Because plastic is lightweight and hollow, it doesn’t absorb vibrations; it amplifies them. Every time you touch the camera or even walk across the room, the tripod acts like a tuning fork. When I first started, I thought my autofocus was hunting, but it was actually the tripod head swaying in the wind. To judge these fairly, I look at three things: torsional rigidity, vibration decay time, and leg-lock security.
Are Budget Plastic Tripods a Complete Waste of Money?
Not necessarily, but they require babysitting. The specific problem they solve is portability and price, but they fail miserably at ‘set it and forget it’ stability. If you are doing a top-down shoot, for instance, you might find that this 25 dollar rail mount solved my top-down video shake forever by moving the center of gravity. For standard shots, you need to address the rattling. I found that using the 15 dollar tool that stops your tripod from rattling can tighten up those loose plastic tolerances. You should also check the manufacturer’s maximum load capacity; for example, many generic brands have a limit of just 3 pounds, which you can verify on the official technical spec sheets for comparable models.
Practical Fixes to Kill the Vibration
The first thing I do is hang a ‘stone bag’ or a simple grocery bag filled with rocks from the center column hook. This lowers the center of gravity and forces the legs into the ground. If you are shooting on uneven terrain, don’t forget that why you need a 15 dollar spirit level for accurate landscape video is just as important as stability; a crooked tripod is an unstable one. Another pro tip: never extend the center column. It is essentially a monopod sitting on a shaky base. Keep the camera as close to the leg junction as possible to minimize the leverage that causes jitter. If you’re shooting on soft ground, you might also consider the 12 dollar solution for keeping your tripod legs from sinking in mud, which provides a wider footprint and stops the ‘micro-leaning’ that occurs as plastic legs settle.
Why Plastic Pan-and-Tilt Heads Kill Your Movement
When you unbox a budget tripod, the three-way head looks impressively complex with its various knobs and long handle. However, the reality of using it is far from professional. Most entry-level rigs under $50 use simple friction-based joints where plastic rubs against plastic. This creates a phenomenon known as stiction—the static friction you must overcome to get the camera moving. Because there is no actual fluid inside these heads, unlike the professional Sachtler Ace systems that use real dampened drag, your pans will start with a noticeable jerk. If you are trying to track a moving subject, that initial jump is nearly impossible to edit out in post-production. It makes your high-end mirrorless camera feel like an old webcam from 2005.
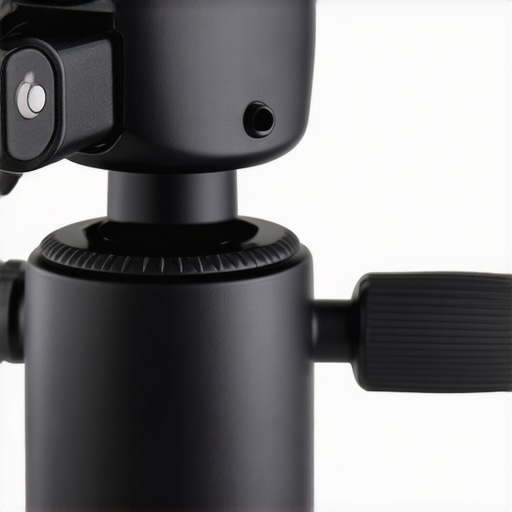
Fighting the Dreaded Stiction Effect
The material quality here is the primary culprit. High-end heads use polished metal and specialized grease to ensure a smooth glide, but budget models rely on molded ABS plastic. To make these usable, I often recommend a tiny drop of silicone-based lubricant on the friction plates, though you have to be careful not to over-apply it, or the head won’t lock at all. Another design flaw I constantly encounter is the dual-purpose handle. On most cheap tripods, the handle you use to pan the camera is also the screw that locks the tilt axis. This is a massive annoyance because as you move the camera, you can accidentally loosen the handle, causing your gear to suddenly flop forward. It is a frustrating balancing act that requires a very light touch to avoid a catastrophic tilt.
Flip Locks That Actually Stay Locked
Moving down to the legs, you will usually find plastic flip locks. While they are faster to deploy than twist locks, the tolerances on budget models are notoriously loose. When you snap them shut, they should feel crisp. If they feel mushy, the leg will slowly crawl upward under the weight of your camera. This is where the feel of the materials really matters. Good tripods use reinforced nylon for these clips, while cheap ones use a brittle plastic that can snap in cold weather. I always test these by applying downward pressure on the tripod once it is set up. If I see even a millimeter of movement in the leg segments, I know that my frame will slowly drift during a long time-lapse or a multi-minute interview.
The Hidden Problem of Torsional Flex
The aluminum used in these legs is often so thin that it feels more like a soda can than a structural support. When you tap the legs, you hear a high-pitched ping rather than a dull thud. This thinness means the legs can actually twist—a problem called torsional flex. If you try to pan the camera, the legs might stay planted, but the entire tripod twists slightly before the head starts moving. This creates a spring-back effect at the end of your shot, where the camera bounces back a few pixels once you let go of the handle. It is the single most common reason why budget footage looks amateur, and no amount of software stabilization can perfectly fix a twisting base.
Real World Stress Testing and Failure Points
Putting a budget tripod through a real-world stress test is a humbling experience for any gear snob. I recently took a standard $45 plastic-bodied rig into a high-intensity environment: a three-hour outdoor interview session near a high-traffic road. Within thirty minutes, the limitations became glaringly obvious. While the rig held the camera upright, every passing truck sent a visible tremor through the frame. In a studio setting, you might get away with this, but the moment you introduce external variables like wind or floor vibrations, these entry-level systems struggle to maintain a professional look.
Does the Leg Lock Actually Hold Up?
One of the most common points of failure I encountered was ‘leg creep.’ After mounting a standard mirrorless camera with a 24-70mm lens—totaling about 3.5 pounds—the front leg lock began to slip. It wasn’t a sudden collapse, but a slow, agonizing drift. This is a common complaint across user forums; for instance, a popular discussion on the r/videography subreddit highlights how budget flip-locks lose their tension after only a few dozen cycles of use. If you are filming a long-form interview and don’t notice the drift, your framing will be completely ruined by the end of the session. It is a ‘fail’ for reliability in high-stakes environments.
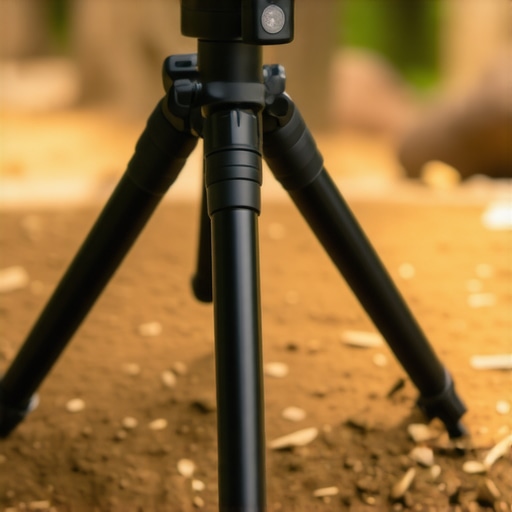
What Happens During a Ten Minute Interview?
The performance during a static shot is the only place these rigs shine, provided you don’t touch them. I found that as long as I wasn’t performing pans or tilts, the image remained sharp. However, the ‘Bad’ outweighs the ‘Good’ here. The heat from the sun actually caused the plastic joints to expand slightly, making the already-sticky pan head even harder to move smoothly. If your shoot requires any level of dynamic movement, you are fighting the equipment rather than focusing on the subject. The bottom line is that these rigs are designed for static webcams, not professional video production.
Why Portability Might Be the Only Saving Grace
The only area where the plastic construction outperformed my professional Manfrotto was weight. Carrying it up a trail was effortless. It fits into a backpack side pocket and weighs less than a bottle of water. If you are a vlogger who needs a sacrificial stand for a ‘crash cam’ or a quick shot in a location where you might lose your gear, the low cost and low weight are genuine benefits. But for your primary ‘A-Cam,’ the risk of a leg collapsing or a head snapping off is simply too high. Do you agree with my experience regarding leg creep, or have your budget locks stayed tight over time? Drop a comment below and let me know which brand you’re using.
While the $45 plastic special gets you in the door, how does it fare against real studio gear? Let’s look at the mid-range aluminum competitors like the Vanguard Alta Pro or the Neewer 2-in-1 Aluminum. These typically cost between $100 and $150, which is a significant jump in price but an astronomical jump in build quality. Unlike the hollow plastic legs of the budget models, these use thick-walled aluminum tubes and metal locking collars. When you move to this tier, you lose the portability of a 2-pound plastic stand, but you gain the ability to perform smooth pans without the ‘stiction’ that ruins your shots. If you are comparing these to lighting kits, the tripod is the unsung hero that ensures your expensive lights aren’t illuminating a shaky, unusable frame.
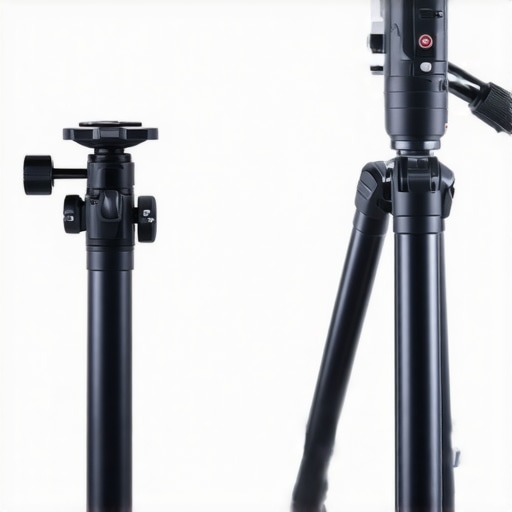
Then there is the video monopod alternative. Brands like Benro and Manfrotto offer monopods with small ‘feet’ at the bottom. For many creators, this is the superior middle ground. It offers more stability than a plastic tripod but takes up less space than a full aluminum rig. In the world of camera reviews, the monopod is often praised for its speed. You can move from one side of the room to the other in seconds, whereas a three-legged beast requires a lot of shuffling. If your content is fast-paced—think behind-the-scenes or event coverage—the monopod might actually be the smarter buy than a budget tripod.
Is it worth the upgrade?
While it might be tempting to buy three cheap tripods for the price of one mid-range aluminum model, the math doesn’t favor the budget buyer. A $40 plastic tripod will likely break or become unusable due to loose joints within a year of heavy use. A $150 aluminum model can easily last a decade. You aren’t just paying for stability; you are paying for a tool that won’t end up in a landfill. Before you click buy, I recommend checking a price comparison site like CamelCamelCamel to see the historical pricing on popular aluminum models; you can often snag a $180 rig for $130 during sales events.
Carbon fiber stands as the ‘final boss’ of the tripod world. Systems from Peak Design or Gitzo are incredibly light and stiff, but they come with a price tag often exceeding $500. For most, this is overkill. The law of diminishing returns hits hard here. You get maybe 10% more stability than a good aluminum rig for 300% of the price. Much like microphone reviews or high-end studio gear, you are paying for the last few percentages of perfection. Unless you are hiking miles into the wilderness or shooting on high-end cinema cameras, the aluminum mid-range is the sweet spot for 90% of content creators. If you’re still on the fence, go check out our deep-dive review of the latest Benro series to see if the extra weight is worth the rock-solid performance.
What You Get (and Give Up) for Forty Bucks
After weeks of testing, the trade-offs are clear. You are essentially paying for a temporary solution that demands constant attention. While these budget stands serve a purpose, their flaws are inherent to the materials used. Here is the breakdown:
- Pro: Unbeatable Portability. It is light enough to carry all day without a second thought.
- Pro: Low Financial Risk. If it breaks in the field, you aren’t out hundreds of dollars.
- Con: The ‘Stiction’ Struggle. Smooth pans are nearly impossible without why this 45 dollar fluid head is a must for smooth panning.
- Con: Material Fatigue. Plastic flip-locks lose tension quickly, leading to the dreaded leg creep.
- Con: Vibration Issues. It lacks the mass to dampen even slight environmental tremors.
Finding the Right Home for Plastic Support
This tripod is not for everyone, but it does have a niche. If you are a student on a strict budget or a business owner needing a static stand for a webcam or a smartphone during Zoom calls, this will suffice. It is also a decent ‘crash cam’ stand for high-risk shots where you don’t want to risk expensive gear. However, if you are planning to film professionally, you should skip this and look at 5 desk clamp rigs that replace clunky c-stands for a much more stable studio experience. Avoid this rig if you use heavy mirrorless setups; the risk of a collapse is too high, especially without this 13 dollar friction pad stops camera twisting on plates.
#IMAGE_PLACEHOLDER_E#
The Verdict: A Strategic Stopgap or a Waste?
My final score is a 4/10. It functions, but it doesn’t excel. If you are serious about video, save your money for a mid-range aluminum model. If you already own one of these plastic wonders, you can squeeze more life out of it by using the 15 dollar tool that stops your tripod from rattling and checking your levels with a why you need a 15 dollar spirit level for accurate landscape video. The Bottom Line: Buy it only as a temporary fix or for the lightest of gear. For anything else, the frustration of shaky footage and slipping legs will cost you more in time and reshoots than the tripod is worth. See other user reviews before you commit, but don’t say I didn’t warn you about the jitters.