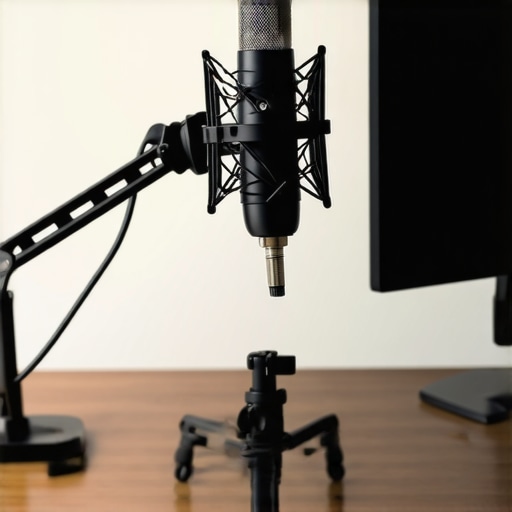
Ditch the Swing Arm for a Cleaner Desk
If you are tired of your desk looking like a construction site because of a massive metal claw hanging over your monitor, you are not alone. Most creator rigs start with a boom arm, but for many of us, they are just in the way, blocking the view or sagging under the weight of a heavy mic. The bottom line up front: You can absolutely achieve professional audio without a boom arm by using weighted bases, friction mounts, or monitor-integrated rigs, provided you manage the desk vibrations. These alternatives offer a significantly cleaner aesthetic and better stability for permanent setups.
My goal is to solve the clutter and mechanical noise issues inherent in cheap tension-spring arms. While some believe a swinging arm is the only way to get a mic close to your mouth, I have found that these three methods provide more rigidity and a much lower profile in your camera frame.
Is a Boom Arm Really Necessary for Pro Audio?
The short answer is no. While proximity to the microphone is essential for the proximity effect and rich low-end, you do not need a crane to get the mic where it needs to be. Many professional broadcast booths use fixed mounts or short risers to keep the line of sight clear. As noted in technical spec sheets for professional microphones like the Shure SM7B, the mount only needs to be secure and isolated from vibration to function perfectly.
How I Picked the Best Alternative Mounts
To find the best way to ditch the arm, I judged these setups on three strict criteria: Stability (does it wobble when you type?), Footprint (how much desk real estate does it steal?), and Cable Management. I have found that while a boom arm is versatile, it often introduces unwanted noise. For example, I previously reviewed how this 30 arm holds your mic without constant squeaking, but even the best arms eventually develop mechanical fatigue. Removing the springs entirely is the only way to ensure total silence.
The Heavy Weighted Base Solution
The first and easiest method is the low-profile weighted base. This is a solid metal plate that sits directly on your desk. It is the most stable option for heavy dynamic mics that usually cause boom arms to sag. I highly recommend checking out the 12 weighted base that stops your mic from tipping if you use a front-heavy microphone. The only downside is that the mic sits closer to your desk surface, which can lead to reflections. I’ve found that this 10 piece of felt kills tabletop mic echo almost instantly, making the desktop stand a viable professional choice.
Why Rigid Mounts Feel More Professional Than Spring Arms
When you first unbox a high-quality weighted base or a friction-mount riser, the immediate takeaway is the sheer density. Unlike the hollow aluminum and exposed springs of a budget boom arm, these solid steel components feel like specialized tools rather than desk toys. This density is more than just a premium feel; it is a functional requirement. If you are using a heavy-hitter like the Shure SM7B, you know the struggle of a boom arm that slowly sags until the mic is resting on your spacebar. By using a rigid desktop stand, you eliminate the mechanical failure points entirely. The stability is absolute, providing a set-it-and-forget-it workflow that simply does not exist with tension-based systems.
Getting Your Mic Into Position Without the Clutter
The setup process for a monitor-integrated rig is surprisingly straightforward but requires a bit of planning regarding your sightlines. Instead of a large arm swinging across your torso, a friction mount typically attaches to the back of your desk or even the VESA mount of your monitor. This puts the microphone on a short, adjustable stalk. In my testing, this kept the microphone roughly four inches below my chin—perfect for picking up rich vocal tones while remaining completely invisible to my webcam. The tactile response of a friction hinge is much more satisfying than tightening a plastic thumb screw on a cheap arm; it stays where you push it, but moves smoothly when you need it to.
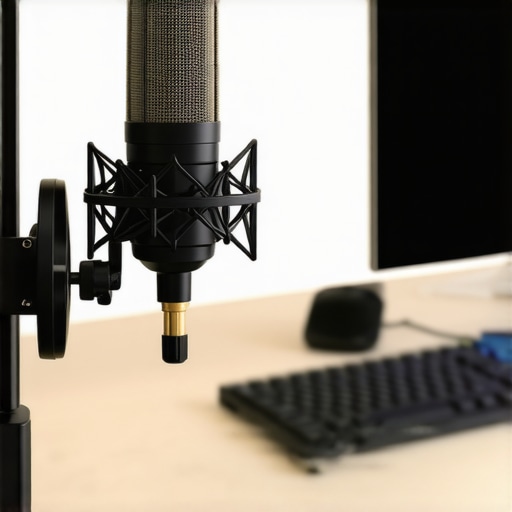
Taming the Cable Chaos Beneath the Mount
One of the biggest selling points for boom arms is their integrated cable channels, but they often fail when you use thick, high-quality XLR cables. With a fixed desktop mount, cable management is actually easier because the path to your audio interface is much shorter. I prefer to run the cable directly down the riser and under a desk mat. However, I did encounter a minor annoyance: because the mount is fixed, any slack in the cable can look messy against a clean desk. You really have to commit to zip-ties or velcro wraps to keep the aesthetic as clean as promised. It is a one-time setup tax for a much cleaner daily look.
Dealing with the Dreaded Desk Thump
While the stability of a fixed mount is superior, it does introduce a specific challenge: mechanical coupling. Because the mount is physically bolted to or sitting on the desk, every keystroke on a mechanical keyboard or every accidental bump of the table sends a low-frequency vibration straight into the microphone capsule. Even the high-end Rode PSA1+, which is an industry-standard boom arm, uses internal springs and neoprene to dampen this. When you switch to a rigid base, you lose that isolation. To combat this, I found that a dedicated shock mount is non-negotiable. Without a basket-style shock mount to float the mic, your listeners will hear every thump of your fingers, which can be far more distracting than the occasional squeak of a boom arm spring.
Testing the Rig Under Real Pressure
To truly push these low-profile mounts, I spent a week using a weighted-base setup during high-intensity 4K editing sessions and live streaming. In these scenarios, you aren’t just sitting still; you are reaching for controllers, typing at 90 words per minute, and occasionally bumping the desk in frustration. The stability of a 10-pound solid steel base is unmatched. Unlike a boom arm that might ‘shiver’ for three seconds after a bump, a heavy base absorbs the initial shock and stays dead silent. However, the limitation becomes clear when you need to adjust on the fly. If you move from a sitting to a standing position, you can’t just pull the mic toward you. You have to physically lift and reposition the base, which is a clunky, two-handed operation that feels prehistoric compared to the fluid motion of a high-end arm.
What happens when you actually start typing?
This is where the ‘clean’ aesthetic meets a hard reality. During a session with a mechanical keyboard, the lack of isolation was glaring. In a popular discussion on the r/streaming subreddit, several users noted that rigid mounts act like a tuning fork for keyboard noise. My testing confirmed this: without a high-quality shock mount, the vibration from a Cherry MX Blue switch travels directly through the desk, up the metal riser, and into the capsule. It creates a low-end ‘thump’ that no software noise gate can fully eliminate without clipping your voice. If your setup involves heavy typing while the mic is live, the rigid mount is a liability unless you invest in a thick, multi-layered isolation pad.
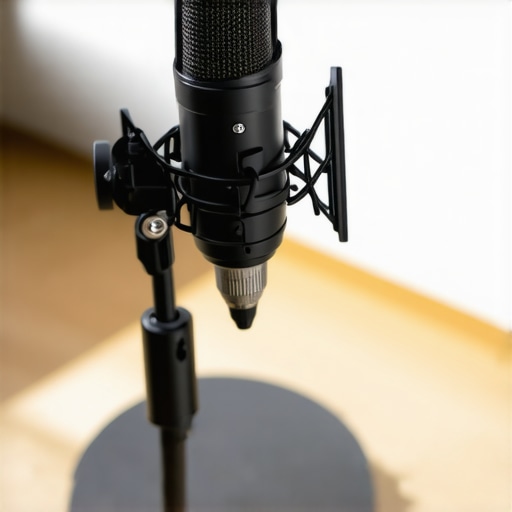
Does a thick XLR cable ruin the balance?
One detail often overlooked is cable drag. When using a premium Mogami or Canare XLR cable, the weight and stiffness of the wire can actually pull lighter desktop stands out of alignment. I found that with a friction-mount riser, I had to overtighten the hinges specifically to counteract the torque of the cable. It works brilliantly once set, but it’s a finicky process. The ‘The Good’ part of this is the sheer reliability; once that friction hinge is locked, it will not sag, even if left for months. The ‘The Bad’ is the setup tax—you will spend twenty minutes fighting with cable slack just to keep the desk looking as clean as the marketing photos suggest.
The Brutal Truth About Desk Resonance
Performance in a vacuum is one thing, but in a small home studio, desk resonance is the ultimate enemy. The rigid mount performs better than a cheap spring arm in terms of mechanical ‘squeaks,’ but it fails to provide the air-gap isolation that a suspended boom arm offers. I noticed that my PC’s cooling fans, which create a very slight vibration on the desk surface, were being picked up as a 60Hz hum when the mic was on a weighted base. I had to add a layer of sorbothane hemisphere bumpers to the bottom of the base to decouple it from the desk. It’s a cheap fix, but it’s an extra step that most users won’t expect. Do you agree with my experience regarding the transfer of mechanical noise, or have you found a way to isolate your rigid mounts more effectively?
How Rigid Mounts Stack Up Against the Big Names
When you decide to move away from the traditional swing-arm aesthetic, you are effectively choosing a specialized workflow over a general-purpose one. In the world of studio gear and creator rigs, the decision usually comes down to whether you prioritize the convenience of movement or the rock-solid stability of a fixed position. Let’s look at how the rigid setup compares to the industry giants.
Rigid Mounts Go Head-to-Head with the Rode PSA1+
The Rode PSA1+ is widely considered the gold standard for podcasting and streaming. It is dead silent, incredibly fluid, and holds its position perfectly. However, the PSA1+ is still a massive piece of hardware that looms over your shoulder. In a direct comparison, a weighted base or friction-mount rig wins on pure aesthetics. If your content relies on a clean, ‘minimalist’ look where the microphone shouldn’t be the star of the show, the rigid mount is the clear winner. The trade-off is functionality; you lose the ability to swing the mic out of the way for a quick snack or a shift in posture. For those who demand a permanent, architectural look for their camera reviews or studio gear showcases, the rigid base provides a sense of intentionality that a swinging arm simply cannot match.
Is it worth the upgrade from a budget spring arm?
If you are currently using a $20 generic spring arm from an online marketplace, the upgrade to a heavy-duty friction mount or a weighted steel base is night and day. You aren’t just paying for looks; you are paying for the elimination of that annoying ‘boing’ sound every time you touch your desk. While budget arms are notorious for sagging after three months of use, a solid steel riser has zero moving parts to fail. It is a one-time investment that will likely outlive the microphone you mount on it.
The Battle for Desk Space: Rigid Bases vs Elgato Wave LP
The most serious competitor to the rigid desktop mount is the Elgato Wave Mic Arm LP. This low-profile arm sits beneath your monitor and provides the same ‘hidden’ aesthetic as a desktop base but retains the swivel functionality of a boom arm. In my testing, the Elgato LP is the superior product for users who need to move their mic frequently. However, it costs significantly more. A high-quality weighted base can be found for under $20, while the Elgato LP typically retails for around $100. If you have a dedicated ‘recording spot’ and don’t plan on moving, the rigid base offers 90% of the visual benefit for 20% of the cost.
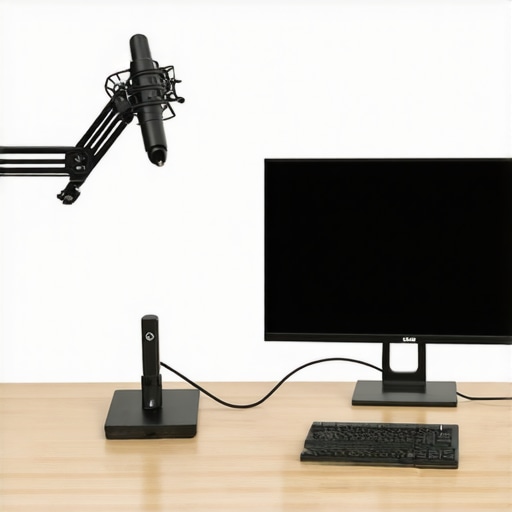
One area where the rigid mount consistently loses is cable management. The Elgato and Rode options have built-in tracks that hide your XLR cables entirely. With a weighted base, you are left to your own devices. You’ll need to get creative with velcro ties and routing to keep your desk from looking like a snake pit. For those who enjoy the process of ‘building’ their rig, this is a minor hurdle, but for the plug-and-play crowd, the premium price of a high-end arm might be worth the saved frustration.
The Verdict on Stability vs Flexibility
Ultimately, choosing a rigid mount over a competitor like the PSA1+ or Wave LP is a statement of workflow. If your microphone reviews or streaming sessions are stationary and predictable, the stability of a weighted base is unbeatable. It feels like a piece of professional broadcast equipment. If you are a dynamic creator who moves around the room, stands up to demonstrate products, or shares a desk with other tasks, the limitations of a fixed mount will eventually grate on you. Before you commit, I recommend you check out the current prices for both the Elgato LP and high-end weighted bases to see which fits your budget and desk layout best. Do you prioritize the ‘set it and forget it’ nature of a solid base, or do you need the reach of a professional arm?
The Highs and Lows of Solid Steel Support
- Rock-Solid Stability: Unlike cheap arms, a weighted base will never sag under the weight of a heavy dynamic microphone.
- Silent Operation: You completely eliminate the mechanical ‘boing’ sound of tension springs.
- Minimalist Aesthetic: Your desk looks professional and uncluttered in camera frames.
- Mechanical Coupling: Every desk thump goes straight to the mic capsule. You really need to understand the reason your mic still picks up your keyboard clicks to fix this.
- Zero On-the-Fly Adjustability: You cannot just swing the mic away when you are done; it is a permanent fixture.
Who Actually Benefits from a Fixed Rig?
This setup is the perfect match for the minimalist streamer or the professional voiceover artist who has a locked-in desk position. If you have spent time researching why professional creators are switching to steel desk mounts, you already know that the trade-off in flexibility is worth the gain in perceived production value. However, you should avoid this if you are a dynamic creator who frequently moves from sitting to standing or if you share your desk with non-audio tasks. For those users, a low-profile arm like the one mentioned in my look at how this 30 arm holds your mic without constant squeaking might actually be the better middle ground.
My Final Verdict on the Rigid Mount Revolution
If you value a clean, architectural look and can commit to a fixed position, switching to a rigid mount is a massive upgrade in both style and reliability. It feels like a permanent tool rather than a temporary accessory. To make this work, I highly suggest you pair it with this 10 piece of felt kills tabletop mic echo to manage the acoustic reflections from your desk surface. This is an 8/10 solution that solves the clutter problem better than anything else on the market. Before you pull the trigger, check out the 12 weighted base that stops your mic from tipping to see if it fits your specific microphone weight and footprint requirements.