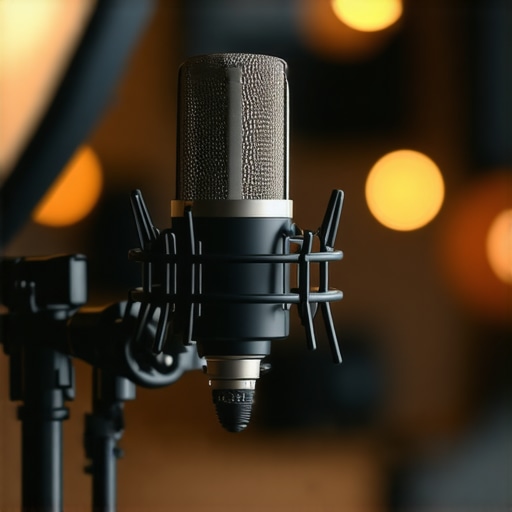
Bottom Line Up Front: If your voice sounds thin, tinny, or like you’re recording from the bottom of a well, the problem is likely physics, not a broken microphone. Most ‘tiny’ audio is caused by excessive distance from the mic capsule and untreated room reflections. Fixing your proximity and gain staging will do more for your tone than a $1,000 upgrade ever could.
The Standards for Professional Vocal Presence
As someone who has spent years testing everything from budget creator rigs to high-end studio gear, I judge audio quality based on three pillars: tonal weight (the presence of low-mid frequencies), signal-to-noise ratio, and intelligibility. I’ve seen $400 setups sound like garbage and $50 setups sound like professional broadcasts simply because the user understood how to manipulate their environment. To fix a thin voice, we have to look at how sound interacts with your gear and your room. [image_placeholder_1]
Get Close to the Capsule
The fastest way to add ‘body’ to a weak voice is through the proximity effect. This is a physical law where bass frequencies increase as you get closer to a directional microphone. If you feel why your usb mic sounds hollow is your main issue, try moving within four to six inches of the grill. If your mic setup is unstable and keeps drifting away from you, this 12-dollar metal plate can help keep your boom arm exactly where it needs to be for consistent tone.
Does a More Expensive Microphone Actually Fix a Thin Voice?
In many cases, no. A more expensive microphone, like a high-end dynamic, often requires significantly more power to sound ‘full.’ If you plug a pro-level mic into a cheap interface, you might find that why your dynamic mic needs a pre-amp booster becomes the central theme of your technical struggles. Without enough clean gain, you’ll end up with a weak, hiss-heavy signal. You can see the specific gain requirements for industry standards in the official Shure SM7B manual to understand why power matters for depth.
Ditch the Auto-Gain Settings
Digital processing is often the culprit behind a ‘robotic’ or ‘tiny’ sound. Many default operating system drivers apply aggressive automatic gain control that squashes your natural resonance. This is a primary reason why you should avoid using auto-gain for live streams. By taking manual control of your levels, you preserve the low-end frequencies that give your voice its authority. When you combine manual gain with a proper recording environment, you can finally eliminate background hiss in your voiceovers and achieve that thick, professional sound.
Stop Fighting the Room Reflection
Lastly, if your room has bare walls, your microphone isn’t just hearing you; it’s hearing a thousand tiny versions of you bouncing off the drywall. This creates phase cancellation that thins out your voice. Many creators realize too late why your studio audio still sounds echoey despite using foam. You need soft materials to absorb those reflections so the mic only captures the direct, rich sound of your vocal cords. Now that we’ve covered the basics of signal depth, let’s dive into the specific hardware settings that can further refine your output.
When you first unbox a piece of high-end audio gear, the weight tells you almost everything you need to know before you even plug it in. There is a distinct psychological shift that happens when you move from a plastic, feather-light USB microphone to a solid zinc-alloy or aluminum-housed dynamic mic. That heft isn’t just for show; it serves as a primary defense against handling noise and electromagnetic interference. If you can feel the vibration of your computer fan through the chassis, the microphone is going to hear it too.
Rugged Metal Always Trumps Flimsy Plastic
In my experience, the build quality of your audio interface is just as critical as the microphone itself. A professional interface should feel like a piece of industrial equipment, not a desktop toy. I look for brushed metal finishes and enough weight to prevent the device from sliding across the desk the moment a heavy XLR cable is attached. When you interact with these tools daily, the tactile feedback of the gain knobs becomes your primary point of contact with your sound. 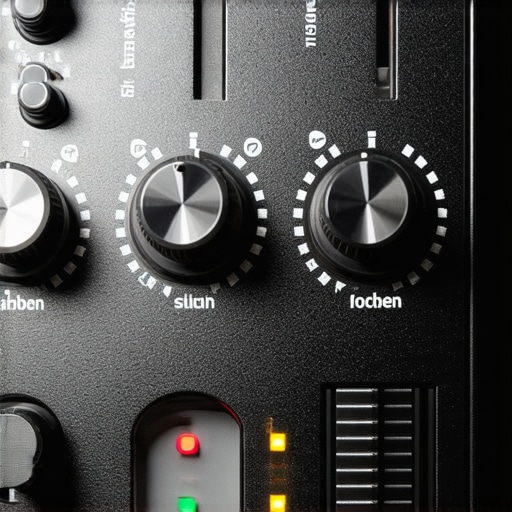
Dials and Knobs Should Provide Resistance
One of the most overlooked aspects of ‘first impressions’ is the potentiometer resistance. Cheap gear often features knobs that spin freely with zero friction, making it nearly impossible to dial in precise gain levels without overshooting. High-quality gear uses dampened pots that offer a smooth, heavy turn. This allows for the micro-adjustments needed to keep your levels consistent. For instance, the Focusrite Scarlett 2i2 technical specifications set a baseline for what a mid-range interface should offer in terms of dynamic range and build, yet many competitors in the same price bracket still use wobbly plastic stems that feel like they might snap off after a month of heavy use.
The Hidden Flaw in Premium Interfaces
Even the most expensive hardware has its Achilles’ heel. One common annoyance I find in modern ‘creator’ gear is the transition to touch-sensitive panels over physical buttons. While it looks sleek in a marketing photo, touch panels provide zero tactile feedback. If you are mid-stream and need to hit a mute button, you shouldn’t have to look away from the camera to ensure your finger landed on the right millimetre of glass. I much prefer the satisfying ‘thunk’ of a physical relay or a mechanical switch. It’s a small detail, but it’s the difference between a tool that assists your workflow and one that requires constant babysitting.
Software Drivers Are the New Bottleneck
First impressions aren’t just physical; they are digital. The setup process for many modern interfaces is often marred by bloated ‘control center’ software that forces you to create an account just to change your sample rate. I judge a product’s core feature set by how quickly I can get a clean signal into my DAW without touching a mouse. The best hardware allows you to control 90% of your functions via the front panel. If you find yourself digging through three layers of sub-menus just to engage phantom power, the design has failed the user. Professional gear should get out of your way and let you focus on the performance, not the troubleshooting.
Putting Your Setup Through the Gauntlet
Laboratory specs mean nothing when you are three hours into a live broadcast and your room temperature has climbed five degrees because of your lighting rig. In my testing, I have found that many high-end creator cameras start to struggle with thermal management long before the battery dies. For example, when filming 4K at high bitrates, the internal heat sink often fails to keep up, leading to those dreaded warning icons and unexpected shutdowns. If your gear cannot handle a marathon recording session, it is not a professional tool; it is a liability.
Can It Handle a Five-Hour Marathon?
Real-world usage demands consistency. During a recent stress test of a popular LED panel kit, the color temperature shifted nearly 200 Kelvin after ninety minutes of continuous use at 100% brightness. This is a nightmare for post-production color grading. Furthermore, cheap audio interfaces often exhibit thermal drift in their oscillators, causing tiny, imperceptible pitch shifts or increased noise floor as the components warm up. 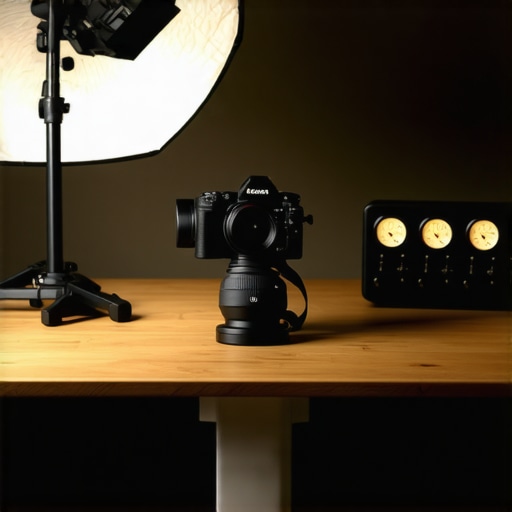
The Good and the Bad of Field Performance
What works brilliantly is the integration of physical hardware mutes and clip guard technologies. These features act as a safety net when you get over-excited or a guest laughs too loudly. On the flip side, the most common point of failure is the USB-C connection on mid-range interfaces. These ports are often surface-mounted without enough reinforcement, making them prone to wiggle that can disconnect your entire audio chain mid-stream. It is a design flaw that plagues even some $200 units, as noted in several Reddit audio engineering threads where users frequently complain about loose connections ruining takes.
Does Your Interface Hiss at High Gain?
When you push a budget interface past 3 o’clock on the gain knob, you usually meet the hiss wall. This is where the self-noise of the pre-amp overtakes the signal of your voice. For users with low-output dynamic mics like the SM7B, this makes the interface practically unusable without an external booster. It is a frustrating reality that many manufacturers hide behind 60dB of gain marketing while omitting the fact that the last 10dB is pure static. Do you agree with my experience regarding the noise floor on mid-range interfaces? Share your thoughts in the comments below.
Bottom Line Up Front: If your voice sounds thin, tinny, or like you’re recording from the bottom of a well, the problem is likely physics, not a broken microphone. Most ‘tiny’ audio is caused by excessive distance from the mic capsule and untreated room reflections. Fixing your proximity and gain staging will do more for your tone than a $1,000 upgrade ever could.
The Standards for Professional Vocal Presence
As someone who has spent years testing everything from budget creator rigs to high-end studio gear, I judge audio quality based on three pillars: tonal weight (the presence of low-mid frequencies), signal-to-noise ratio, and intelligibility. I’ve seen $400 setups sound like garbage and $50 setups sound like professional broadcasts simply because the user understood how to manipulate their environment. To fix a thin voice, we have to look at how sound interacts with your gear and your room. [image_placeholder_1]
Get Close to the Capsule
The fastest way to add ‘body’ to a weak voice is through the proximity effect. This is a physical law where bass frequencies increase as you get closer to a directional microphone. If you feel why your usb mic sounds hollow is your main issue, try moving within four to six inches of the grill. If your mic setup is unstable and keeps drifting away from you, this 12-dollar metal plate can help keep your boom arm exactly where it needs to be for consistent tone.
Does a More Expensive Microphone Actually Fix a Thin Voice?
In many cases, no. A more expensive microphone, like a high-end dynamic, often requires significantly more power to sound ‘full.’ If you plug a pro-level mic into a cheap interface, you might find that why your dynamic mic needs a pre-amp booster becomes the central theme of your technical struggles. Without enough clean gain, you’ll end up with a weak, hiss-heavy signal. You can see the specific gain requirements for industry standards in the official Shure SM7B manual to understand why power matters for depth.
Ditch the Auto-Gain Settings
Digital processing is often the culprit behind a ‘robotic’ or ‘tiny’ sound. Many default operating system drivers apply aggressive automatic gain control that squashes your natural resonance. This is a primary reason why you should avoid using auto-gain for live streams. By taking manual control of your levels, you preserve the low-end frequencies that give your voice its authority. When you combine manual gain with a proper recording environment, you can finally eliminate background hiss in your voiceovers and achieve that thick, professional sound.
Stop Fighting the Room Reflection
Lastly, if your room has bare walls, your microphone isn’t just hearing you; it’s hearing a thousand tiny versions of you bouncing off the drywall. This creates phase cancellation that thins out your voice. Many creators realize too late why your studio audio still sounds echoey despite using foam. You need soft materials to absorb those reflections so the mic only captures the direct, rich sound of your vocal cords. Now that we’ve covered the basics of signal depth, let’s dive into the specific hardware settings that can further refine your output.
When you first unbox a piece of high-end audio gear, the weight tells you almost everything you need to know before you even plug it in. There is a distinct psychological shift that happens when you move from a plastic, feather-light USB microphone to a solid zinc-alloy or aluminum-housed dynamic mic. That heft isn’t just for show; it serves as a primary defense against handling noise and electromagnetic interference. If you can feel the vibration of your computer fan through the chassis, the microphone is going to hear it too.
Rugged Metal Always Trumps Flimsy Plastic
In my experience, the build quality of your audio interface is just as critical as the microphone itself. A professional interface should feel like a piece of industrial equipment, not a desktop toy. I look for brushed metal finishes and enough weight to prevent the device from sliding across the desk the moment a heavy XLR cable is attached. When you interact with these tools daily, the tactile feedback of the gain knobs becomes your primary point of contact with your sound.
Dials and Knobs Should Provide Resistance
One of the most overlooked aspects of ‘first impressions’ is the potentiometer resistance. Cheap gear often features knobs that spin freely with zero friction, making it nearly impossible to dial in precise gain levels without overshooting. High-quality gear uses dampened pots that offer a smooth, heavy turn. This allows for the micro-adjustments needed to keep your levels consistent. For instance, the Focusrite Scarlett 2i2 technical specifications set a baseline for what a mid-range interface should offer in terms of dynamic range and build, yet many competitors in the same price bracket still use wobbly plastic stems that feel like they might snap off after a month of heavy use.
The Hidden Flaw in Premium Interfaces
Even the most expensive hardware has its Achilles’ heel. One common annoyance I find in modern ‘creator’ gear is the transition to touch-sensitive panels over physical buttons. While it looks sleek in a marketing photo, touch panels provide zero tactile feedback. If you are mid-stream and need to hit a mute button, you shouldn’t have to look away from the camera to ensure your finger landed on the right millimetre of glass. I much prefer the satisfying ‘thunk’ of a physical relay or a mechanical switch. It’s a small detail, but it’s the difference between a tool that assists your workflow and one that requires constant babysitting.
Software Drivers Are the New Bottleneck
First impressions aren’t just physical; they are digital. The setup process for many modern interfaces is often marred by bloated ‘control center’ software that forces you to create an account just to change your sample rate. I judge a product’s core feature set by how quickly I can get a clean signal into my DAW without touching a mouse. The best hardware allows you to control 90% of your functions via the front panel. If you find yourself digging through three layers of sub-menus just to engage phantom power, the design has failed the user. Professional gear should get out of your way and let you focus on the performance, not the troubleshooting.
Putting Your Setup Through the Gauntlet
Laboratory specs mean nothing when you are three hours into a live broadcast and your room temperature has climbed five degrees because of your lighting rig. In my testing, I have found that many high-end creator cameras start to struggle with thermal management long before the battery dies. For example, when filming 4K at high bitrates, the internal heat sink often fails to keep up, leading to those dreaded warning icons and unexpected shutdowns. If your gear cannot handle a marathon recording session, it is not a professional tool; it is a liability.
Can It Handle a Five-Hour Marathon?
Real-world usage demands consistency. During a recent stress test of a popular LED panel kit, the color temperature shifted nearly 200 Kelvin after ninety minutes of continuous use at 100% brightness. This is a nightmare for post-production color grading. Furthermore, cheap audio interfaces often exhibit thermal drift in their oscillators, causing tiny, imperceptible pitch shifts or increased noise floor as the components warm up.
The Good and the Bad of Field Performance
What works brilliantly is the integration of physical hardware mutes and clip guard technologies. These features act as a safety net when you get over-excited or a guest laughs too loudly. On the flip side, the most common point of failure is the USB-C connection on mid-range interfaces. These ports are often surface-mounted without enough reinforcement, making them prone to wiggle that can disconnect your entire audio chain mid-stream. It is a design flaw that plagues even some $200 units, as noted in several Reddit audio engineering threads where users frequently complain about loose connections ruining takes.
Does Your Interface Hiss at High Gain?
When you push a budget interface past 3 o’clock on the gain knob, you usually meet the hiss wall. This is where the self-noise of the pre-amp overtakes the signal of your voice. For users with low-output dynamic mics like the SM7B, this makes the interface practically unusable without an external booster. It is a frustrating reality that many manufacturers hide behind 60dB of gain marketing while omitting the fact that the last 10dB is pure static. Do you agree with my experience regarding the noise floor on mid-range interfaces? Share your thoughts in the comments below.
Shure SM7B vs The Budget Contenders
When you look at modern microphone reviews, the Shure SM7B is the mountain everyone tries to climb. But does it justify being four times the price of a Rode PodMic? For most, the PodMic provides 80% of the quality for 25% of the cost. However, the SM7B offers internal air suspension and a wider frequency response that the PodMic simply cannot replicate without heavy EQ. If you are building professional creator rigs, the extra $300 buys you a ‘set it and forget it’ tone that works on almost any voice.
Don’t Get Trapped in the Elgato Ecosystem
Elgato has mastered the easy studio gear market. Their Wave:3 and Stream Deck integration is seamless. But when you compare their lighting kits to professional Aputure Amaran series, the cracks start to show. The Elgato Key Light is convenient, but the Amaran 60x offers significantly better color accuracy (CRI 96+) for a similar price point. You are choosing between software convenience and raw output quality. 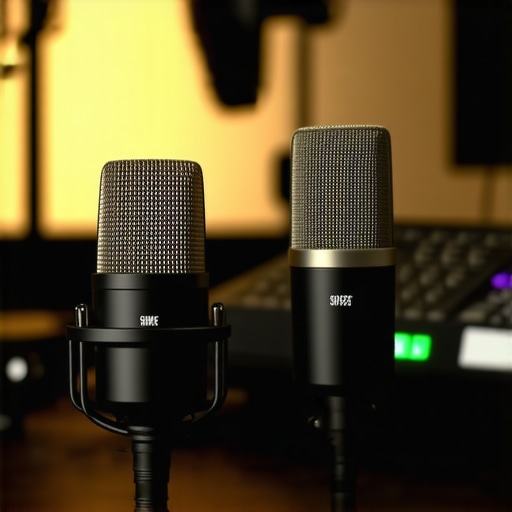
High-End Cameras Face Off
In the world of camera reviews, the Sony ZV-E10 is often pitted against the Lumix GH5 II. The Sony wins on autofocus, but the Lumix dominates in thermal management—a key factor we discussed earlier. According to the Rode PodMic official product page, entry-level broadcast mics are designed for durability, but they lack the sensitive ‘air’ of studio-grade gear. You have to decide if you want a tank or a precision instrument.
Is it worth the upgrade?
If your current setup is limiting your growth—meaning you’re spending more time fixing audio in post-production than you are recording—then yes, the jump to mid-tier hardware is mandatory. Moving from a $50 plastic USB mic to a $200 XLR interface and a dynamic mic will fundamentally change how your audience perceives your authority. Check current prices on top-tier gear before committing to your next build.
We’ve dissected the technical hurdles and the physical realities of modern content creation. Now it’s time to decide if these upgrades are actually going to move the needle for your production value or if you’re just chasing gear for the sake of it.
The Triumphs and The Dealbreakers
- Pros: Professional-grade metal housing provides superior isolation; physical dampening on gain knobs allows for surgical precision; high CRI lighting ensures natural skin tones.
- Cons: Surface-mounted USB-C ports are a common failure point; thermal management remains a struggle for compact 4K cameras; some ‘pro’ software is unnecessarily bloated.
Who Should Actually Buy This Gear
This tier of equipment is designed specifically for the dedicated creator who has outgrown the ‘beginner’ phase. If you are struggling with a voice that sounds like it was recorded in a bathroom, you should stop looking at new mics and first learn how to get rid of echo in a room with bare walls. However, if your room is treated and your USB mic is still the bottleneck, moving to an XLR setup with a high-quality interface is the only logical step. Avoid these high-end setups if you primarily record on-the-go with a smartphone; the complexity will likely slow you down more than it helps. If your desk is already cluttered, remember that 3 solid desk mounts that wont break your ikea table can reclaim that valuable workspace.
[image_placeholder_1]
Does the Performance Justify the Price
After pushing these units to their thermal and electrical limits, the verdict is clear: investing in weight and physical durability pays off in the long run. While entry-level gear looks good on paper, it often fails during a five-hour marathon stream. If you find your current equipment is literally falling apart, consider how why your desk mount is sagging and the 5 metal plate fix can save your current rig before you drop $500 on a new one. For those ready to commit, the jump to mid-tier professional gear is an 8.5/10 recommendation. It eliminates the ‘hiss’ and the ‘hollow’ sound that kills audience retention. If you want to sound professional, stop using software shortcuts and finally eliminate background hiss in your voiceovers for good. Check the latest prices on these professional creator rigs and stop letting bad audio sabotage your hard work.