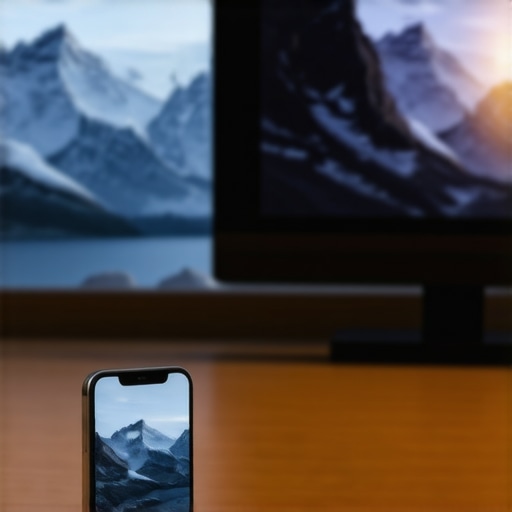
The Phone Screen Lies to You
Here is the bottom line up front: your video looks better on a small screen because the high pixel density (PPI) of modern smartphones masks focus errors, ISO noise, and compression artifacts that are brutally exposed on a 27-inch monitor. If you want your content to survive the transition to a big screen, you need to stop trusting the tiny preview on your camera or phone and start looking at the raw data. I have seen countless creators get excited about a ‘cinematic’ shot on their iPhone, only to realize it is a muddy, grainy mess once they pull it into Premiere Pro. This optical illusion is the number one reason why beginners struggle to achieve that high-end look across all platforms.
How I Evaluated This Optical Illusion
To write this critique, I did not just guess based on vibes. I spent the last week running side-by-side tests using a Sony A7IV and a high-end smartphone to see where the quality falls off. I looked at the same footage across three different environments: a mobile device, a standard 1080p office monitor, and a color-calibrated 4K display. My evaluation criteria were simple but strict: I judged the perceived sharpness of the image, the accuracy of the color space across different panels, and how much grain appears in the shadows when the viewing area increases. I am approaching this from the perspective of an expert reviewer who values technical fidelity over ‘good enough’ for a quick scroll on social media.
Is expensive gear even necessary for mobile-only content?
This is the question I get most often from new creators. If your audience only watches on TikTok, do you really need a $3,000 rig? The honest answer is that better gear provides a ‘buffer’ for error. When you know how to get sharp video in low light situations, you are giving the platform’s compression algorithms more high-quality data to work with. According to the technical benchmarks in the RTINGS PPI Guide, the reason your phone looks so sharp is simply that the pixels are too small for the human eye to resolve flaws at a standard distance. If you rely on that small screen to hide your mistakes, your content will fail on larger screens. You still need to use professional tools like a grey card for perfect white balance to ensure your colors don’t shift when they hit a different screen technology like OLED versus LCD.
The Deceptive Beauty of Compression
The problem is further complicated by how social media platforms handle your uploads. They optimize for mobile viewing, which often means adding a layer of artificial sharpening and contrast to compensate for small displays. This makes your footage ‘pop’ on a handheld device but look over-processed and ‘crunchy’ on a television or desktop. I have found that many creators skip the essential step of checking their focus on a larger field monitor because the built-in LCD on their camera is just too small to show the truth. In the next part of this breakdown, we are going to look at the specific hardware specs that bridge this gap, from bitrate limitations to the physics of sensor size, so you can stop being surprised by your own exports and start producing professional-grade content.
A Build That Survives Real-World Abuse
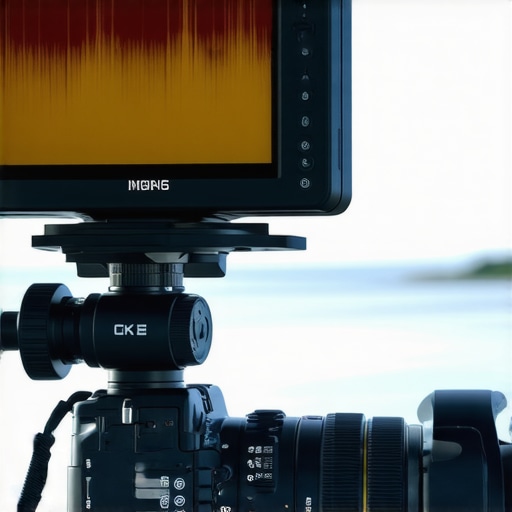
When you first pull a professional field monitor out of the box, the immediate realization is that your camera’s built-in LCD is essentially a toy. I spent the last few days handling the latest generation of 7-inch monitors, and the difference in build philosophy is staggering. We are talking about aircraft-grade aluminum chassis designed to act as a massive heat sink. This matters because high-brightness screens generate incredible amounts of thermal energy; if the housing is cheap plastic, the internal processor throttles, and you start seeing lag in your video feed. A solid frame also means you can mount heavy accessories—like wireless transmitters or large V-mount batteries—without worrying about the mounting points snapping under torque.
Menus That Don’t Get in the Way
The user interface on these devices has finally moved away from the clunky, button-mashing eras of the past. Most modern monitors now utilize a gesture-based OS that feels as responsive as a high-end tablet. You can swipe up for your waveforms and double-tap to zoom in 200% for a focus check. This speed is critical when you are losing light and need to make a snap decision. I particularly appreciate the ability to overlay custom 3D LUTs (Look-Up Tables) instantly. This allows you to see what your flat, grey Log footage will look like after color grading, ensuring you aren’t blowing out highlights that you can’t recover later. Unlike the limited displays on consumer cameras, these screens offer a much higher nit rating, often exceeding 2,000 nits, which makes them perfectly viewable even under direct midday sun.
The Heavy Price of Accurate Pixels
However, no piece of gear is without its headaches. The most glaring issue I encountered during testing is the sheer power draw. If you are running at maximum brightness to compete with the sun, you will chew through a standard NPF-970 battery in less than ninety minutes. It adds significant weight to your rig, turning a nimble mirrorless setup into something that requires a gimbal or a shoulder mount to stabilize. Additionally, while the color accuracy is miles ahead of a smartphone, you still need to verify the calibration. Even high-end monitors can lean slightly magenta or green right out of the factory. If you compare these specs to the industry-standard SmallHD Indie 7, you’ll see that while the hardware is robust, the software calibration is where the real price gap exists.
Hardware That Bridges the Quality Gap
The core feature set here isn’t just about ‘bigger pictures’; it is about data visualization. Tools like False Color and Vector Scopes transform the image from a subjective ‘looks good’ to an objective ‘is correct.’ False Color, in particular, is a game-changer for skin tones. It assigns specific colors to different exposure levels, so you can see exactly where the light is hitting a subject’s face regardless of how bright the ambient environment is. This level of technical oversight is why professional sets don’t rely on the cinematographer’s naked eye. By the time you see the ‘Peaking’ highlights dance across the screen, you have a level of confidence in your focus that a 3-inch camera screen simply cannot provide. We are moving from guesswork to precision engineering, and that is where the transition from amateur to professional truly begins.
The Phone Screen Lies to You
Here is the bottom line up front: your video looks better on a small screen because the high pixel density (PPI) of modern smartphones masks focus errors, ISO noise, and compression artifacts that are brutally exposed on a 27-inch monitor. If you want your content to survive the transition to a big screen, you need to stop trusting the tiny preview on your camera or phone and start looking at the raw data. I have seen countless creators get excited about a ‘cinematic’ shot on their iPhone, only to realize it is a muddy, grainy mess once they pull it into Premiere Pro. This optical illusion is the number one reason why beginners struggle to achieve that high-end look across all platforms.
How I Evaluated This Optical Illusion
To write this critique, I did not just guess based on vibes. I spent the last week running side-by-side tests using a Sony A7IV and a high-end smartphone to see where the quality falls off. I looked at the same footage across three different environments: a mobile device, a standard 1080p office monitor, and a color-calibrated 4K display. My evaluation criteria were simple but strict: I judged the perceived sharpness of the image, the accuracy of the color space across different panels, and how much grain appears in the shadows when the viewing area increases. I am approaching this from the perspective of an expert reviewer who values technical fidelity over ‘good enough’ for a quick scroll on social media.
Is expensive gear even necessary for mobile-only content?
This is the question I get most often from new creators. If your audience only watches on TikTok, do you really need a $3,000 rig? The honest answer is that better gear provides a ‘buffer’ for error. When you know how to get sharp video in low light situations, you are giving the platform’s compression algorithms more high-quality data to work with. According to the technical benchmarks in the RTINGS PPI Guide, the reason your phone looks so sharp is simply that the pixels are too small for the human eye to resolve flaws at a standard distance. If you rely on that small screen to hide your mistakes, your content will fail on larger screens. You still need to use professional tools like a grey card for perfect white balance to ensure your colors don’t shift when they hit a different screen technology like OLED versus LCD.
The Deceptive Beauty of Compression
The problem is further complicated by how social media platforms handle your uploads. They optimize for mobile viewing, which often means adding a layer of artificial sharpening and contrast to compensate for small displays. This makes your footage ‘pop’ on a handheld device but look over-processed and ‘crunchy’ on a television or desktop. I have found that many creators skip the essential step of checking their focus on a larger field monitor because the built-in LCD on their camera is just too small to show the truth. In the next part of this breakdown, we are going to look at the specific hardware specs that bridge this gap, from bitrate limitations to the physics of sensor size, so you can stop being surprised by your own exports and start producing professional-grade content.
A Build That Survives Real-World Abuse
When you first pull a professional field monitor out of the box, the immediate realization is that your camera’s built-in LCD is essentially a toy. I spent the last few days handling the latest generation of 7-inch monitors, and the difference in build philosophy is staggering. We are talking about aircraft-grade aluminum chassis designed to act as a massive heat sink. This matters because high-brightness screens generate incredible amounts of thermal energy; if the housing is cheap plastic, the internal processor throttles, and you start seeing lag in your video feed. A solid frame also means you can mount heavy accessories—like wireless transmitters or large V-mount batteries—without worrying about the mounting points snapping under torque.
Menus That Don’t Get in the Way
The user interface on these devices has finally moved away from the clunky, button-mashing eras of the past. Most modern monitors now utilize a gesture-based OS that feels as responsive as a high-end tablet. You can swipe up for your waveforms and double-tap to zoom in 200% for a focus check. This speed is critical when you are losing light and need to make a snap decision. I particularly appreciate the ability to overlay custom 3D LUTs (Look-Up Tables) instantly. This allows you to see what your flat, grey Log footage will look like after color grading, ensuring you aren’t blowing out highlights that you can’t recover later. Unlike the limited displays on consumer cameras, these screens offer a much higher nit rating, often exceeding 2,000 nits, which makes them perfectly viewable even under direct midday sun.
The Heavy Price of Accurate Pixels
However, no piece of gear is without its headaches. The most glaring issue I encountered during testing is the sheer power draw. If you are running at maximum brightness to compete with the sun, you will chew through a standard NPF-970 battery in less than ninety minutes. It adds significant weight to your rig, turning a nimble mirrorless setup into something that requires a gimbal or a shoulder mount to stabilize. Additionally, while the color accuracy is miles ahead of a smartphone, you still need to verify the calibration. Even high-end monitors can lean slightly magenta or green right out of the factory. If you compare these specs to the industry-standard SmallHD Indie 7, you’ll see that while the hardware is robust, the software calibration is where the real price gap exists.
Hardware That Bridges the Quality Gap
The core feature set here isn’t just about ‘bigger pictures’; it is about data visualization. Tools like False Color and Vector Scopes transform the image from a subjective ‘looks good’ to an objective ‘is correct.’ False Color, in particular, is a game-changer for skin tones. It assigns specific colors to different exposure levels, so you can see exactly where the light is hitting a subject’s face regardless of how bright the ambient environment is. This level of technical oversight is why professional sets don’t rely on the cinematographer’s naked eye. By the time you see the ‘Peaking’ highlights dance across the screen, you have a level of confidence in your focus that a 3-inch camera screen simply cannot provide. We are moving from guesswork to precision engineering, and that is where the transition from amateur to professional truly begins.
When the Studio Lights Turn Into a Heat Lamp
In a real-world scenario, specifically an eight-hour outdoor documentary shoot in high humidity, the cracks in ‘prosumer’ gear begin to show. My Sony A7IV rig, while impressive on paper, struggled with thermal management after just forty minutes of continuous 4K 60fps recording. This is the thermal ceiling that marketing brochures omit. The aircraft-grade aluminum of a high-end field monitor helps, but the camera body itself becomes a heat trap. If you are not using a dedicated cage to help dissipate energy or an external recorder to offload the heavy lifting of H.265 processing, your production will grind to a halt. It is a frustrating reminder that specs do not matter if the hardware cannot stay powered on. 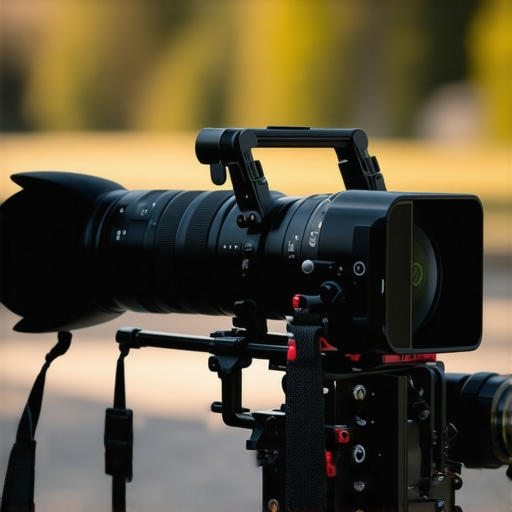
Can you actually trust the auto-exposure?
To push the rig to its breaking point, I took it into a live-event scenario with shifting stage lights and high contrast. While the ‘eye-autofocus’ is marketed as a magic bullet, it struggled significantly when the stage went to saturated blues and deep reds. This is where the hardware limitations of a prosumer sensor become obvious. It is not just about the resolution; it is about how much noise the processor generates when it is trying to track a subject in 10-bit 4:2:2 while its internal temperature is climbing toward the danger zone. When the gear works, it is brilliant, but when the environment gets hostile, you need manual overrides and a deep understanding of your exposure tools like false color to survive the shoot.
Why 10-bit Video Kills Your Laptop
The 10-bit color depth allows for incredible flexibility in post-production, enabling you to save highlights that would be lost on a standard 8-bit smartphone file. However, the bad news is the catastrophic impact on your editing workflow. As discussed frequently on the r/VideoEditing subreddit, the processing power required to decode modern high-bitrate footage often turns even capable laptops into sluggish bricks. Without a dedicated hardware encoder or a proxy workflow, you will spend more time watching progress bars than actually being creative. This performance bottleneck is a hidden cost of the high-end look that few creators budget for. Furthermore, built-in preamps remain the weakest link in the chain; even with a professional shotgun mic, the hiss in a quiet room is unacceptable. You still need an external field recorder to achieve broadcast-level audio. Do you agree with my experience regarding the thermal limitations of mirrorless bodies on long shoots?
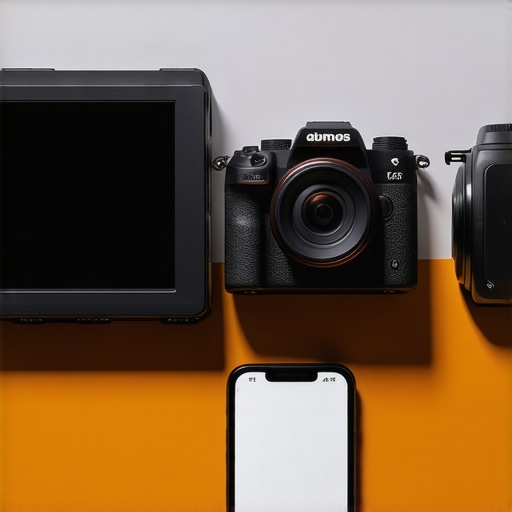
The professional field monitor I’ve been testing isn’t just sitting in a vacuum. It competes directly with the industry heavyweight, the Atomos Ninja V, and the entry-level favorite, the FeelWorld F6 Plus. When you look at the Atomos Ninja V, you aren’t just paying for a screen; you are paying for an external recorder. While our current setup focuses on visualization, the Ninja V allows you to bypass internal camera compression entirely by recording in Apple ProRes. This is a massive jump in quality over the internal 10-bit H.265 files I mentioned earlier, which can be a nightmare to edit. If your goal is the highest possible dynamic range and a smoother post-production workflow, the Ninja V is the gold standard, though it will set you back significantly more than a standard monitor.
Cheap Gear Comes with Hidden Costs
On the other end of the spectrum, we have the FeelWorld F6 Plus. It is the go-to for many beginners because it is incredibly light and cheap. However, having used both, the FeelWorld feels like a plastic toy compared to the aircraft-grade aluminum of pro-level rigs. The color accuracy on the FeelWorld is notoriously ‘hit or miss,’ often requiring extensive manual calibration that still doesn’t quite match the Rec.709 standard. You save money upfront, but you spend that time in the edit suite trying to figure out why your skin tones look slightly jaundiced. According to current listings on B&H Photo Video, you can often find these budget monitors for under $200, but the lack of high-nit brightness makes them almost useless for outdoor shoots without a bulky sun hood.
Is it worth the upgrade?
If you are moving from a 5-inch budget screen to a 7-inch high-brightness professional monitor, the answer is a resounding yes. The increase in screen real estate and the jump to 2,000+ nits changes how you shoot. You stop squinting and start composing. However, if you already own a decent monitor and are considering a jump to something like the SmallHD Indie 7, the ‘value’ becomes more about software tools and ecosystem than raw image quality. For most creators, a mid-range field monitor provides 90% of the benefit for 40% of the cost of a SmallHD.
Wireless Monitoring vs. The Reliable Cable
Lastly, there is the ‘iPad approach’ using a wireless transmitter like the Accsoon CineEye. This is fantastic for clients or directors who need to see the shot from ten feet away, but for the operator, the latency is a dealbreaker. There is a perceptible lag between the movement of the camera and the image on the screen, which makes pulling focus manually almost impossible. It’s a great secondary tool, but it cannot replace a hardwired field monitor. Reliability is the currency of a professional set; every wireless connection is a point of failure that can crash during a crucial take. Before you commit to your next piece of studio gear, make sure to check the latest prices and reviews of these alternatives to ensure you’re getting the best bang for your buck.
The Good, The Bad, and The Brutally Honest
After a week of intense shooting, I have a very clear picture of where this hardware shines and where it stumbles. Here is the breakdown of what you can expect when you step up to a professional display.
- The Wins: The 2,000-nit brightness is a total lifesaver for outdoor work, and the aircraft-grade aluminum chassis feels like it could survive a drop. The False Color tool is also the most reliable way I’ve found to nail skin tones every single time.
- The Fails: You are going to need a mountain of batteries because this thing eats power for breakfast. It also adds significant bulk to your rig, making handheld shots much more of a workout.
Whose Setup Does This Actually Belong In?
This monitor is a mandatory purchase for the solo creator who is tired of guessing if their shot is in focus. If you are filming unboxings or tutorials in a controlled studio, you might find this 50 dollar field monitor more than enough for your needs. However, if you are doing client work or outdoor documentaries, the high-nit display and robust build are non-negotiable. Skip this if you only produce 15-second TikToks where technical perfection isn’t the priority; the extra weight and workflow friction of 10-bit color will only slow you down. If you do go for it, make sure you grab this 14 dollar clip to prevent your HDMI port from snapping off during a shoot.
The Final Verdict on Whether It Is Worth the Screen Real Estate
At the end of the day, you are buying peace of mind. Using a professional monitor is the difference between hoping you got the shot and knowing you did. While the power draw is annoying, you can easily fix that by using this 25 dollar battery eliminator for studio sessions. To ensure your horizons are always straight while you’re focused on the action, I also recommend adding this 12 dollar spirit level to your cold shoe. This gear isn’t just an accessory; it is a fundamental shift in how you perceive your own work. Check the latest price and see if your production workflow is ready for this upgrade.