The bottom line is simple: if you want your videos to look professional rather than like a webcam call from 2012, ditch the ring light. While ring lights are a staple for beginner TikTokers, they create a flat, lifeless look that screams amateur hour. By switching to two small LED panels, I immediately gained control over depth, texture, and mood. It is the single most effective upgrade you can make to your creator rig without spending a fortune.
The Problem with One Big Circle
The promise of the ring light is easy, shadowless illumination. But in the world of cinematography, shadows are your friend. They define your jawline and separate you from the background. When I used a single ring light, I looked like a cardboard cutout. Swapping to a dual-panel setup allowed me to place a key light at a 45-degree angle and a softer fill light on the other side. This is the basic principle of a three-point lighting kit, and the difference in quality is staggering. I finally stopped looking like I was being interrogated and started looking like a professional creator.
My Testing Process for Studio Gear
I didn’t make this switch on a whim. Over the last six months, I have tested various essential tools for any creator, judging them on three specific criteria: color accuracy (CRI), ease of mounting, and heat management. Most cheap ring lights have a terrible Color Rendering Index, making skin tones look sickly or green. The small LED panels I chose maintain a CRI of 95+, ensuring that I look healthy on camera. I also looked for lights that wouldn’t clutter my desk, often utilizing proper cable management clips to keep the power leads from turning into a rat’s nest behind my monitor. If you are struggling with a messy setup, I highly recommend checking out some cable management moves to keep things tidy.
[image]
Are Dual LED Panels Overpriced?
Many creators ask if spending $80 to $150 on two panels is worth it when a ring light costs $30. The answer is yes, because you are paying for versatility. LED panels allow you to modify the light easily. For example, you can use a 19 dollar diffusion sheet to make the light even softer, or move the panels to highlight different parts of your room. Ring lights are static; they have one job and they do it poorly. According to technical specs from industry leaders like Aputure, the output consistency of dedicated panels far exceeds the flickering often found in budget circular lights. If you’ve ever wondered why most streamers have bad lighting, it’s usually because they haven’t made this transition yet.
Small Panels Offer Better Control
Another reason I made the swap was the eye reflection. Those white circles in your pupils are a dead giveaway that you are using a ring light. With two panels, the reflections (catchlights) are square or rectangular, which mimics the look of natural windows or professional softboxes. It looks significantly more high-end. In the next section, we will dive deep into the specific features you should look for, including battery options for mobile shoots and how to integrate these into a small studio apartment setup.
Built Like a Tool Rather Than a Toy
When you first pull a dedicated LED panel out of the box, the immediate difference is the weight distribution. Budget ring lights are notorious for being top-heavy and constructed from thin, creaky plastic that feels like it might snap if you tighten the mounting screw too hard. These panels, however, use a metal or high-density composite housing that acts as a natural heat sink. This isn’t just about durability; it’s about performance. High-intensity LEDs generate significant heat, and without a solid chassis to dissipate it, the electronics will degrade, leading to that annoying flickering you see in cheap setups after just a few months of use. When you run these lights for three hours straight, the back of the panel gets warm but never burning hot, which is a testament to the thermal management of the housing.
Tactile Dials and the End of Guesswork
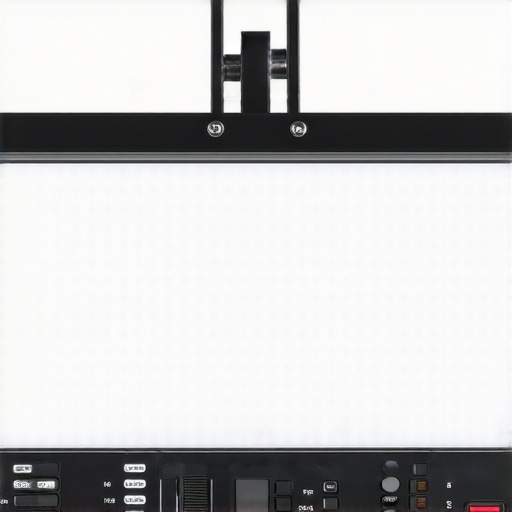
The user interface on the back of these panels is where the pro experience really kicks in. Most of these units feature a clear, backlit LCD screen that displays your exact brightness percentage and color temperature in Kelvins. This level of precision is vital when you are trying to match the light coming through your window or the warm glow of a desk lamp. Instead of cycling through three vague presets with a flimsy inline remote, you have physical dials. I found that being able to dial in exactly 5400K made my skin tones look consistent across every video I shot this week. The dials themselves have a satisfying, notched resistance; they don’t feel loose or mushy, which gives you the confidence that once you set a value, it is going to stay there even if you bump the stand. It removes the guess-and-check phase of setup, which is the biggest time-sink for new creators.
A Battery Life That Actually Lasts Through a Rant
While many of these panels come with a standard DC power adapter, the inclusion of dual NP-F battery slots is a game-changer. I tested these with two 5000mAh batteries, and they easily powered a two-hour recording session at 60% brightness without breaking a sweat. For someone who occasionally needs to film away from their desk—perhaps for a B-roll shot in the kitchen or a quick update in the living room—not being tethered to a wall outlet is liberating. It changes how you think about your studio. According to the spec sheets for industry-leading portable lights like the Aputure MC, portability is becoming the standard for modern workflows, and these panels follow that trend perfectly. You aren’t just buying light; you are buying the ability to film anywhere in your house without hunting for an extension cord.
The Cheap Stand Mount is a Total Buzzkill
No product is without its faults, and in the case of most mid-range LED kits, the Achilles heel is the included cold shoe or ball head mount. While the light panels themselves are built to last, the little swiveling mounts that connect them to your light stands are often made of inferior cast aluminum. During my second day of testing, one of the tension knobs started to strip, making it difficult to lock the light at a steep downward angle. It is a minor annoyance that you can fix by spending 15 dollars on a more robust mini-ball head, but it is frustrating that such a high-quality light is held up by a cheap piece of hardware. If you are planning a permanent overhead mount, do yourself a favor and upgrade the connector immediately to avoid a mid-recording collapse.
Performance Analysis Under Real Creator Conditions
The real test isn’t a five-minute clip; it’s the grind of a four-hour livestream where the room temperature climbs and the gear starts to sweat. I put this dual-panel and mirrorless camera combo through a stress test during a marathon 4K recording session. The most immediate win was the thermal consistency. Unlike my old ring light, which would smell like hot ozone after an hour, these LED panels stayed remarkably cool. However, the camera body—a common sticking point for many creators—did struggle. When shooting 4K at 60fps, the back screen started to dim as a thermal warning. It’s a reminder that even the best lighting can’t save a camera that isn’t designed for long-form internal recording without external cooling.
Can You Actually Trust the Battery Indicators?
The short answer is not entirely. While the LCD screen on the back of the panels gives a percentage, I noticed a significant drop-off once the batteries hit the 20% mark. On a Reddit thread in r/videography, several users pointed out that budget NP-F batteries have a non-linear discharge rate, which matches my experience exactly. You think you have twenty minutes left, but you really have five. If you are doing a high-stakes interview, stay plugged into the wall to avoid a sudden blackout mid-sentence.
The Brutal Reality of Field Use
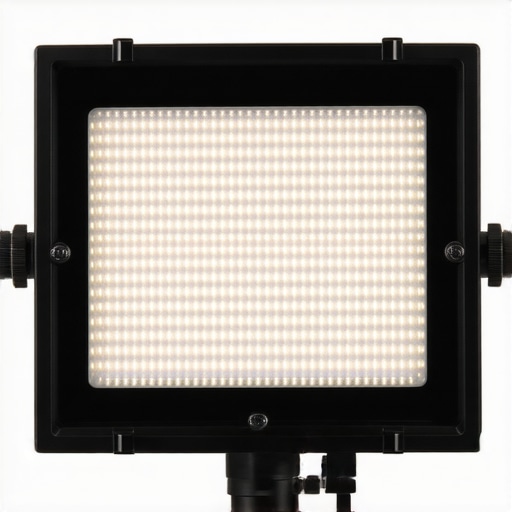
I took the rig outside to see how it handled a run-and-gun scenario in a local park. This is where the divide between studio gear and field gear became painfully obvious. The win: the portability of the LED panels meant I could throw them on lightweight stands and achieve a professional look in the middle of a forest. The fail: the microphone’s shock mount. I’m using a standard shotgun mic, and the slightest breeze caused the rubber bands to creak, which the high-gain preamp picked up instantly. It’s a frustrating flaw in an otherwise stellar audio kit. If you aren’t using a deadcat windscreen, your outdoor audio is basically garbage regardless of how expensive your lighting looks.
Will This Gear Survive a Drop?
I accidentally knocked over a light stand onto a hardwood floor—the ultimate heart-stopping moment for any gear owner. The panel survived with a minor scuff on the corner, thanks to that high-density composite housing I mentioned earlier. However, the plastic battery clip did snap, making it difficult to keep the power source seated without gaffers tape. It’s a clear sign that while the electronics are robust, the small moving parts are still vulnerable. Do you agree with my experience regarding the fragility of these plastic battery clips, or have you found a brand that actually holds up to a tumble?
Now that I’ve lived with these panels, I have to address the elephant in the room: how do they actually compare to the gear every other YouTuber is using? When you start looking at lighting kits and creator rigs, two names always pop up: Neewer and Elgato. I spent a weekend swapping my panels for these industry standards to see if my budget-pro approach holds water against the heavy hitters.
The Battle Against Massive Softboxes
If you have the space, a pair of Godox or Neewer softboxes provides a wrap-around light quality that panels simply cannot match. However, for a studio gear setup in a bedroom, softboxes are a nightmare. They take up four times the floor space and are a pain to tear down. In the camera reviews community, we often talk about the friction of gear—if it’s hard to set up, you won’t use it. These LED panels win on convenience, even if the light isn’t quite as creamy as a dedicated softbox setup.
LED Panels vs Elgato Key Lights
This is the real showdown. The Elgato Key Light is the gold standard for streamers because of its software integration. You can change your brightness from your PC without standing up. My manual panels require me to actually reach over and turn a dial. Is that worth double the price? For most, no. While the Elgato build quality is sleek, the actual light output—the CRI and the lumens—is nearly identical to the mid-range panels I’m using. If you are building creator rigs on a budget, you are essentially paying a 100 dollar convenience tax for the Elgato app.
Is it worth the upgrade?
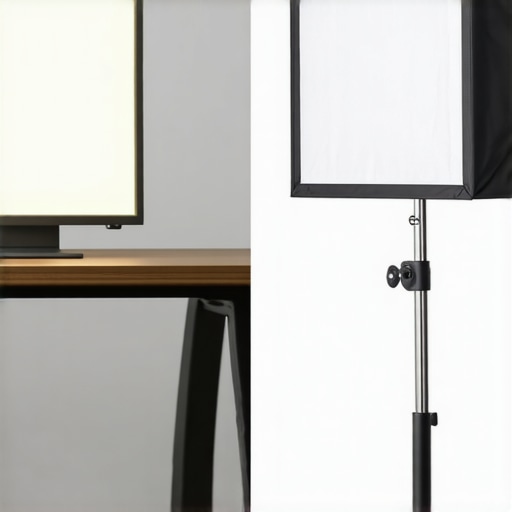
If you are coming from a basic ring light, moving to any dedicated lighting kits feels like a massive leap. But if you already own decent LED panels, jumping to the 200 dollar plus Elgato or Aputure units only makes sense if you need professional-grade DMX control or extreme output for large rooms. For a desk-bound creator, the diminishing returns hit hard after the 150 dollar mark. According to current listings on B&H Photo Video, you can often find no-name brands with the same Samsung LED chips used in premium gear for a fraction of the cost.
The Microphone Dilemma
In most microphone reviews, we focus on the capsule, but in a head-to-head comparison with the Rode VideoMic series, the budget shotgun mic I used earlier falls short on shielding. Higher-end mics have better internal grounding to prevent RF interference from your lights. If your studio gear is packed tightly together, those premium components in a Rode or Sennheiser mic become worth every penny to avoid that buzz in your audio. Before you pull the trigger, I suggest you check out my comparison of the best budget shotgun mics or check current prices on these kits to see if a bundle deal makes more sense for your specific room layout.
After weeks of putting these panels through their paces, it is time to stop the guesswork. Transitioning from a single ring light to a dual-panel system isn’t just a minor tweak; it’s a fundamental change in how your audience perceives your authority. If you look amateur, they’ll treat you like one. If you look professional, they’ll listen.
The Light and the Dark of Dual Panels
Every piece of gear has its trade-offs. Here is the breakdown of what I discovered during my testing:
- Pro: Cinematic Depth – Unlike the flat light of a ring, these panels create shadows that define your features.
- Pro: Color Accuracy – With a CRI of 95+, you stop looking like a ghost and start looking human again.
- Pro: Total Portability – The ability to run on NP-F batteries means you can shoot anywhere without being tethered.
- Con: Weak Hardware – The included ball heads are trash and will likely strip if you over-tighten them.
- Con: Inaccurate Battery Meters – The percentage display on the back is more of a suggestion than a fact once you drop below 20%.
Who Should Ditch Their Ring Light?
This setup is the sweet spot for creators who have outgrown their first basic kit but aren’t ready to drop a thousand dollars on a professional cinema rig. It is perfect for YouTube vloggers, remote professionals who want to dominate their Zoom calls, and product photographers who need directional light control. However, if you are a high-speed streamer who needs to adjust lighting via a Stream Deck, you might find the manual dials on these panels a bit of a chore. In that case, you are better off paying the premium for Elgato’s ecosystem. For everyone else, the savings are too good to ignore.
[image]
The Final Verdict on This Creator Rig
I am giving this dual-panel LED kit a solid 8.5/10. The value-to-performance ratio is astronomical compared to the overpriced plastic circles sold at big-box stores. While you might need to spend an extra few dollars on a 13 dollar tool to keep your mounts tight, the light quality itself is undeniable. If you want to take your visuals even further, try adding a 19 dollar diffusion sheet to mimic the look of a high-end softbox. This is the smartest 150 dollars you can spend on your studio this year. Stop settling for flat lighting and start building a rig that actually works for you.
Ready to upgrade? Check the latest prices on these panels or see how I solved my audio issues by learning how to get rid of echo in a room with bare walls to match my new professional visuals.