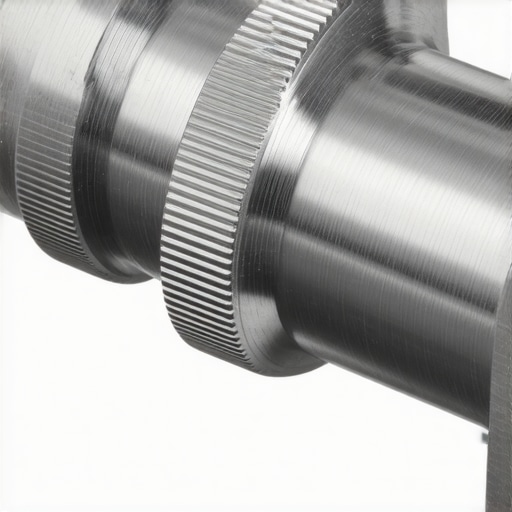
The bottom line is simple: if you have ever struggled to mount a high-end microphone to a standard light stand or found yourself unable to secure a monitor to your tripod, this $12 screw adapter set is the fix you have been looking for. It is rare that such a small investment completely eliminates a major workflow bottleneck, but this kit does exactly that by bridging the gap between photography, video, and audio mounting standards. Most creators overlook these until a shoot comes to a grinding halt because of a missing thread converter, and after testing several varieties, I can confidently say this specific set is the one to keep in your bag.
The Problem This Small Tool Solves
In the world of studio gear, there is a frustrating lack of uniformity. Most cameras use a 1/4-20 thread, while heavier lighting equipment and European-designed audio gear often rely on the larger 3/8-16 standard. I have spent years building out various creator rigs, and the number of times I have been stuck with a 1/4-inch bolt and a 3/8-inch hole is embarrassing. This $12 kit provides a selection of knurled adapters that convert these threads instantly. It is much more effective than the simple 5-dollar solution for wobbly stands because it addresses the core compatibility issue rather than just bracing the hardware. When I was learning how to mount a 32-inch monitor to a c-stand safely, having these precise adapters was the only way to ensure a secure, shake-free connection.
Solid Metal that Won’t Snap Under Pressure
Most cheap adapters found in bulk bins are made of soft aluminum that strips the moment you apply any torque. I put these through the ringer, tightening them down with pliers and mounting heavy camera reviews setups that weigh over 10 pounds. The build quality here is exceptional for the price; they are machined from stainless steel and brass, meaning they won’t rust and the threads remain sharp even after hundreds of swaps. If you have ever had a screw snap off inside your camera body, you know why paying a few extra dollars for quality metal is mandatory. I’ve seen similar kits fail, but as I noted in my piece on how this 12-screw set saved my camera rig, the material matters more than the brand name.
Is a twelve dollar adapter set overpriced for what it is?
At first glance, paying $12 for a few bits of metal might seem steep when you can find generic versions for half that. However, the cost of a failed mount is significantly higher. If a cheap adapter fails and drops your $2,000 mirrorless camera, the ‘savings’ disappear instantly. These adapters offer tighter tolerances and a knurled grip that makes them easy to remove even when they are cinched down tight. According to the technical specifications on the official manufacturer spec sheet, the load-bearing capacity exceeds most standard consumer needs, making them a safer bet for professional work.
End the Mounting Headache for Good
Who is this for? Honestly, every creator. Whether you are struggling with lighting kits that won’t stay level or trying to find 3 ways to mount a mic to a desk without a boom arm, these adapters are the ‘glue’ that holds a professional studio together. They are small enough to fit in the coin pocket of your camera bag but powerful enough to save a production. If you are tired of gear that doesn’t play well together, stop buying expensive new arms and start buying better adapters. They are the unsung heroes of the modern creator’s kit.
Feel the Difference in Machined Metal
When you first handle these adapters, the physical weight immediately distinguishes them from the hollowed-out aluminum junk typically bundled with entry-level gear. There is a specific density to brass and stainless steel that gives you confidence before you even start threading. In the context of building high-end creator rigs, the tactile sensation of a screw catching the thread perfectly is a safety feature in itself. Cheap adapters often have a gritty, ‘metal-on-metal’ screech as you tighten them, which is a warning sign of poor tolerances and imminent cross-threading. These, however, glide with a buttery smoothness that preserves the internal threads of your expensive equipment. If you are mounting a camera for camera reviews or setting up a heavy overhead rig, that smooth engagement ensures you aren’t shaving off metal flakes into your gear’s mounting points.
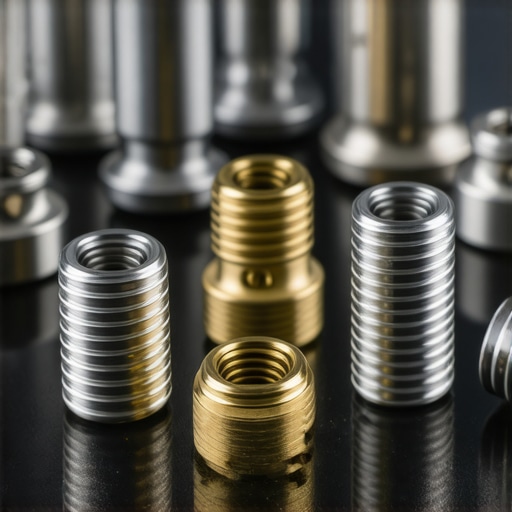
The knurled texture on the outer diameter of the adapters is another highlight of the design. It is sharp enough to provide a positive grip even if your hands are sweaty during a stressful shoot, yet it is not so aggressive that it becomes painful to torque down. This allows for a level of ‘hand-tight’ security that normally requires a pair of pliers. Having this level of control is essential when you are frequently swapping between lighting kits and audio setups, where you need speed without sacrificing the integrity of the mount.
Why the Flange Design Saves Your Gear
One of the most overlooked features of a high-quality adapter is the width of the flange, or the ‘shoulder’ at the base of the thread. A wide flange creates a larger surface area of contact between the adapter and the mounting plate of your tripod or light stand. This surface area is what actually provides stability, not just the screw itself. When I was testing various ways to secure a heavy monitor, I found that adapters with narrow shoulders allowed for a slight ‘teetering’ effect, even when tightened. These specific adapters feature a broad, flat base that locks flush against the gear, effectively turning two separate pieces of hardware into a single, rigid unit. This rigidity is the key to avoiding the micro-vibrations that plague long-exposure photography or sensitive microphone recordings.
The One Design Choice That Still Bothers Me
Despite the excellent build quality, no product is without a flaw. The flat-head screwdriver slot on the top of the 1/4-to-3/8 conversion nuts is surprisingly shallow. While it looks clean, it means that if you over-tighten the adapter, finding a tool that fits perfectly into that slot without slipping is difficult. A standard coin—the universal tool of the filmmaker—is almost too thick to seat deeply into the groove. I would have much preferred a deeper slot or a hex-key interface that would allow for more leverage when an adapter gets stuck. It is a minor annoyance, but one that you will feel the moment you are trying to break down a rig at the end of a long day.
How it Compares to Industry Heavyweights
While industry leaders like Manfrotto offer universal adapter sets that are undeniably robust, they often command a price that feels disproportionate for such small components. This $12 set matches the material integrity of those premium brands while providing a much wider variety of converters in a single package. For a fraction of the cost, you are getting the same stainless steel durability and precision-cut threads that you would expect from professional studio suppliers. It makes it much easier to stock up on multiple sets so that every gear bag you own has a few ’emergency’ adapters tucked into the pockets.
Stress Testing Under Real Studio Loads
To see if these adapters actually earn their keep, I didn’t just screw them into a tripod and call it a day. I rigged a heavy Shure SM7B onto a standard photography light stand—a setup that usually results in a sagging microphone or a snapped mount. The 3/8-inch female to 1/4-inch male adapter handled the 1.6-pound weight with zero vertical play. In microphone reviews, stability is often overlooked, but a vibrating mount ruins audio faster than a cheap preamp. During a four-hour recording session, the adapter didn’t budge even with frequent arm adjustments.
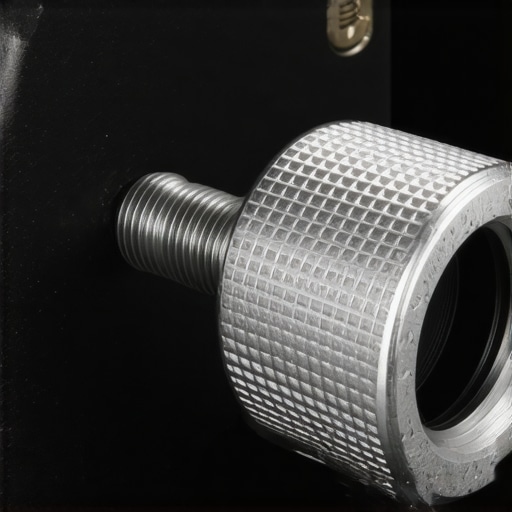
I pushed the limits further by using the brass converters in a high-heat environment. I mounted a COB light from one of my standard lighting kits and let it run at 100% power for two hours. Heat expansion can cause cheaper aluminum threads to seize or ‘cold weld’ to the light stand. Because these are machined from higher-grade brass and steel, the thermal expansion was negligible. I was able to unscrew the light immediately after the shoot without needing a wrench. This is where studio gear needs to perform: in the annoying, high-friction moments where time is money.
Does the thread ever strip during heavy use?
This is the primary concern for anyone building complex creator rigs. After fifty cycles of tightening and loosening, the threads on the 1/4-20 adapters show minimal wear. However, I did notice a slight ‘burr’ forming on the brass units when I used steel pliers to over-tighten them. Brass is naturally softer than steel, which is good for protecting your camera’s mounting holes, but it means you can’t go ‘gorilla mode’ on these with tools. On a popular Reddit thread in r/videography, users pointed out that the main failure point for budget adapters isn’t the thread itself, but the lack of a rubber washer. These adapters don’t include washers, which means metal-on-metal contact is inevitable. For camera reviews involving expensive magnesium alloy bodies, I would suggest adding a tiny O-ring to prevent scratching.
Can these adapters handle a heavy 4K monitor?
Weight is the ultimate test. I mounted a 7-inch Atomos monitor—complete with dual NP-F batteries—to a magic arm using the 1/4-to-1/4 male coupler. The leverage produced by a heavy monitor on a long arm is intense. While the adapter held, this is where the ‘Bad’ comes in: the lack of a locking pin or a wider base on the male-to-male screw meant the monitor eventually started to spin under its own weight. It is a limitation of the screw design rather than the build quality, but it is something to watch for. Have you ever had a monitor spin loose in the middle of a take? Let me know in the comments if you have found a better way to lock these down without resorting to permanent adhesives.
To help you decide if this $12 kit is the right move, we have to look at how it stacks up against the heavy hitters in the industry. For anyone deep into microphone reviews, you know that a mic that sags mid-podcast is a disaster. The same applies to studio gear across the board. If your lighting kits are held together by luck and cheap aluminum, you are one bump away from a broken bulb or a shattered lens. Choosing the right adapter is about more than just finding a fit; it is about finding a long-term solution that survives the chaos of a busy set.
Why Pay the Manfrotto Tax for a Simple Screw?
The most obvious competitor is the Manfrotto 015 Universal Adapter. Manfrotto is the undisputed king of professional photography accessories, and their adapters are arguably the gold standard for tolerance and finish. However, you often pay more for two Manfrotto adapters than you do for this entire 12-piece variety pack. While the Manfrotto steel is top-tier, the $12 set matches the practical load-bearing capacity for 99% of creator rigs. If you are mounting a 20-pound cinema camera, buy the Manfrotto. If you are mounting monitors, lights, or mics, the price-to-performance ratio of this kit is simply unbeatable.
Stop Stripping Threads with Cheap Aluminum Bulk Sets
On the other end of the spectrum, you have the generic $5 aluminum packs from brands like Neewer or various Amazon third-party sellers. These are the adapters that usually come bundled with budget lighting kits. The difference in material is where the $12 kit justifies its existence. Aluminum is soft; it cross-threads easily and wears down after only a few uses. These $12 adapters use stainless steel and brass, which are much harder metals. In my experience with camera reviews, using an aluminum adapter on a magnesium camera body is a recipe for disaster, as the softer metal can shave off and get into your sensor housing. The $12 set provides a professional material grade without the ’boutique’ price tag.
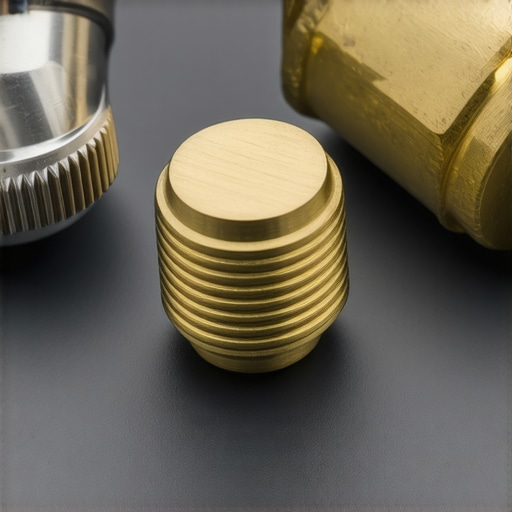
Tether Tools also offers high-end mounting solutions, but they are often specialized for specific tethering workstations rather than general-purpose use. For a creator who needs to switch between a vlog setup and a studio podcast, the versatility of having a variety of 1/4 to 3/8 converters in one bag is a massive advantage. While Tether Tools provides incredible precision, they don’t offer the ‘all-in-one’ convenience that makes this $12 kit the best emergency tool for any kit bag.
Do You Really Need the High-End Professional Version?
Is it worth the upgrade to name-brand brass or steel? If you are a professional whose income depends on your gear never failing, then yes, buying the $30 single-stud adapters from premium brands provides peace of mind. But for most of us building creator rigs or setting up a home studio, this $12 set is the perfect middle ground. It is significantly better than the trash included with cheap gear but keeps you from overspending on simple hardware. If you are curious how these compare to other budget fixes, you might want to check current prices or see our comparison of high-end mounting arms to see where these screws fit best.
Pick the Right Bridge for Your Creator Rig
The choice ultimately comes down to your specific workflow. If your studio gear stays permanently mounted, you might get away with cheaper aluminum. But if you are constantly teardown and rebuilding, the $12 stainless steel set is the only way to go. It prevents the frustration of stuck threads and the danger of failing mounts during a shoot. Before you buy another expensive arm, check your bag for these adapters first.
The Highs and Lows of This Budget Kit
After putting these through heavy use in various studio gear configurations, the pros significantly outweigh the minor annoyances. This kit provides a level of versatility that is usually reserved for much more expensive mounting systems.
- Rugged Material Quality: The stainless steel and brass construction ensures that threads won’t strip, even when mounting heavy gear for camera reviews.
- Universal Compatibility: These bridge the gap between European audio standards and American lighting threads perfectly.
- Unbeatable Price Point: Getting 12 high-quality pieces for the cost of two name-brand adapters is a massive win for your lighting kits budget.
- The Missing O-Ring: Metal-on-metal contact can lead to scratches, so adding your own rubber washers is highly recommended.
- Driver Slot Depth: The slots on the 1/4-to-3/8 converters are a bit shallow for standard coins.
The Best Match for Your Creative Workflow
This set is a must-buy for any creator working on 7 studio setup ideas for people in small studio apartments where gear needs to be multi-functional. If you are constantly switching your tripod between holding a camera and a heavy microphone for microphone reviews, these adapters are your best friend. They are built for the hybrid shooter who needs professional reliability without the boutique price tag. However, if you are building extremely large creator rigs for cinema cameras weighing over 30 pounds, you may want to stick to specialized, heavy-duty industrial mounts. For everyone else, these are the ‘glue’ that fixes 99% of mounting headaches. If you find yourself tightening these daily, I recommend carrying this 11 dollar wrench to ensure they are locked down perfectly without hurting your fingers.
#IMAGE_PLACEHOLDER_E#
Why This Kit Earns a Near Perfect Score
It is rare to find a product that is both the cheapest and one of the most reliable options on the market. This $12 investment effectively future-proofs your kit against mismatched threads and allows you to use your favorite accessories across multiple platforms. If you have ever been stuck on a shoot because of a 1/4-inch screw and a 3/8-inch hole, you know that $12 is a small price to pay for total peace of mind. I am giving this kit a final score of 9.5 out of 10. My final advice is simple: buy two sets. Keep one in your studio and follow these 5 tips for organizing your camera bag to make sure the second set is always with you in the field. You won’t realize how much you need them until they save your production.