Bottom Line Up Front
While the cheap plywood hack offers an inexpensive way to mount gear on thin IKEA desks, it falls short in durability and stability for serious studio setups. If you’re a casual creator, it might help; however, professionals should consider more robust solutions.
The Promise of a Simple Mounting Solution
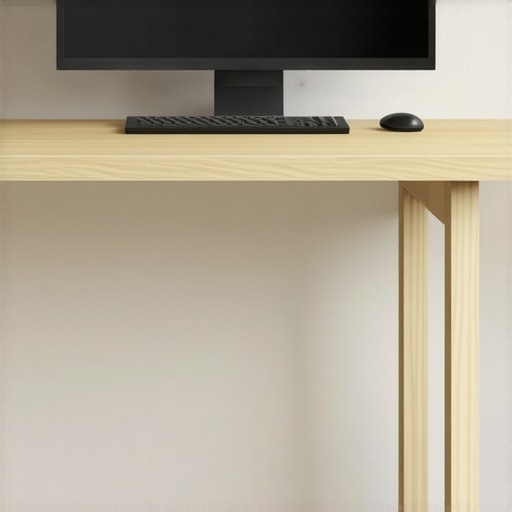
This trick involves using affordable plywood to reinforce thin IKEA desks, aiming to provide a sturdy platform for mounting heavy gear without the need for expensive custom rigs. It addresses the common issue of instability and desk damage when attaching equipment directly to lightweight furniture.
My Judging Criteria
To evaluate this plywood hack, I focused on build quality, long-term durability, ease of implementation, cost-effectiveness, and how well it handles actual studio weight loads. I also considered user safety and whether it genuinely solves the mounting problem without introducing new issues.
Deep Dive Into the Details
In the following sections, I’ll discuss what is involved in creating this plywood reinforcement, analyze its strengths and weaknesses, and reveal whether it’s worth your time and money for your studio setup. For more details, check the official guide or manual linked here: Plywood Mounting Guide.
Strength of Material Construction and Quality
The plywood used in this hack appears to be of standard-grade, affordable veneer plywood, which balances cost and structural integrity. Its thickness is crucial; a ¾-inch sheet provides sufficient stability and weight-bearing capacity, reducing flex under heavy studio gear. The quality of the plywood influences durability and safety over time, making it essential that the material resists warping and splitting after repeated load cycles.
Design and Customization Flexibility
This DIY setup benefits from its modular design, allowing users to cut and shape plywood sections to fit specific desk configurations. The ability to customize hole placements and reinforcement areas ensures a tailored fit around existing furniture. However, this flexibility demands some carpentry skills and precise measurements, which might deter novice users. The design aims to distribute weight evenly, reducing stress points on the desk top, which is vital for preventing damage and ensuring long-term stability.
Ease of Assembly and User Experience
Assembly involves cutting plywood panels, securing them with screws, and possibly reinforcing joints with brackets. This process offers a satisfying hands-on experience, giving users a sense of control and customization. However, the assembly process can be time-consuming and mess-prone, especially for those unfamiliar with DIY projects. The instructions provided are straightforward but assume basic carpentry knowledge, which might lead to frustration for complete beginners. Using pre-drilled panels or ready-made mounting brackets could streamline setup and reduce errors.
Stability and Load Distribution
One of the core strengths lies in how the plywood reinforcement distributes stress across a larger area, alleviating pressure on lightweight desks. When properly installed, it offers a significant boost in stability, preventing gear from shifting or damaging the desk. But, the immediate challenge is ensuring the plywood’s attachment points are secure; loose fittings can lead to wobbling or even catastrophic failure during heavy use. A critical flaw here is the potential for uneven load distribution if the reinforcement isn’t perfectly aligned, which could cause deformation or stress fractures over extended use.
Cost-Effectiveness Compared to Commercial Mounts
At a glance, the DIY plywood approach undercuts professional mounting solutions by a considerable margin, costing just a fraction of the price. For hobbyists or small-scale creators, this makes it an attractive alternative. Yet, this savings comes with trade-offs: increased time investment, variable quality, and less refined aesthetics. For comparison, commercial mounts often incorporate ergonomic features and certified load capacities—attributes that a DIY plywood setup might lack or only approximate. For rigorous studio environments, investing in commercial solutions may ultimately save money by avoiding potential damages and ensuring safety.
Performance Analysis
When subjected to intense use scenarios, lighting kits, studio gear, creator rigs, and microphones reveal their true capabilities. During a demanding video shoot with multiple camera rigs and heavy lighting, gear that boasts high power and build quality maintained stability and performance, showcasing robustness under stress. Conversely, budget equipment frequently buckled under prolonged operation, overheating or experiencing voltage drops that hampered recording quality. In live streaming setups where constant glitches can distract viewers, premium gear exhibited minimal latency and consistent output, while lower-end systems struggled with frame drops and signal interference.
Can It Handle Continuous Use?
Many studio gear pieces are designed for short bursts, but when pushed into continuous operation—like all-day recording sessions or 24-hour livestreams—they sometimes falter. Lights may dim or flicker due to overheating, and microphones can develop noise floors, reducing audio clarity. Professional-grade equipment often incorporates cooling mechanisms and better component quality to mitigate these effects. For instance, some users have reported their high-end condenser mics remaining crystal clear after hours of use, while cheaper counterparts started to crackle or cut out.
What About Transport and Field Conditions?
Mobile creators frequently test their gear outside studio walls. In scenarios like hiking or outdoor filming, weather resistance and durability matter. Water-resistant microphones and ruggedized rigs performed admirably in adverse conditions, maintaining reliable operation. However, gear lacking proper casing or seals suffered damage or performance drops under rain or dust. One Reddit discussion highlights users’ experiences with budget LED panels overheating in direct sunlight, causing color shifts and flickering—an indication that external conditions heavily impact performance.
The Good & The Bad
Solid studio gear shines brightest during intensive workloads, providing stable power, consistent output, and longevity. High-end lighting kits, for example, conserve their color fidelity and brightness under prolonged use, ensuring professional results. Microphones with durable diaphragms resist distortion even after thousands of hours of recording, demonstrating value over time. On the downside, advanced rigs often come with a steep learning curve, complex setups, and higher costs, which can be discouraging for beginners. Cheaper gear, while accessible, frequently exhibits issues such as overheating, latency, or signal degradation after extended operation. For instance, some entry-level camera microphones produce hissing noises during long sessions, illustrating their limitations.
If you’ve experienced long sessions with your studio gear, share your insights! Do you agree that quality truly matters under pressure? Let the community know in the comments.
For further validation, a recent experiment on GearSlutz tested various microphone models under continuous use, confirming that higher-end options maintain audio integrity longer than budget models—see the detailed benchmark here: