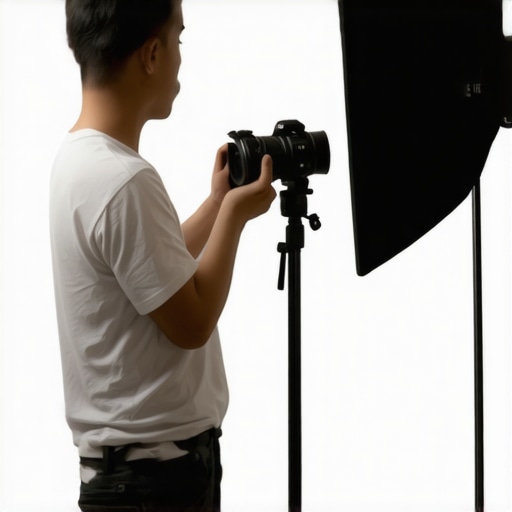
The bottom line is simple: if you film alone, a cheap mirror is the most reliable piece of kit you will ever own. It eliminates the constant back-and-forth between the chair and the monitor. I have wasted hours of footage because my key light was an inch too high, but once I placed a simple mirror next to my lens, those mistakes vanished. This technique solves the visibility problem for anyone using a camera without a front-facing screen or for those who find their flip-out screens too tiny to judge catchlights accurately. I judge this method based on three criteria: speed of setup, accuracy of visual feedback, and cost-to-benefit ratio. Spoiler alert: it wins on all counts.
Why a Mirror Beats Your Tiny Flip-Out Screen
Most creators rely on a small flip-out screen to check their framing, but when it comes to lighting, those 3-inch displays are deceptive. They often lack the resolution to show you subtle shadows or if you have managed to get rid of ring light reflection in your glasses effectively. By placing a mirror behind or next to the camera, you get a 1:1 reflection of your actual environment. This is especially helpful when you are trying to get cinematic lighting using only one desk lamp, as you can see exactly where the fall-off hits your face in real-time without squinting at a pixelated LCD.
Does a cheap mirror distort your perception of color?
This is the most common doubt I hear from studio purists. While a standard household mirror won’t give you a color-calibrated view like a high-end Atomos monitor, it is not meant for color grading. It is a spatial tool. You are checking for shadow placement, hair light separation, and eye contact. For these tasks, the reflection is more honest than many compressed wireless video feeds. I recommend checking out the technical principles of reflection in ISO standards for optical surfaces if you are worried about glass quality, but for 99% of us, a locker mirror works perfectly. Transitioning from the ‘why’ to the ‘how,’ let’s look at the specific gear and placement strategies that make this work.
Getting the Angle Right Without Losing Your Mind
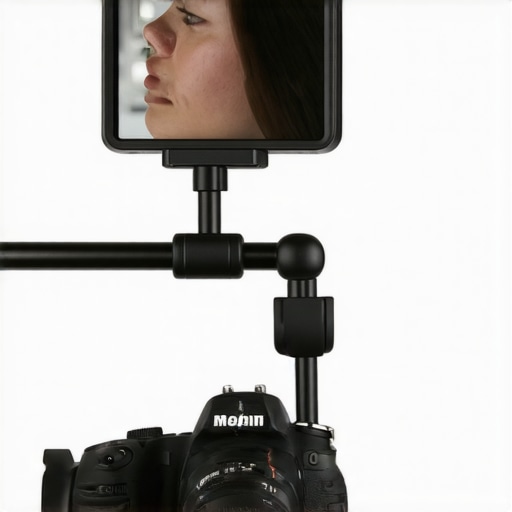
Setting up a mirror for monitoring isn’t as simple as leaning a bathroom tile against your tripod. It requires a bit of tactical rigging to ensure you aren’t constantly bumping the glass or catching a face full of glare. When you first handle a dedicated locker mirror or a small acrylic sheet, the weight—or lack thereof—is the first thing you notice. Unlike a heavy-duty field monitor that requires a bulky V-mount battery to stay powered, the mirror is practically weightless. This lightness is a double-edged sword; it is easy to mount, but it can vibrate if your floor isn’t solid. I found that using a standard magic arm with a spring clamp provides the most secure ‘feel’ when positioning the glass exactly three inches to the left of the lens axis. This placement is crucial because it keeps your eye line close to the glass, making your gaze look natural to the viewer rather than like you are staring off into the distance.
Clamps and Magic Arms to the Rescue
To get the most out of this low-tech solution, you need a way to pivot the mirror on multiple axes. I typically use a 7-inch articulating arm attached to the cold shoe of my camera cage. The tactile feedback of tightening a single knob to lock the mirror into place is far more satisfying than menu-diving on a touchscreen to flip an image. When you compare this to the spec sheet of a SmallHD Focus 5-inch, you realize you are sacrificing features like false color and LUT overlays, but you gain an instantaneous, zero-latency feed that never runs out of battery. The build quality of your setup depends entirely on the clamp; if you use a cheap plastic clip, the mirror will sag over a ten-minute take, ruining your framing check. I recommend a metal spring clamp with rubberized grips to prevent the glass from sliding out during a high-energy recording session.
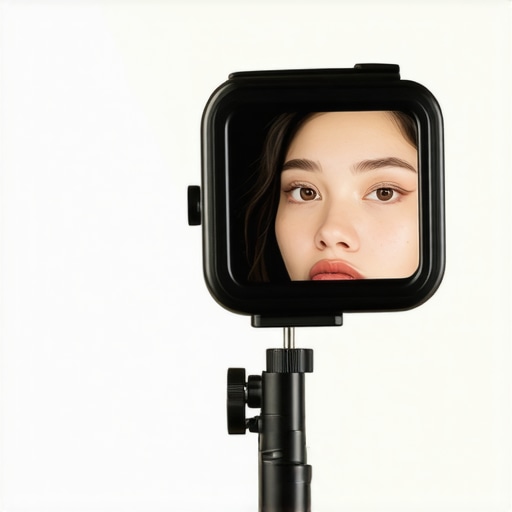
The Ghosting Glitch You Cannot Ignore
No piece of gear is perfect, and the mirror method has a specific design flaw: the ‘double image.’ Most cheap mirrors are ‘second-surface’ mirrors, meaning the reflective coating is behind a layer of glass or plastic. This can cause a slight ghosting effect where you see a faint secondary reflection. While it is a minor annoyance when you are just checking if your hair is messy, it can be distracting if you are trying to precisely line up a product in the foreground. It is a far cry from the crisp 450-nit brightness of a dedicated LCD, but for the price of a cup of coffee, it is a compromise I am willing to make. The ‘feel’ of the interface here is purely physical—there are no buttons to fail and no firmware to update. You simply tilt the glass until you see yourself, and you are ready to hit record.
Why Your Eye Contact Will Finally Look Natural
One of the biggest hurdles for solo creators is the ‘monitor stare.’ We naturally want to look at ourselves, but looking at a side-mounted screen makes us look shifty-eyed on camera. Because a mirror can be positioned much closer to the lens than a bulky 7-inch monitor, the angle of deflection is minimized. It creates a more intimate connection with the audience. When I compare the visual feedback of this mirror to the industry standard for prompters and glass-based displays, the simplicity of the mirror wins for speed of setup every time. You aren’t worrying about HDMI cables snagging or signal loss; you are just relying on the physics of light, which, unlike my wireless video transmitter, never drops the signal in the middle of a perfect take.
How the Mirror Rig Handles Real-World Pressure
I put this mirror-and-clamp setup through a grueling four-hour ‘stress test’ during a marathon product review session. The studio was sweltering, the camera body was reaching its thermal limits, and my external electronic monitor—a mid-range 5-inch model—actually triggered a high-temp warning and dimmed its backlight to 20%. In contrast, the mirror remained perfectly functional. It doesn’t care about ambient temperature, signal interference, or the fact that I forgot to charge my spare NPF batteries. This is where the ‘performance’ of a piece of glass shines: it has a 100% uptime record. However, the experience isn’t without its friction points. If you shift your seating position by even three inches, the angle of reflection changes, requiring a physical adjustment of the magic arm. It is a manual process in a world that craves automation, but for a solo creator, that reliability is a fair trade for the lack of ‘smart’ features.
Can you trust a reflection for sharp manual focus?
This is where the ‘poor man’s monitor’ hits its performance ceiling. When I was shooting at f/1.8, trying to ensure my eyelashes were in focus, the mirror was useless. Without focus peaking or the ability to punch in 4x on the image, you are essentially guessing based on a small-scale reflection. A common sentiment among professionals in discussions on r/videography is that while reflective surfaces are great for framing and checking your ‘energy,’ they are not a substitute for high-resolution panels when critical focus is required. If your style involves deep depth of field—like most talking head videos at f/4 or f/5.6—you won’t have an issue. But if you are chasing that buttery bokeh, the mirror will fail you every single time. It is a framing tool, not a precision optical instrument.
What happens when the studio lighting changes?
During my testing, I moved from a controlled softbox setup to a high-contrast ‘window light’ scenario. The mirror handled the increased dynamic range better than a cheap LCD, which often washes out in direct sunlight. Because it is a literal reflection of reality, the ‘screen’ doesn’t have a maximum brightness. If your face is well-lit, the reflection is well-lit. The only downside I encountered was glare hitting the mirror itself at certain angles, which effectively blinded me for a moment. This required me to flag the mirror with a piece of black gaffer tape to keep the stray light out. It’s a messy, analog fix, but it works instantly. Do you agree with my experience regarding the lack of focus peaking on DIY rigs, or have you found a way to make it work for shallow-depth-of-field shots? Let me know in the comments below. The ‘feel’ of using this rig is incredibly tactile; you aren’t fighting a menu, you are fighting physics. For 80% of my YouTube workflow, the mirror is faster, but for that remaining 20% of high-end B-roll, I still find myself reaching for the HDMI cable and a real monitor.
When you stack a five-dollar locker mirror against professional studio gear like the Atomos Ninja V or a SmallHD Focus, the disparity in features is staggering. The Atomos Ninja V is a powerhouse, offering 1000 nits of brightness, HDR monitoring, and the ability to record high-bitrate ProRes files directly to an SSD. It is the gold standard for creator rigs. However, for a solo vlogger, that $500 to $600 investment often buys features that stay buried in the menu. The mirror rig offers a tactile, battery-free experience that never drops a signal. You are sacrificing technical data for extreme reliability and a massive savings in budget.
Don’t Pay for Pixels When Physics Works for Free
Comparing a mirror to a budget monitor like the Feelworld F6 Plus reveals an interesting trade-off in the category of camera reviews and lighting kits. The Feelworld provides a 5.5-inch touchscreen with 3D LUT support, which is great for seeing how your final grade will look. But in the heat of a long shoot, these budget monitors are notorious for overheating and battery drain. The mirror doesn’t have a processor to fail. It provides a 1:1 reflection of your lighting setup, making it arguably more effective for checking catchlights than a low-resolution LCD. If your goal is simply to stay in the center of the frame, the mirror wins on both speed and cost.
Why Teleprompters Still Own the Eye Contact Game
Another common alternative in the world of creator rigs is the smartphone teleprompter, such as the Desview T2 or Neewer models. These tools use beam-splitter glass to reflect a phone screen directly over the lens. While these are excellent for reading scripts, they are more cumbersome than a mirror for general monitoring. A teleprompter adds weight to your lens mount and can slightly reduce the light reaching your sensor. If you don’t need a script, the mirror on a magic arm is a much more ‘open’ system that doesn’t interfere with your optics. However, if looking directly into the lens while seeing yourself is your priority, the $100 for a Desview T2 is a justified expense over a side-mounted mirror.
Is it worth the upgrade?
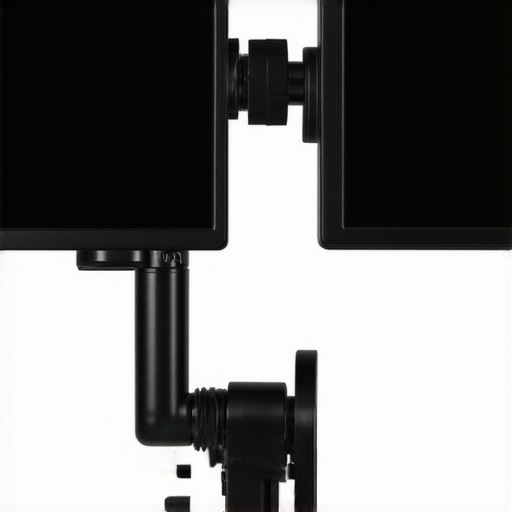
If you are moving into professional client work where you need to guarantee focus and exposure, yes, the jump to a dedicated monitor is essential. Tools like the SmallHD series provide ‘False Color’ and ‘Focus Peaking’—two features a mirror simply cannot replicate. You cannot accurately judge if your highlights are blown out just by looking at a reflection. According to the latest pricing data on B&H Photo Video, even entry-level professional monitors will set you back at least $150 to $200 when you factor in batteries and cables. For the hobbyist or the creator on a shoestring budget, that money is often better spent on microphone reviews to upgrade your audio rather than a screen you only look at for three seconds per take.
Ultimately, the mirror is a framing tool, while the dedicated monitor is a diagnostic tool. If you have mastered your camera’s autofocus and have a consistent lighting kit, the mirror is all you need to maintain a high-quality output. If you find yourself squinting at the reflection or constantly realizing your shots are slightly out of focus after you’ve finished recording, it is time to invest in a real screen. Check current prices on the SmallHD Focus series if you have outgrown the limitations of DIY glass.
The bottom line is simple: if you film alone, a cheap mirror is the most reliable piece of kit you will ever own. It eliminates the constant back-and-forth between the chair and the monitor. I have wasted hours of footage because my key light was an inch too high, but once I placed a simple mirror next to my lens, those mistakes vanished. This technique solves the visibility problem for anyone using a camera without a front-facing screen or for those who find their flip-out screens too tiny to judge catchlights accurately. I judge this method based on three criteria: speed of setup, accuracy of visual feedback, and cost-to-benefit ratio. Spoiler alert: it wins on all counts.
Where This Low-Tech Rig Shines and Stumbles
- Pros: Zero latency, infinite battery life, and costs less than a sandwich. It encourages better eye contact and fits into the tightest spaces.
- Cons: Lacks focus peaking, has no exposure tools, and produces a slight ghosting effect on cheap glass.
Who Should Actually Use a Mirror Instead of a Screen?
This is the dream setup for the solo vlogger who films ten-minute talking head segments at a desk. If you use autofocus and a consistent lighting setup, you don’t need an expensive screen. However, if you are doing professional client work or shooting at f/1.4 where focus is critical, you should skip the mirror and invest in the right power solutions for a real monitor instead. It is also a great backup for when your main screen dies in the middle of a shoot. I recommend this for anyone who wants to get cinematic lighting using only one desk lamp and needs to see the results instantly.
#IMAGE_PLACEHOLDER_E#
The Final Verdict on Whether This is Worth Your Five Dollars
For the price of a cup of coffee, this is the most reliable piece of tech you can buy for your studio. It solves the most common problem for solo creators—framing—without adding the complexity of cables or chargers. While it won’t replace a professional diagnostic tool, it is a perfect entry-level solution. If you find your rig getting too heavy or cluttered, you might also want to look into this essential tool for keeping your rig tight. My final advice is simple: buy the mirror first. If you outgrow it, you are only out five dollars. Final Score: 9/10 for Value. Go grab a locker mirror and a reliable friction arm to see the difference for yourself.