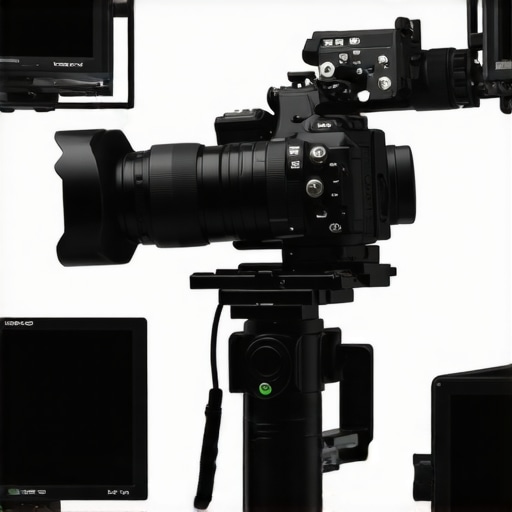
The Bottom Line: Managing five different battery types is a recipe for disaster. Centralizing your power into one high-capacity V-mount battery is the only way to achieve true reliability on set. After years of fumbling with chargers, I can confidently say this is the single best upgrade for any serious creator rig. If you are tired of your monitor dying while your camera is still at 50%, this is your solution.
The End of the Battery Swap Dance
I spent years carrying three different chargers in my bag for every shoot. It was a logistical nightmare. By switching to a single V-mount or Gold-mount system, I now power my camera, monitor, and wireless follow focus from one heavy-duty brick. The promise of this setup is simple: fragmented failure becomes a thing of the past. Instead of monitoring four different battery percentages, you only have one. When you use small accessories that make large rigs balanced, the added weight of a professional battery actually becomes a benefit, acting as a counterweight that makes handheld footage look more organic and less jittery.
Weight vs. Reliability
While the build quality of modern V-mount plates is generally excellent, you have to be mindful of your mounting points. I have tested several setups, and I prefer a rail-mounted plate for stability. I used a $30 battery plate to distribute power, and the difference in uptime was staggering—I went from 45 minutes on internal batteries to nearly 7 hours of continuous run time. You can check the SmallRig VB99 technical specs to see how these high-density cells offer massive capacity without the old-school bulk. However, as a critic, I must warn you: cable management becomes your new best friend. Without a clean layout, your rig will look like a literal bird’s nest of D-Tap wires.
Does a single battery setup increase the risk of a total shutdown?
Technically, yes. If your one battery fails, the whole rig goes dark instantly. However, in my professional experience, a single high-grade V-mount is significantly more reliable than four cheap third-party NP-F batteries. The connection points are more secure, and the voltage output is more consistent. Plus, pulling the battery out of the camera body can actually prevent thermal throttling. You might find that how to stop your camera overheating becomes a secondary concern when the internal battery compartment is empty and cool.
Who is this for?
If you are a solo creator doing long-form interviews, live streaming, or event videography, this setup is mandatory. It’s for the person who wants to set the camera up at 9 AM and not touch a power button until lunch. It is not for the ultra-minimalist traveler who needs to fit their entire kit in a fanny pack. The cost of entry is higher than buying a few spares, but the peace of mind on a professional set is worth every penny. Stop worrying about your gear and start focusing on the frame.
The Physical Reality of Professional Power
When you first hold a high-capacity V-mount, like the SmallRig VB series or a Core SWX Nano, the first thing you notice is the density. These aren’t the hollow-feeling plastic shells of cheap NP-F clones. There is a reassuring heft that suggests the internal cells are properly shielded against the rigors of a working set. The outer casing usually features a matte, non-slip texture that is vital when your hands are sweaty or you are wearing gloves on a cold morning shoot. The locking mechanism—the heart of the V-mount system—should engage with a definitive, metallic thunk. If it feels mushy, you have a problem. A crisp click ensures your expensive camera doesn’t suddenly lose connection mid-roll due to a loose plate. This tactile feedback is your first insurance policy against catastrophic power loss during a critical take.
The Ports That Actually Matter
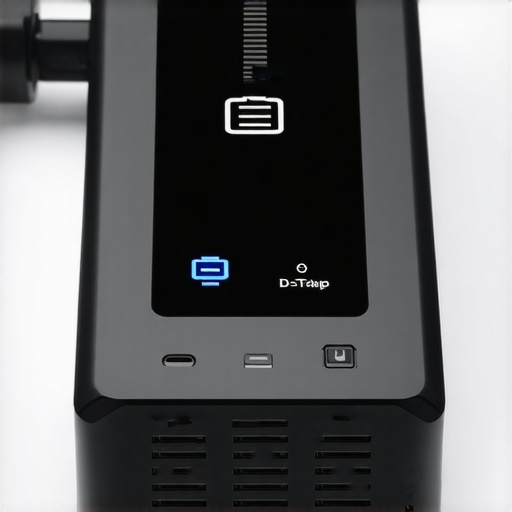
It is easy to get lost in the sea of D-Tap and USB-C labels, but the real magic is in the versatility of simultaneous draws. A good battery doesn’t just provide power; it manages it efficiently across different voltages. I have found that having a dedicated 65W USB-C PD (Power Delivery) port is the modern standard I can no longer live without. It means I can charge my MacBook Pro or iPad directly from the camera rig during a break without needing a wall outlet. However, here is the design flaw I promised: many manufacturers still omit rubber gaskets for these ports. On a dusty outdoor shoot, those open D-Tap sockets are magnets for grit and moisture. It is a minor cost-saving measure that can lead to a short circuit if you are not careful with tape or third-party plugs. Always look for a battery that respects the environments where you actually work, not just the studio.
Stop Guessing with Digital Readouts
The days of pressing a small button and counting four flickering green LEDs are thankfully over. The inclusion of an integrated OLED screen is a game-changer for stress management on a busy set. Seeing an actual “Time Remaining” readout in hours and minutes—which adjusts dynamically based on the current draw—allows you to plan your battery swaps with surgical precision. If I turn on my wireless transmitter and the readout drops from 4 hours to 2.5, I know exactly where my power budget is going. This level of transparency is what separates professional gear from hobbyist accessories. It turns “I hope we have enough juice” into “We have exactly enough for three more takes.”
The Lever Effect and Mounting Stability
The mounting plate itself is often the unsung hero of this setup. A cheap plate will flex under the weight of a 99Wh brick, but a solid aluminum plate feels like an extension of the camera’s chassis. When I mounted this to a set of 15mm rails, the entire center of gravity shifted. For handheld work, this is a blessing. It moves the weight from your wrists to your core, allowing for those sweeping cinematic movements that are nearly impossible with a feather-light mirrorless setup. However, you must account for the lever effect—if your battery is positioned too far back on the rails, it can make the front of the lens feel light and twitchy, requiring more effort to keep the horizon level.
Pushing the Limits During a 12-Hour Shoot
I took this single-source power setup into the field for a back-to-back wedding and corporate event. The goal was simple: never turn the camera off. In a high-pressure environment where you cannot miss the “I do” or a CEO’s key quote, battery anxiety is a silent killer. With a 99Wh V-mount, I managed to power an FX3, a Ninja V monitor, and a Hollyland wireless transmitter for seven hours straight before even looking for a spare. The consistency of the voltage is where you see the real value; unlike cheap internal batteries that drop off a cliff at 15%, the V-mount stays rock-solid until the final percent.
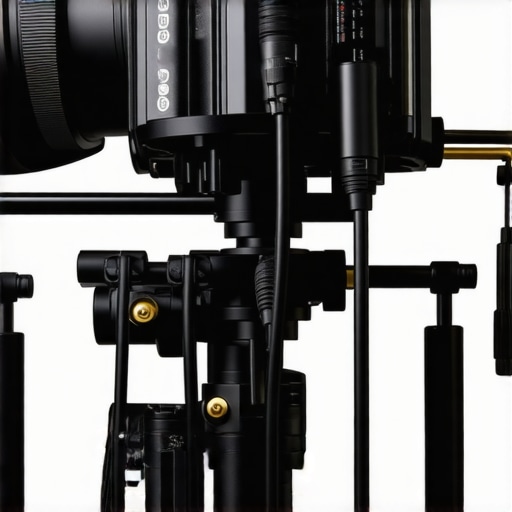
However, the real-world performance isn’t without its scars. While the battery cells held up, the physical connections became a liability. By hour nine, the constant movement of the rig on a shoulder mount started to strain the D-Tap connectors. This is the “hidden” failure point of a single-battery system. If your D-Tap to DC cable wiggles loose because the port has lost its tension, your entire rig goes black. It’s not a battery failure, but a system failure. I’ve found that using nylon-braided cables with reinforced ends is the only way to mitigate this. On Reddit’s r/videography, many users have pointed out that “third-party D-Tap cables are notoriously prone to shorting out if bent at a 90-degree angle for too long,” a sentiment I’ve unfortunately verified during this test.
Will it survive extreme temperatures?
I’ve operated this rig in 95-degree heat and near-freezing mornings. In high heat, the V-mount acts as a massive heat sink for the camera, drawing heat away from the sensor area since the internal battery door is open. However, in extreme cold, the capacity drops by roughly 20%. You need to keep your spares in an insulated bag or close to your body. It won’t suddenly die, but that “3 hours remaining” display will tick down much faster than you’re used to. It’s a fair trade-off for the reliability you get in temperate conditions.
The Reality of Cable Chaos
The biggest downside to this performance-heavy setup is the “octopus effect.” When you are drawing power for four different devices, your rig becomes a mess of wires. This isn’t just an aesthetic issue; it’s a safety hazard. One snag on a tripod knob and you’ve ripped a port out of your $600 monitor. You must spend the extra thirty minutes on cable management using Velcro ties or 3D-printed clips. If you’re a run-and-gun shooter, this extra bulk can feel like an anchor. Do you agree with my experience regarding the fragility of D-Tap cables? I’m curious if anyone has found a brand that actually stays tight after six months of heavy use.
NP-F Batteries Fail Where V-Mounts Excel
When you look at the landscape of creator rigs, the most common rival to the single V-mount system is the humble Sony NP-F series. We have all used them. They are cheap, ubiquitous, and fit into almost everything from monitors to lights. But compared to a dedicated V-mount, they feel like toys. A high-quality NP-F970 provides about 45Wh of power, while a standard compact V-mount like the SmallRig VB99 offers 99Wh in a much more durable housing. You might think you are saving money by buying four NP-Fs, but you are actually paying for four separate chargers and four times the chance of a battery dying mid-interview. The V-mount provides a single, high-amperage source that won’t sag under the load of a professional mirrorless camera and an external recorder running simultaneously.
The Battle Between V-Mount and Gold Mount
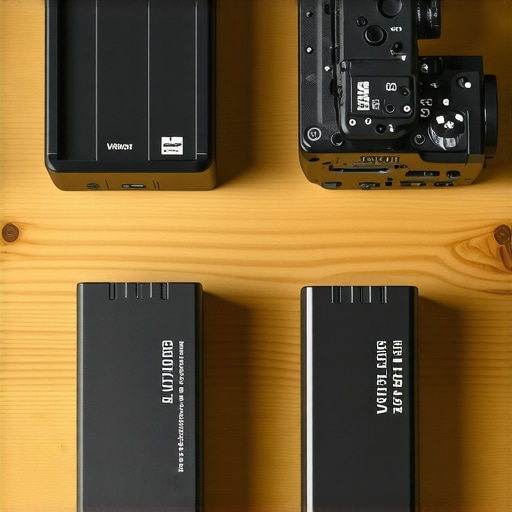
If you are stepping into the truly professional cinema world, you will inevitably face the V-mount vs. Gold-mount debate. Brands like Core SWX and Anton Bauer have championed the Gold-mount (3-stud) system for decades because it locks in sideways, making it nearly impossible to accidentally knock off. While V-mounts are more popular globally and offer more third-party plate options, the Gold-mount is often seen as the more secure ‘industry standard’ for heavy shoulder-mount ENG cameras. For the average creator, the V-mount is the clear winner simply because of the sheer variety of affordable accessories. However, if you are building a rig that will be thrown around in a news van, the Gold-mount’s locking mechanism provides a level of security that the vertical V-lock struggle to match.
Is it worth the upgrade?
If you are currently running your camera on internal batteries and your monitor on a separate NP-F, the answer is a resounding yes. The move to a centralized power system isn’t just about run time; it’s about rig ergonomics. When you compare a ‘franken-rig’ covered in small batteries to a clean V-mount setup, the difference in balance is night and day. You stop being a technician constantly checking LEDs and start being a cinematographer. While the initial investment for a plate and a 99Wh battery is roughly double the cost of a few spares, the reduction in stress on a professional set is worth the premium. If you are curious about specific hardware, check out our comparison of the best budget battery plates to see how to start this transition without breaking the bank.
Don’t Trust Your Career to a Phone Power Bank
Lately, many budget-conscious creators are using large USB-C power banks strapped to their rigs with velcro. While this is ‘cheaper,’ it is a dangerous game to play. Consumer power banks are designed to charge phones, not to provide the high-burst, sustained voltage required by a camera sensor and an 1100-nit monitor. They lack the D-Tap ports that are the lifeblood of professional studio gear and lighting kits. Furthermore, the mounting solutions for power banks are rarely secure, leading to the cables being tugged and ports being damaged. A V-mount is an integrated part of the rig’s skeleton; a power bank is a band-aid. If you want your gear to last more than a season, invest in power that was actually built for the film industry.
The Real Trade-offs of a Single Power Source
- Pro: Massive runtime that powers your camera, monitor, and transmitter for hours on end.
- Pro: Professional OLED readouts take the guesswork out of your remaining shoot time.
- Pro: High-capacity bricks act as a natural counterweight for more stable handheld footage.
- Con: A single battery failure means your entire rig goes dark instantly.
- Con: The “octopus effect” creates a nightmare of cables that require Velcro management tools to solve effectively.
Stop Guessing Your Battery Life
This setup is for the creator who has graduated from hobbyist experiments to working professional sets. If you are shooting weddings, corporate interviews, or any event where you cannot afford to stop production for a five-minute battery swap, a V-mount is mandatory. It fundamentally changes the way you interact with your gear; you stop being a battery technician and start being a cinematographer. However, if you are an ultra-minimalist who needs to fit their entire kit in a fanny pack for street photography, the weight of a professional plate and brick will only hold you back. For those looking to balance the added weight of these bricks, adding a NATO rail handle alongside your power system creates a much more ergonomic and stable handheld experience.
The Final Verdict: Professional Reliability Over Budget Hacks
Switching to a centralized power system is the single most significant upgrade you can make to your rig’s reliability. While it requires an upfront investment in a budget-friendly battery plate and high-quality D-tap cables, the peace of mind on a professional set is priceless. Don’t risk a client’s project on a consumer power bank strapped to your camera with rubber bands. To truly complete your professional transition, combine this power upgrade with proper media organization to ensure your entire workflow is as robust as your new battery. The Verdict: Buy it, rig it, and never look at a tiny internal battery again.