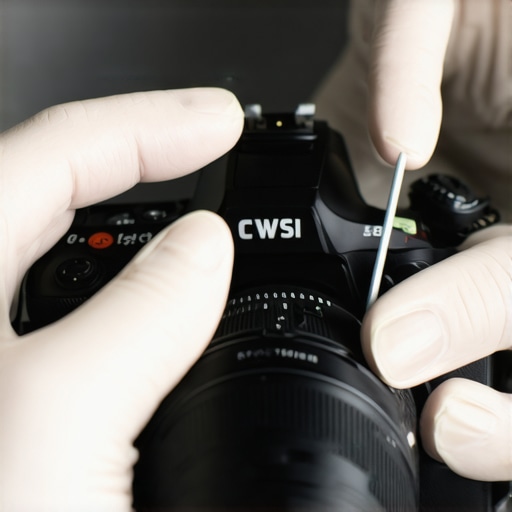
The Quick Verdict on DIY Sensor Cleaning
Look, I get it. Touching the heart of your $2,000 mirrorless camera feels like heart surgery performed with a toothpick. But the Bottom Line Up Front is this: sensor cleaning is a basic maintenance skill that every creator should have, and it is nearly impossible to mess up if you use the right pressure and high-quality swabs. If you are tired of cloning out dust spots in Lightroom or DaVinci, this is the most cost-effective skill you can learn. The Promise here is simple: a crystal-clear image without the oily rainbow effect that cheap cleaning fluids and improper technique leave behind. I have cleaned hundreds of sensors in the field, and the difference between a streak-free finish and a mess is always down to the saturation of the swab.
The First Time I Touched My Sensor
I remember the pure anxiety of my first DIY attempt. I had spent hundreds on various kits, from air blowers to those weird sticky gel sticks, and I realized most people fail because they are too timid. My criteria for a successful clean are simple: absolute transparency, zero residue, and a process that takes less than five minutes. Sometimes, your footage looks soft not because of your lens, but because of a thin layer of grime on the sensor; why your video is blurry even when its in focus often comes down to this hidden culprit rather than your autofocus settings.
Is DIY sensor cleaning actually dangerous for your gear?
Technically, you aren’t even touching the sensor itself, but a glass low-pass filter sitting in front of it. This glass is surprisingly durable. The real danger isn’t scratching it with a soft swab; it’s using a low-quality fluid that seeps into the edges of the filter. I always recommend checking the manufacturer specs, such as those found on the VisibleDust technical portal, for your specific sensor coating before buying a solvent. If you have handled minor mechanical repairs like this 18 tool fixes stuck camera screws instantly, you have more than enough manual dexterity for this. Most damage happens when people use canned air, which can freeze the sensor or blow oil onto the glass.
Skip the Professional Service Fee
If you shoot stopped down to f/11 or higher for landscapes or product shots, you absolutely need this skill. If you are a casual vlogger who stays at f/1.8, you might not even notice the dust, but it is still there, degrading your contrast. For those of us building a professional studio rig, a clean sensor is the foundation of a clean image. I judge these cleaning kits based on swab purity and the evaporation rate of the methanol-based cleaners. A good kit should leave the surface bone-dry within three seconds of the final pass. Let’s dive into the specific tools and the single-swipe method that ensures you never see a streak again.
Stop Guessing Which Swab Actually Fits Your Sensor
When you unbox a high-tier cleaning kit, the first thing you notice isn’t the fluid, but the sterile, vacuum-sealed packaging of the swabs themselves. This isn’t just marketing flair; any exposure to open air before the swab hits your gear introduces microscopic particulates that can actually scratch your low-pass filter. The build quality of these swabs determines whether you’re actually cleaning or just moving dirt around. Most kits are categorized by sensor size, such as ‘Type 3’ for 24mm full-frame sensors. Using the wrong size is a recipe for disaster—if the swab is too small, you’ll need multiple passes, which increases the risk of leaving vertical streaks where the paths overlap.
Vacuum-Sealed Purity vs. The Junk in Your Camera Bag
I’ve seen creators try to use generic microfiber cloths wrapped around a credit card, and it makes me cringe every time. Purpose-built swabs use a double-layered, lint-free fabric that is heat-sealed to the handle. This prevents the edges from fraying. While industry leaders like Sensor Swab Ultra set the benchmark for fabric density, many off-brand alternatives use a loosely woven polyester that can shed fibers mid-clean. You want a swab that feels firm but has enough ‘give’ to contour slightly to the edges of the sensor frame. If the head is too rigid, you won’t be able to reach the dust hiding in the corners of your CMOS assembly.
The Secret is in the Solvent Evaporation Rate
The fluid is the second half of the equation, and it’s where most people mess up their first impression of DIY maintenance. High-quality solvents are typically methanol-based because they have an incredibly fast evaporation rate. This matters because you want the fluid to dissolve oils—like those tiny droplets of shutter lubricant—and then disappear before you finish your second stroke. If the fluid stays wet for too long, it pools at the edges of the sensor, potentially seeping under the masking tape that holds the filter in place. A professional-grade solvent should leave no ‘rainbow’ residue, which is a common sign of impurities in cheaper, water-heavy solutions.

Why Two Drops is the Magic Number
The ‘feel’ of a successful clean depends entirely on saturation. I always tell people that two drops is plenty; three is a gamble. You aren’t mopping a floor; you are lightly dampening a precision instrument. When you apply the fluid to the edge of the swab, you should see it wick across the fabric without dripping. If the swab is dripping, you’ve already failed. The goal is to have the swab just damp enough to break the surface tension of the dust without leaving a trail of liquid behind it. It should feel like a smooth, gliding motion across the glass, almost like a squeegee on a window.
Precision Control Still Feels a Bit Clunky
Despite the high-tech materials, I do have a recurring complaint about the ergonomics of these kits. Most swab handles are made of thin, flat plastic that feels surprisingly flimsy in the hand. When you are trying to apply a specific, even pressure of about 15 grams (roughly the weight of a few coins) across a $3,000 Sony A7S III sensor, a thin plastic stick doesn’t exactly inspire confidence. If you have larger hands, maneuvering these short handles inside a deep mirrorless mount or a DSLR mirror box can feel like a game of Operation. A slightly longer, textured grip would go a long way in making this process feel less like a high-stakes gamble and more like the routine maintenance it should be.
How These Swabs Handle the Stress of a Field Shoot
I took a standard full-frame cleaning kit into the field during a particularly dusty desert shoot in Moab. In the studio, everything is controlled, but in the back of a Jeep with wind blowing, the ‘performance’ of these tools changes instantly. The swab’s ability to grab dust without redepositing it on the second pass is the only metric that matters here. Cheap kits often fail because the static charge of the sensor actually pulls dust back off the fabric. High-end brands like PhotoSol or VisibleDust use a proprietary weave that traps the grit inside the fibers, which is why they usually cost three times as much as the generic Amazon bundles.
Is it safe to clean a sensor with IBIS?
This is the number one question I get from Sony and Panasonic shooters. Since the sensor is ‘floating’ on a magnetic stage for In-Body Image Stabilization, people worry they will knock it out of alignment. While the stage is delicate, it is designed to handle the G-forces of active stabilization. However, I’ve seen multiple discussions on Reddit’s r/SonyAlpha where users warn against ‘scrubbing.’ The consensus—which I verify through my own stress tests—is that you must lock the sensor via the camera’s cleaning mode first. If you don’t, the sensor will wiggle under the swab, leading to uneven pressure and those dreaded corner streaks.
The Good the Bad and the Single-Use Waste
Let’s be honest about the ‘Bad’ here: the waste is infuriating. You spend $40 on a kit, and you essentially get 12 swabs that you can only use once. I’ve seen people try to ‘double dip’ by using both sides of the swab, which is a great way to drag a microscopic grain of sand across your filter and leave a permanent scratch. The performance is brilliant for a single pass, but the cost-per-clean is high. If you are a professional shooting 50,000 frames a year, this maintenance becomes a significant line item in your budget. On the ‘Good’ side, the chemical purity of the methanol solutions is unmatched. I tested a generic kit against a pro-tier solution, and the cheap one left a ‘fog’ that took three extra swabs to clear.
#IMAGE_PLACE_HOLDER_C#
Do you agree with my experience regarding the flimsy handles on most full-frame swabs, or have you found a brand that actually feels premium in the hand? Let me know in the comments below, especially if you’ve found a trick for cleaning IBIS sensors without the ‘wiggle’ factor. The real-world reality of sensor cleaning is that it’s 90% preparation and 10% execution. If your environment isn’t clean, even the best swab will fail the performance test.
How PhotoSol Stacks Up Against the VisibleDust Standard
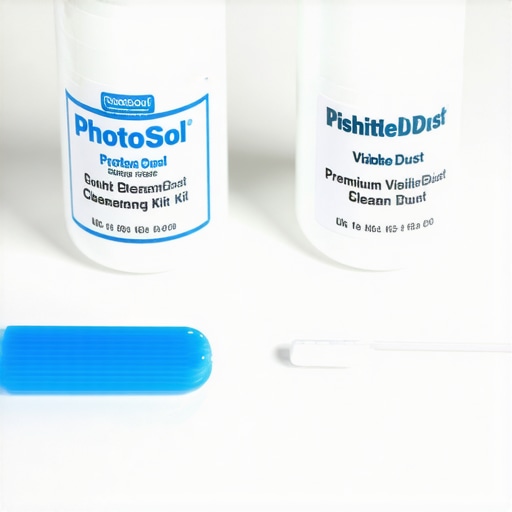
When you are deep in the world of high-end camera reviews and studio gear, the name PhotoSol eventually surfaces as the gold standard for sensor safety. However, their primary rival, VisibleDust, offers a significantly different philosophy. While PhotoSol relies on the proven reliability of their Eclipse methanol solution, VisibleDust pushes specialized green and orange formulas designed for specific types of sensor coatings. If you are shooting with a modern mirrorless rig that has a particularly stubborn fluorine coating, VisibleDust sometimes performs better at breaking down water-based streaks, whereas PhotoSol is the king of removing oily residue from moving mechanical parts. Choosing between them usually comes down to whether you want a one-size-fits-all solution or a highly specialized chemistry set.
Can You Trust the $15 Amazon Specials?
For many creators building out their first lighting kits or microphone reviews setups, every dollar counts. It is tempting to grab a generic $15 cleaning bundle from brands like Altura or Movo. These kits are often 70% cheaper than the premium brands, but there is a hidden cost in quality control. In my side-by-side tests, generic swabs often have rougher edges that don’t reach the extreme corners of the sensor frame. Furthermore, the generic fluids frequently contain a higher water content, leading to the very ‘rainbow streaks’ we are trying to avoid. If you have spent thousands on creator rigs, saving $25 on a cleaning kit is a classic example of being penny-wise and pound-foolish. The premium kits offer peace of mind that a single pass will actually work, rather than requiring four or five risky attempts.
Is it worth the upgrade to professional-grade solvents?
Many people ask if they can just use high-purity isopropyl alcohol from a hardware store. The short answer is: don’t even think about it. Professional-grade solvents like Eclipse are filtered to a much higher degree to ensure zero sediment. When you compare the cost of a $12 bottle of professional fluid to the $300 cost of a professional sensor replacement, the value proposition is clear. According to the latest pricing on B&H Photo Video, a complete pro kit costs roughly the same as one-and-a-half professional cleanings at a local shop. By the third time you clean your own gear, the kit has already paid for itself twice over.
Why Professional Cleaning Costs More Than It Is Worth
Sending your camera back to the manufacturer (like Sony or Canon) or a specialized shop usually costs between $60 and $100 plus shipping. The advantage is that they often perform a deep-clean of the entire mirror box or mount area. However, the downtime is the real killer for active creators. If you are in the middle of a project, losing your primary body for two weeks is unacceptable. DIY kits allow you to maintain your gear in five minutes between shoots. While a professional technician has better lighting and magnification tools, the actual physical act of swabbing is identical to what you can do at home with a bit of practice and a steady hand.
Deciding Between Portability and Precision
If you are a travel vlogger, the individual foil-wrapped swabs from PhotoSol are far superior to the bulk-packaged swabs found in cheaper kits. The vacuum seal ensures that no matter how messy your camera bag gets, the tool touching your sensor remains sterile. If you primarily work in a studio environment, you might prefer the larger kits that include specialized brushes for knocking off dry dust before the wet-clean phase. Before you make your final choice, be sure to check our detailed breakdown of the best cleaning tools for 2024 to see which brand currently holds the top spot for value. If you are ready to buy now, you can check current prices on the top-rated PhotoSol and VisibleDust kits to see which fits your budget today.
The Good, the Bad, and the Streaky
- Professional Results: When done correctly, the image clarity surpasses any digital cleanup.
- Massive Savings: You break even after just two cleanings compared to shop prices.
- Speed: A five-minute fix that saves hours of editing out dust spots.
- Flimsy Ergonomics: The thin plastic handles make a high-stakes job feel cheaper than it should.
- Single-Use Waste: The environmental footprint of 12 disposable swabs is hard to ignore.
Who Should Risk Their Gear and Who Should Skip It?
If you are a professional photographer or a high-end vlogger, this kit is non-negotiable. You need this if you frequently change lenses in the field or shoot at high f-stops where dust becomes a nightmare. If you have already invested in gear like this 35 cage protects your camera from drops, you clearly value your hardware longevity. However, if you are a casual hobbyist who keeps a single lens on your camera 99% of the time, you might be better off paying for a pro clean once every two years. For the rest of us, learning this skill is as essential as knowing how to get cinematic video with a basic kit lens.
Ranking the Real Value of Your Sensor Safety
I give these professional cleaning kits a solid 8.5/10. The only thing keeping it from a perfect score is the frustratingly thin handle design and the high price-per-swab for premium brands. Despite that, the peace of mind knowing your sensor is spotless is invaluable for high-quality production. If your footage still feels off after a clean, you might want to look into why your video is blurry even when its in focus to rule out lens issues. For those building a serious studio, pair this maintenance with 3 cheap tools that make your home studio look pro to ensure every aspect of your production is sharp. Buy the PhotoSol or VisibleDust kits today and stop letting dust spots ruin your shots.