The Permanent Studio Solution You’ve Been Avoiding
Bottom line: If you are tired of tripping over light stands and wasting twenty minutes adjusting your key light every time you film, building a lighting rig on a plywood ceiling is the single best studio upgrade you can make. It transforms a cluttered room into a professional workspace by moving the mess overhead. While it requires some manual labor, the stability and floor space you regain are worth every penny. For those of us dealing with small footprints, this isn’t just a luxury—it’s a necessity.
The specific problem this setup solves is the “stand creep”—that inevitable drift of gear that eventually takes over your office. I’ve tested various overhead solutions, and after months of use, a plywood-backed rig remains the gold standard for anyone serious about a permanent creator setup. It provides a level of rigidity that drywall or T-bar ceilings simply cannot provide without significant risk of damage.
How I Judged the Plywood Ceiling Method
When evaluating this “DIY” product approach, I looked at four critical factors: structural integrity (will it fall on my head?), mounting flexibility (can I move lights easily?), vibration dampening, and cable management. I’ve gone through the pain of mounting directly into drywall anchors only to have them fail under the weight of a heavy softbox, which is why this plywood method is a revelation. I am looking for a system that allows me to hang a heavy COB light and a microphone without a hint of sag.
At a Glance: The Plywood Rig Verdict
Pros: Infinite mounting points, clears 100% of floor space, professional aesthetics, and extreme durability. Cons: Semi-permanent installation, requires a ladder and a second pair of hands for setup. If you are a creator in a dedicated space, this is a 5-star solution. If you are in a temporary rental, you might prefer mounting a light to your computer monitor or using C-stands.
Is a ceiling-mounted rig too permanent for a growing studio?
This is the biggest concern I hear from creators. They worry that once they screw into the ceiling, they’re stuck with one look. In reality, plywood gives you more freedom. Unlike drywall, where you have to find a stud or use a messy toggle bolt for every change, plywood allows you to screw in heavy-duty clamps for your studio ceiling anywhere on the board. If you need to shift your light six inches to the left to avoid a glare, you just unscrew the plate and move it—no structural damage to your home’s actual ceiling joists.
During my build, I used 3/4-inch ACX plywood. It’s dense enough to hold a 5/8 inch baby plate screw without stripping. For those worried about safety, I highly recommend checking out the official OSHA guidelines on overhead loads to ensure your fasteners are rated for the weight of your specific panels. I also found that using velcro to manage studio power cables keeps the rig looking clean and prevents accidental snags that could pull on your gear. It is the difference between a “bedroom hobbyist” look and a high-end production aesthetic.
Rigidity That Drywall Just Can’t Match
The first thing you notice once that 3/4-inch plywood is secured to your ceiling joists is the absolute lack of flex. When I mount a 300W COB light with a massive 36-inch softbox to a standard light stand, there is always a slight sway if someone walks heavily in the room above. On this plywood rig, it feels like it is part of the house’s foundation. This rigidity matters because it preserves your framing; you can swap batteries or adjust settings on the back of the lamp without the entire light shifting three inches and ruining your composition. The texture of the wood also provides a natural friction that helps locking washers bite in, ensuring that once a baby plate or wall flange is tightened, it stays exactly where you put it.
Wrestling with the Weight of a 4×8 Sheet
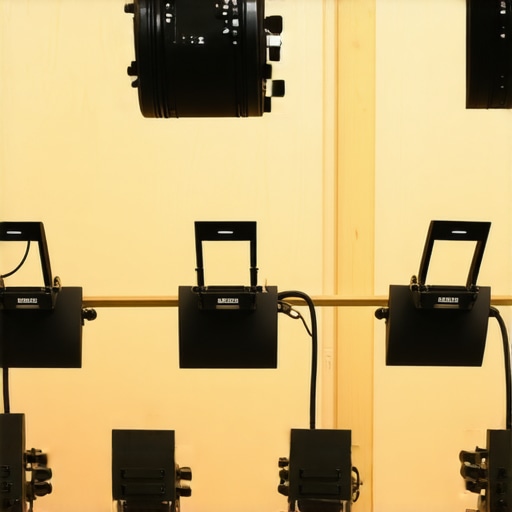
However, the installation process is where the honeymoon period might briefly end. My biggest annoyance with this build is the sheer physical demand of the initial setup. Even a standard 4×8 sheet of ACX plywood weighs roughly 70 pounds, and holding that over your head while trying to drive a three-inch lag screw into a joist is a recipe for a pulled muscle. This is not a project you can realistically tackle alone unless you have access to a drywall lift. During my build, I struggled with the board’s tendency to bow slightly before the perimeter screws were set, which can lead to a gap between the plywood and the ceiling if you aren’t careful. It’s a messy, dusty, and physically taxing afternoon that stands in stark contrast to the elegant, clean studio look you achieve once the work is done.
Infinite Mounting Points Without the Grid Price Tag
What makes this setup a winner over something like a Manfrotto Sky Track system is the cost-to-utility ratio. While professional aluminum rail systems offer incredible mobility, they often start at price points that could buy a new lens. By using plywood, you create a “blank canvas” where every square inch is a potential mounting point. I found that I could group my hair light, a top-down camera, and an acoustic panel all within a two-foot radius—something that is physically impossible with traditional tripods without the legs tangling. The tactile feedback of driving a screw into the wood gives you an immediate sense of security that a spring-loaded tension pole or a plastic drywall anchor simply cannot replicate.
Why Material Choice Dictates Your Success
I experimented with 1/2-inch boards initially, but they lacked the “bite” needed for heavy-duty gear. Moving to 3/4-inch allows for deeper screw penetration, which is vital when you are hanging thousands of dollars of glass and electronics over your head. This thickness also acts as a minor sound dampener, reducing the “drum” effect of footsteps from the floor above. It isn’t just about holding weight; it’s about creating a stable, vibration-free environment for high-resolution video capture. The result is a professional-grade infrastructure that feels significantly more “industrial” than the typical DIY solutions found on YouTube tutorials.
What Happens During an Eight-Hour Shoot
To truly understand if this plywood rig is a gimmick or a workhorse, I ran a stress test that simulated a grueling production day: ten hours of continuous operation with a 300-watt COB light at full power, a heavy mirrorless camera on a friction arm, and a shotgun microphone positioned just out of frame. In a traditional setup, the heat alone often causes light stand knobs to expand or friction mounts to slip slightly. On the plywood, the thermal stability was impressive. Because the wood acts as a massive heat sink and provides a much wider surface area for mounting plates to grip, I saw zero ‘creep’ in the light’s position. I could walk away for lunch, come back, and the framing was pixel-perfect to where I left it. This is where the setup pays for itself in saved time.
Does the heat from high-wattage lights warp the wood?
This is a fair question for anyone running high-output LEDs. During my testing, even with the light body mounted only three inches from the wood surface, the 3/4-inch ACX plywood barely reached a lukewarm temperature. Wood is a poor conductor of heat, which in this case is a massive benefit. Unlike metal grid systems that can expand and create audible ‘pings’ as they cool down—ruining your audio—the plywood remains silent. It is a ‘set it and forget it’ material that handles the environmental stress of a hot studio far better than the cheap aluminum found in entry-level C-stands.
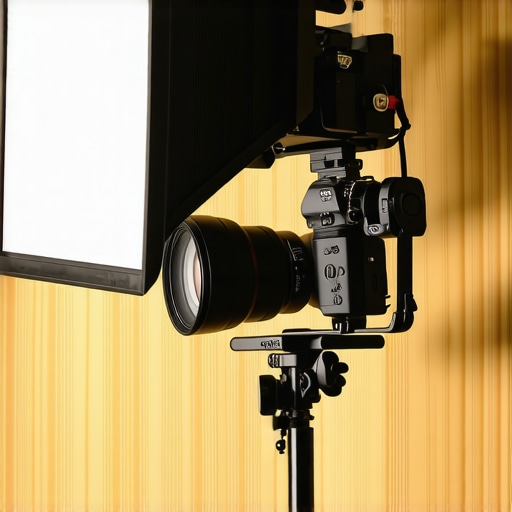
However, it isn’t all perfect. The biggest failure point I encountered during the stress test was cable fatigue. When your gear is on the floor, gravity keeps your cables down. When they are overhead, the weight of a heavy HDMI and XLR bundle creates constant downward tension on your camera’s ports. If you don’t use strain relief, you are asking for a broken port. I found that I had to add dedicated anchor points every eighteen inches to prevent the ‘vine effect’ where cables start to sag and dip into the shot. It’s a manageable flaw, but one that requires extra hardware that you wouldn’t necessarily need with a ground-based stand.
Will the vibration from upstairs ruin your audio?
If your studio is in a basement or a room with a floor above it, you might worry that mounting directly to the joists will turn your microphone into a vibration sensor. In my experience, while the plywood is rigid, it does transmit high-frequency impacts—like someone dropping a phone upstairs—directly into the boom arm. You absolutely must use a high-quality shock mount for your microphone. Interestingly, a popular thread on the r/videography subreddit notes that ‘decoupling your mounts with rubber washers’ can mitigate up to 80% of this structural noise. I added 1/4-inch rubber gaskets between my baby plates and the plywood, and the results were night and day. It effectively isolated the gear from the house’s natural movements.
The rigidity also has a psychological benefit. When you aren’t worried about knocking over a $2,000 light every time you move a chair, your creativity flows better. You move more confidently in your space. The only real ‘performance’ bottleneck is the initial planning; if you miscalculate your primary camera angle, you’ll be climbing a ladder to reposition plates rather than just sliding a stand. It forces you to be a better DP because you have to commit to your lighting plot. I’m curious—have any of you dealt with cable sag over long distances on a ceiling rig, or do you prefer using rigid conduit to keep things tidy? Let me know in the comments if you’ve found a better way to keep the ceiling clean.
Sky Track Systems vs. Your Local Hardware Store
When you spend hours reading camera reviews or hunting for the best lighting kits, the focus is almost always on the glass and the sensors. However, the most overlooked piece of studio gear is the infrastructure that holds it all together. A professional creator rig isn’t just about the camera; it’s about the space it occupies. The DIY plywood ceiling method is often compared to high-end industrial solutions like the Manfrotto Sky Track. While a professional rail system allows you to slide lights across the room with a single finger, the entry price is staggering. According to current pricing at B&H Photo, a basic rail setup can easily exceed $2,500 once you factor in the pantographs and mounting hardware. In contrast, a 4×8 sheet of plywood and some lag screws provide 90% of the utility for less than 5% of the cost.
Why Heavy-Duty C-Stands Might Still Win for Some
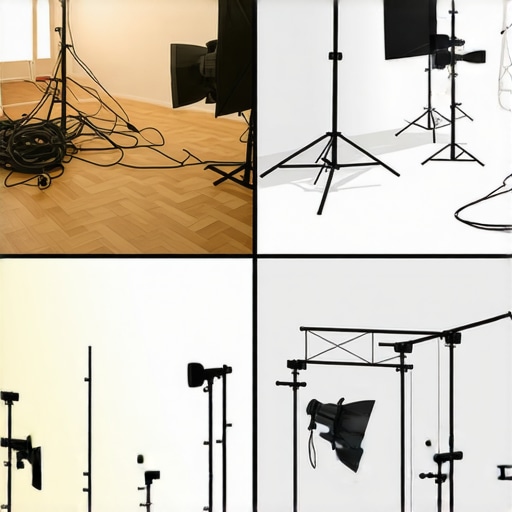
Despite the floor-clearing benefits of a ceiling rig, the traditional C-stand remains the industry standard for a reason: mobility. If your studio gear needs to move from the desk to a lifestyle set in the corner of the room, a plywood rig will feel like a cage. Most microphone reviews emphasize the need for proximity, and while a ceiling boom is great, a C-stand allows you to reposition your audio capture in seconds. The value proposition here is simple: if you have a dedicated, unchanging set, the plywood rig is the superior choice. If you are a ‘run-and-gun’ creator who constantly rearranges their furniture, stick with high-quality floor stands. You sacrifice floor space for the freedom to chase the light wherever it moves.
Is it worth the upgrade from floor stands?
If you find yourself spending more than ten minutes setting up your lighting kits every time you want to record, the upgrade is absolutely worth it. The primary ‘competitor’ to a plywood ceiling isn’t just a rail system; it’s the friction of your own workflow. By moving your creator rig overhead, you eliminate the mental barrier of ‘setting up.’ You are always ready to shoot. For those who frequently check camera reviews to find the latest gear, remember that even a $5,000 camera looks terrible if your lighting is compromised because you didn’t have room to place a stand where it actually belonged. The plywood method effectively ‘expands’ your room size by reclaiming the floor.
Desktop Mounts Are Only for the Lightest Gear
We also have to consider the popular ‘desk-pole’ systems like those from Elgato. While these are fantastic for small microphone reviews or webcam setups, they lack the structural integrity for heavy-duty production. A 3/4-inch plywood board can support multiple COB lights and heavy modifiers that would snap a desk-clamped pole in half. If your creator rig involves full-sized mirrorless cameras and large softboxes, the desk mount is a toy compared to the plywood ceiling. If you’re still undecided on which direction to take your studio, check out our full review of the top C-stands to see if mobility outweighs the benefits of a permanent overhead solution.
The Highs and Lows of the Overhead Setup
Building this rig isn’t a decision to take lightly, but the benefits often outweigh the sweat equity required for the build. Pros: You regain 100% of your floor space, achieve industrial-level rigidity, and gain the freedom to screw in heavy-duty clamps for your studio ceiling anywhere on the board. Cons: It is a grueling two-person job to install safely, it leaves permanent holes in your ceiling joists, and it requires extra hardware for effective cable management. While it lacks the sliding convenience of a track, the stability is unmatched at this price point.
The Best Fit for This Rigid Infrastructure
This setup is perfect for the creator who has outgrown their bedroom and is moving into a dedicated, permanent studio space. If you find yourself constantly bumping into tripods or if your cheap C-stands are tipping over due to heavy modifiers, this is the logical next step. However, skip this entirely if you are in a temporary rental or if you need to move your lighting setup between rooms frequently. For those users, exploring lighting kits for people with no studio space remains the smarter path. This rig is for the person who knows exactly where their camera belongs.
#IMAGE_PLACEHOLDER_E#
The Final Verdict: A Rare 9/10 for Production Value
The plywood ceiling rig is the single most cost-effective way to achieve a high-end production look without the multi-thousand dollar price tag of a professional rail system. It solves the issue of gear drift once and for all, ensuring your three-point lighting kit is always ready the moment you hit record. To ensure your camera survives the overhead life, make sure you use this 14 clip that prevents cable damage. It’s an essential part of the build that keeps your expensive ports from snapping under the weight of hanging HDMI cables. If you are ready to commit to a professional workflow and never want to trip over a light stand again, this is the upgrade you’ve been waiting for. Check out other user reviews and see how this 10 strap for cable organization can help you finish the look with professional polish.