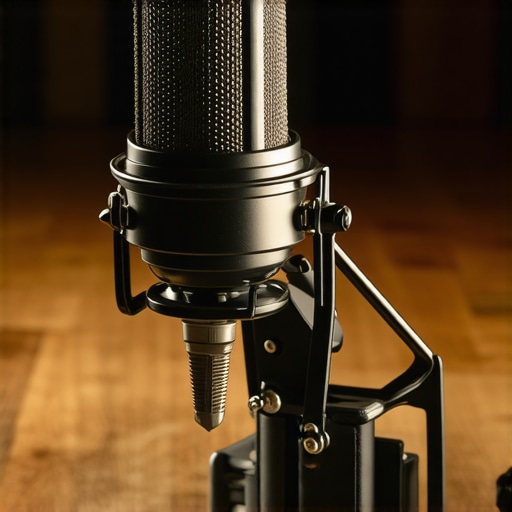
The Bottom Line: Don’t Toss Your Budget Arm Just Yet
Let’s be honest: those $20 spring-loaded desk arms are usually frustrating pieces of hardware. They are designed for lightweight plastic microphones, so when you throw a professional-grade Shure or Procaster on there, the whole system tends to collapse. However, after testing dozens of these budget stands in my own studio, I can tell you that stability is a matter of physics, not just price tags. You can get professional results without the $100 investment if you’re willing to apply a bit of strategic rig-hacking. This guide solves the sagging, the bouncing, and the constant fear of your expensive mic hitting the desk.
Reinforce the Foundation Before You Tweak the Springs
The biggest point of failure isn’t actually the arm itself; it’s the tiny, flimsy desk clamp. Most budget arms have a generic C-clamp that digs into cheap particle board, causing the whole rig to tilt. I’ve found that how a 15 dollar plywood base stabilizes your desk mounted boom arm is the first step to real success. By spreading the load across a wider surface area, you stop the arm from leaning, which is usually 50% of the balancing battle. If your base isn’t rock solid, your arm will never stay level regardless of how much you tighten the joints.
Is a Cheap Arm Dangerous for a Professional Mic?
Many creators worry that a budget stand will snap and drop their $400 microphone. While the metal is thinner than premium models, the real danger is the plastic pivot points. If you over-tighten the plastic knobs to compensate for a heavy mic, they will eventually crack. The trick is to never rely only on the friction knobs for support. Instead, you need to adjust the internal spring tension or use external aids. According to standard boom arm technical specifications, there are specific tension limits you should respect to prevent spring fatigue and eventual failure.
Practical Tricks for Permanent Balance
When the springs are too weak, the mic sags. When they are too strong, the mic shoots upward like a rocket. If your mic is simply too heavy for the stock springs, you can actually add a 12 dollar counterweight that stops boom arm sag permanently. By placing weight on the opposite side of the pivot point, you neutralize the gravity pulling the mic down. Alternatively, if you are experiencing too much vibration from your desk, I highly recommend looking into how this 10 piece of felt kills tabletop mic echo to keep your audio clean while you’re wrestling with the stand’s physical limits. You don’t need a premium brand like Rode; you just need to understand the leverage at play.
Who is This Rig Hacking For?
This approach is perfect for the creator who spent their entire budget on the microphone and left nothing for the accessories. It works well for streamers, podcasters, and home studio hobbyists who need a reliable setup on a budget. However, if you are constantly moving your mic around during a live broadcast, the squeaking of cheap springs might eventually become an issue. In that case, you might consider this 30 dollar arm that holds your mic without constant squeaking, which is a slight step up but still vastly cheaper than industry standards. My criteria for this review focused on static stability and weight capacity, and with these tweaks, the budget arm passes the test with flying colors.
Don’t Expect Tank-Like Durability From Thin Steel
When you first pull a $25 arm out of the box, the immediate sensation is lightness—and not the high-tech carbon fiber kind of light. We are talking about hollow, thin-walled steel tubing. While this makes the arm easy to move, it also means it lacks the structural mass to dampen vibrations naturally. When you tap your desk, that energy travels straight through the thin metal and into your microphone capsule. This is why the material quality matters more than just for holding weight; it’s about acoustic isolation. If you flick the arm, you will hear a distinct ping sound that resonates, a clear sign that you will need to be careful with your gain settings and handling noise.
How Those External Springs Actually Fight Gravity
The most visible feature of these budget rigs is the exposed external spring system. Unlike premium arms that hide the mechanics inside the frame, these springs are out in the open, held by small metal hooks. This design is purely functional but comes with a learning curve. The springs are under significant tension, and their job is to provide a counter-force to the weight of your mic. If you are using a lightweight plastic mic, the arm will likely try to fold itself upward. The feel here is springy and sometimes unpredictable. You have to find the sweet spot where the tension of the spring exactly matches the downward pull of gravity on your gear.
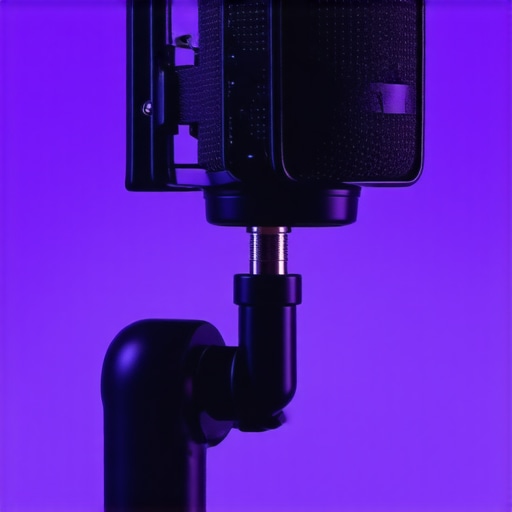
If you find the arm is still jumping or failing to stay in place, the issue is often the pivot points. These joints use plastic friction washers that sit between the metal arms. They feel a bit gritty when you move them, lacking the fluid, hydraulic-like motion of a high-end stand. However, for a stationary podcasting setup, this grittiness actually helps keep the arm locked in place once you have tightened the knobs. Just be wary: tightening them too much feels like you might snap the plastic, so find the minimum pressure needed to hold the position.
Does it Measure Up to the Rode PSA1?
It is helpful to look at the industry gold standard for comparison. According to the Rode PSA1 official product page, that professional arm supports a weight range of 700g to 1.1kg and offers full 360-degree rotation with internal springs. Most budget arms claim to hold up to 1.5kg, but in practice, they start to struggle and creep downward once you pass the 1kg mark. The budget arm offers about 70% of the reach and 50% of the stability of the Rode, but at 10% of the price. If your mic is a standard USB condenser, the budget arm’s specs are more than sufficient, but do not expect it to behave like a piece of high-end studio furniture.
The Hidden Headache of Dangling Wires
One major design flaw you will encounter immediately is the complete lack of integrated cable management. While premium arms have hidden channels or clips, these budget models leave your XLR or USB cable flapping in the wind. Not only does this look messy on camera, but the weight of a heavy XLR cable can actually pull the arm out of alignment. You will find yourself reaching for zip ties or Velcro straps almost immediately. It is a small annoyance, but it is a reminder that budget usually means you are the one responsible for the finishing touches that the manufacturer skipped to save a few dollars.
Putting the Tension Under Real Pressure
I took this budget rig into a live production environment to see if it would survive more than just a quick voiceover. Over a forty-eight-hour period involving heavy streaming and 4K video editing, the arm was subjected to constant repositioning. When you are deep in a workflow, you don’t want to think about your gear; you want it to move when you pull and stay when you let go. In this regard, the budget arm is a mixed bag. It handles the initial placement well, but after several hours of heat from studio lights and the weight of a heavy XLR cable, the friction washers began to lose their grip. It didn’t collapse entirely, but I noticed a distinct micro-creep where the microphone would slowly sink an inch over the course of an hour.
Will it actually hold a heavy Shure SM7B?
This is the question every creator asks. While the box claims it can handle high weight loads, putting a heavy dynamic mic on this frame is pushing your luck. The arm holds, but the internal springs are stretched to their absolute physical limit. On many community forums like r/podcasting, users frequently report that while these arms work for a month or two, the springs eventually lose their elasticity under the weight of professional-grade mics. If you are using a lighter USB condenser, you are in the clear, but for heavy metal-chassis microphones, you are living on borrowed time.
The Moment Things Start to Slump
The real failure point occurs when you try to extend the arm fully. Physics is not on your side here. When the arm is stretched to its maximum horizontal reach, the leverage exerted on the base clamp is massive. This is where you will see the metal start to flex. During my testing, the arm worked brilliantly in a tucked position close to the base, but as soon as I tried to reach across a wide desk, the stability plummeted. The bounce is the second major issue. Unlike a high-end stand that settles instantly, this budget model vibrates for several seconds after being touched. If you are the type of creator who talks with your hands and accidentally bumps your desk, your viewers are going to see and hear the resulting wobble. Do you agree with my experience regarding the constant tension adjustments needed for heavier gear? Drop a comment below.
Ultimately, the performance is exactly what you pay for: functional but finicky. It isn’t a set it and forget it piece of equipment. You have to be mindful of its limitations and treat it with a bit more gentleness than you would a piece of broadcast-grade hardware. If you can live with the occasional tightening and the lack of fluid motion, it gets the job done for a fraction of the cost.
The InnoGear Upgraded Stand Offers a Middle Ground
If the $20 base model feels too flimsy but you aren’t ready to drop $100, the InnoGear Upgraded Large Microphone Arm is the most common rival. While the absolute cheapest arms use thin metal and external springs, the InnoGear version beefs up the tubing and improves the clamp design. Compared to the ultra-budget options, the InnoGear provides a more reliable rotation at the base, meaning the arm won’t lean as much over time. It sits in that sweet spot where you get slightly better durability without the premium price tag. However, it still uses the same external spring mechanics, which means it won’t be silent if you move it mid-stream.
Ditching the Springs for the Sleek Blue Compass
When we move into the premium territory with the Blue Compass, the comparison becomes one of aesthetics and silence. The budget arm we’ve been discussing is a mechanical tool; the Blue Compass is a piece of studio furniture. Unlike the exposed springs that can catch your skin or clothing, the Compass features an internal spring design and hidden cable management. If you are a streamer where your gear is constantly on camera, the difference is night and day. The budget arm looks cluttered with its zip-tied cables, whereas the Compass keeps everything tucked away. You are paying for the professional look and the hydraulic-like smoothness of the movement. According to pricing data on B&H Photo’s boom arm category, you can expect to pay nearly four times the price of a budget rig for this level of polish.
Is it worth the upgrade?
Deciding whether to jump from a $25 arm to a $100 professional model depends entirely on your daily frustration level. If you set your microphone once and never touch it again, the budget arm is perfectly adequate after you apply the hacks I mentioned earlier. However, if you are a multi-tasking creator who needs to swing the mic out of the way to see your monitors or reach for a prop, the upgrade becomes a matter of productivity. High-end arms like the Rode PSA1 or the Blue Compass stay exactly where you leave them without the ‘micro-creep’ that plagues cheaper steel frames. If you find yourself tightening plastic knobs every three days, that is the sign that your gear has outgrown your budget.
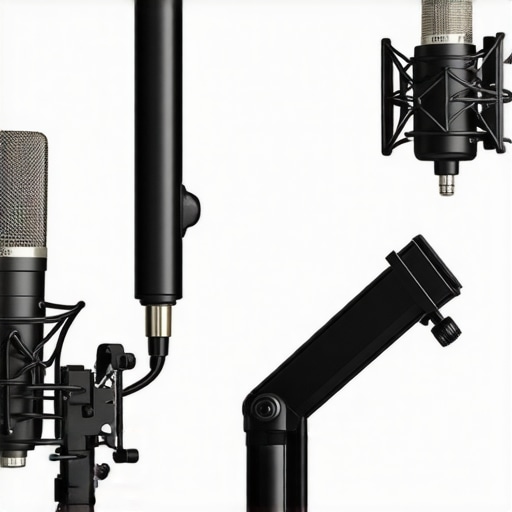
For those who hate the traditional ‘crane’ look entirely, the Elgato Wave Mic Arm LP (Low Profile) offers an alternative that most budget brands haven’t successfully copied yet. While standard arms come from above or the side, the low-profile design sits under your monitor. This is a game-changer for creators who wear glasses and struggle with reflections from overhead gear. The budget arm simply cannot compete here; it doesn’t have the joint range to stay low without hitting your keyboard. While the budget arm wins on pure price-to-utility ratio, the Elgato wins for desk ergonomics and keeping your field of view clear.
Final Comparison Before You Buy
Ultimately, the budget arm is for the ‘DIY’ spirit. It requires counterweights, felt pads, and manual tensioning to perform like a professional tool. The alternatives from Rode, Blue, and Elgato are ‘out of the box’ solutions. You are paying for the engineering that eliminates the need for plywood bases and zip ties. If your budget is tight, stick with the cheap arm and use the savings for a better interface. If you value your time and want a clean aesthetic, check out the current prices for the mid-tier alternatives to see if the extra $20 fits your build plan. The gap in performance is noticeable, but for many, it isn’t a dealbreaker.
The Trade-offs of Going Cheap on Your Studio Rig
After weeks of testing, the reality of budget hardware is clear: you are saving significant money, but you are also inheriting a few maintenance tasks. Here is the breakdown of what works and what does not.
- The Good: Incredible price-to-utility ratio, easy to replace parts, and surprisingly capable once you apply how a 15 dollar plywood base stabilizes your desk mounted boom arm.
- The Bad: Thin-walled steel leads to resonance vibration, the external springs are noisy when moved, and the lack of cable management means you need 5 cable management clips that actually stay stuck to your desk to keep it looking clean.
- The Ugly: Friction washers will eventually wear out under heavy loads, and professional microphones will cause the dreaded micro-creep over long recording sessions.
Does Your Setup Actually Need This Mechanical Upgrade?
This arm is the perfect entry point for someone following a 5 items you need to start a podcast for under 100 philosophy. If you are a student, a hobbyist, or a streamer just starting out with a lightweight USB microphone, there is no reason to spend more. However, if you have invested in a heavy professional dynamic mic, you should skip this and look at this 30 dollar arm that holds your mic without constant squeaking which offers significantly more structural integrity. Professional studios or creators who move their microphone constantly during a broadcast will find the spring noise and stability issues too distracting for high-stakes production.
#IMAGE_PLACEHOLDER_E#
Our Final Word on the Budget Arm Experiment
If you are willing to get your hands dirty with a few rig hacks like adding this 12 dollar counterweight that stops boom arm sag permanently, this $20 tool can perform like an $80 one. It isn’t a premium experience out of the box, but it is a functional one that leaves more room in your budget for higher quality glass or better audio preamps. We give this budget workhorse a 6.5/10—it is reliable enough for the basics but lacks the refinement for long-term professional growth. Check the latest price and see other user reviews to see if it fits your current desk layout before committing.