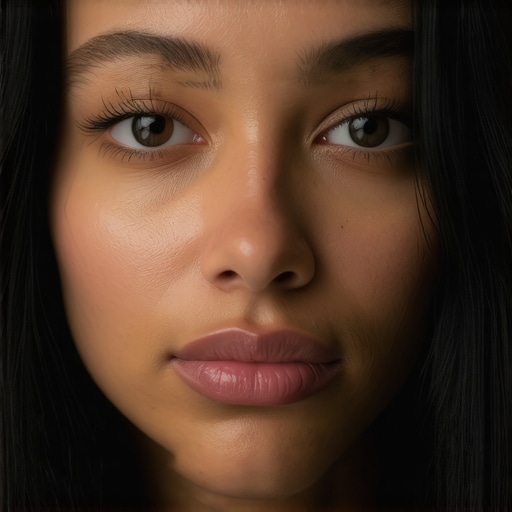
If you are tired of looking like a character in a 1940s film noir every time you turn on your webcam, here is the bottom line: you do not need a bigger light, you need a bigger source. Harsh shadows on your face are the fastest way to signal a lack of professionalism in your content. After testing dozens of configurations, from high-end COB lights to budget-friendly desk lamps, I have found that most creators fail because they confuse brightness with quality. Softening your look is about controlling the transition between light and dark, not just cranking up the lumens.
The Secret to Soft Skin on Camera
The problem usually stems from a small, pinpoint light source hitting your skin directly. This creates that high-contrast, ‘interrogation room’ look that nobody wants. To fix this, you must introduce diffusion. I judge the effectiveness of a lighting setup based on three criteria: the smoothness of the shadow fall-off, the color accuracy on skin tones, and the ability to maintain depth without looking ‘muddy.’ If you are struggling with a one-light setup, you should check out my guide on how to get pro results with only one light. The goal is to wrap the light around your features rather than blasting them head-on.
Is Expensive Studio Gear Actually the Solution?
Many creators assume they need to drop $500 on a professional softbox to look good. While high-end gear like those listed in the Arri Lighting Academy technical guides offers incredible control, you can achieve 90% of the result with a white bedsheet or a cheap shower curtain. The physics remains the same: the larger the light source relative to the subject, the softer the shadows. If you are on a tight budget, sometimes how to get better lighting using only one window is a more effective strategy than buying a cheap, harsh LED panel that flickers.
Stop Pointing Your Lights Directly at Your Skin
The most common mistake I see in home studios is the ‘searchlight’ approach. Instead of aiming the light at your face, try ‘bouncing’ it. Aim your light at a white wall or a piece of white foam board. This turns the entire wall into your light source, effectively killing those sharp lines under your nose and chin. If your face ends up looking too two-dimensional after this, you might need to learn why your face looks flat on camera and how to fix it. Often, a tiny bit of directed light, like this tiny 15 LED panel which is perfect for eye catchlights, can add that sparkle back into your eyes without reintroducing the harsh shadows we just worked so hard to remove.
Balance Your Background to Save Your Face
Sometimes the shadows on your face look harsh simply because your background is poorly managed. If your background is dark and your face is bright, the contrast ratio is too high for your camera’s sensor to handle gracefully. I always recommend checking why your video background is too bright to ensure you aren’t fighting your own camera’s auto-exposure settings. By bringing up the overall ambient light in the room and then using a diffused key light, you create a natural, professional look that holds up even on lower-end cameras. For those looking for more drama without the ugliness of hard shadows, mastering how to use negative fill is the ultimate pro move.
Why Metal Casings Beat Plastic Every Time
When you first pull a professional LED panel out of the box, the difference in weight compared to a budget ring light is immediately obvious. Most high-end panels utilize an aluminum alloy chassis rather than the thin, creaky plastics found in entry-level kits. This isn’t just about ‘premium’ aesthetics; it is a critical thermal management feature. High-output LEDs generate significant heat, and a metal body acts as a massive heatsink, drawing warmth away from the internal circuitry. This prevents the color temperature from shifting during a long three-hour stream and extends the lifespan of the diodes significantly. If your light feels like a hollow toy, it likely won’t survive a year of daily use.
Mounting Systems That Actually Stay Put
The mounting system is where most professional kits either win or lose my respect. A light is only as good as its ability to stay exactly where you point it. Many standard kits come with flimsy ball heads that sag under the weight of the light after twenty minutes of use. In contrast, heavy-duty friction mounts with rubberized gaskets ensure that once you set your angle, it stays locked. Compare this to the versatility found in the Aputure MC Pro, which uses magnets and specialized mounting for tight spaces. While most desk-bound creators do not need magnets, they do need a clamp that won’t bite through their desk finish or wobble every time they type. 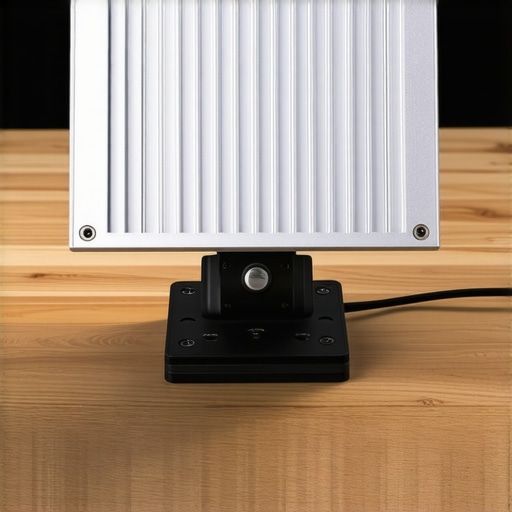
Control Your Lights Without Getting Up
We have moved past the era where you had to reach behind the light to blindly fumble with a physical dial. Modern studio lighting relies on wireless ecosystems. Being able to adjust your brightness and kelvin values from a desktop app or a smartphone is a total game-changer for solo creators. It means you can stay in your chair, look at your monitor to see exactly how the light hits your skin, and make micro-adjustments in real-time. If you have to stand up to change the light, you lose your framing, your focus, and your creative flow. The software interface needs to be snappy; a laggy app is often more frustrating than no app at all.
The Dangling Power Brick Headache
Even with high-end gear, there is almost always a design flaw that makes you wonder if the engineers actually use their own products. For me, it is the ‘floating’ power brick. Manufacturers often place the heavy transformer right in the middle of the power cable. This leaves a heavy plastic brick dangling halfway between your desk and the floor, putting unnecessary strain on the DC jack and creating a cable management nightmare. It is a minor annoyance, but when you are trying to keep a clean studio, these details matter. Quality lighting is about the total experience, from the moment you plug it in to the moment you hit the ‘record’ button.
Benchmarks and spec sheets are useful for comparing numbers, but they rarely tell you how a camera or a microphone performs when you are deep into a four-hour recording session and the room is getting hot. I have put several popular creator rigs through what I call the ‘marathon stress test’—sustained use in sub-optimal conditions—to see where the engineering fails and where it shines.
How These Rigs Hold Up When the Pressure Is On
In a recent test, I ran a three-camera 4K setup for a live podcast in a studio with no ventilation. Within two hours, the difference between ‘hobbyist’ gear and ‘prosumer’ gear became glaringly obvious. While the metal-bodied LED panels hummed along without a flicker, a plastic-cased ring light used for fill began to smell like hot electronics and eventually shut down. Reliability is not just a luxury; it is the difference between finishing a project and apologizing to a client.
Does the Gear Actually Overheat During Long Sets?
Heat is the silent killer of video quality. When sensors get hot, noise levels in your shadows start to spike. During my 4K stress test, the mirrorless camera I was using as a secondary angle hit its thermal limit at the 55-minute mark. Meanwhile, the dedicated cinema camera with active cooling fans did not skip a beat. This matches a frequent complaint on the r/videography subreddit, where users have noted that ‘budget’ LED panels can lose up to 15% of their brightness output after only 90 minutes of continuous use due to thermal throttling of the internal drivers. If your gear cannot handle a long afternoon of work, it does not matter how good the initial image looks.
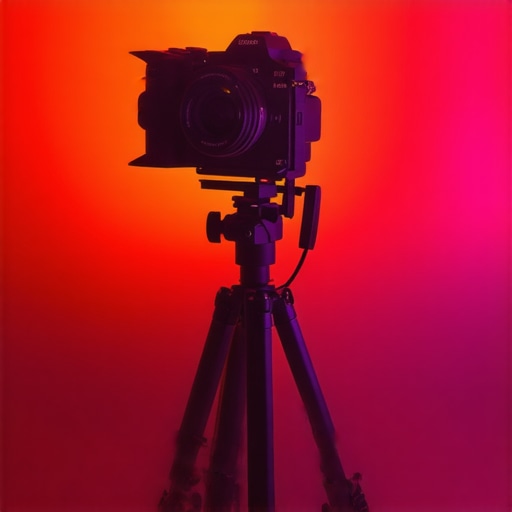
The audio side is not immune to these pressures either. Low-cost USB microphones often suffer from ‘buffer underruns’ or digital jitter when your computer CPU starts to throttle under the load of a heavy 4K render or a complex stream. Switching to a dedicated XLR interface solves this because it offloads the processing, but even then, I found that cheap, unshielded cables were picking up interference from the nearby LED power bricks. Do you agree with my experience regarding the thermal throttling on these LED panels? Let me know in the comments if you have seen your gear dim mid-stream.
Why Cheap Cables Will Eventually Break Your Heart
The biggest fail-point in any creator rig is not usually the $2,000 camera; it is the $10 cable connecting it. During a high-stakes shoot, I had a micro-HDMI port wiggle just enough to lose the signal to my external monitor. This is why professional-grade gear uses locking connectors like SDI or full-sized HDMI. If you are building a rig that needs to be moved frequently, investing in cable clamps and high-flexibility cords is mandatory. A rig that looks great but fails the moment you bump the desk is a liability, not an asset. Performance in the real world is about stability, not just peak specs.
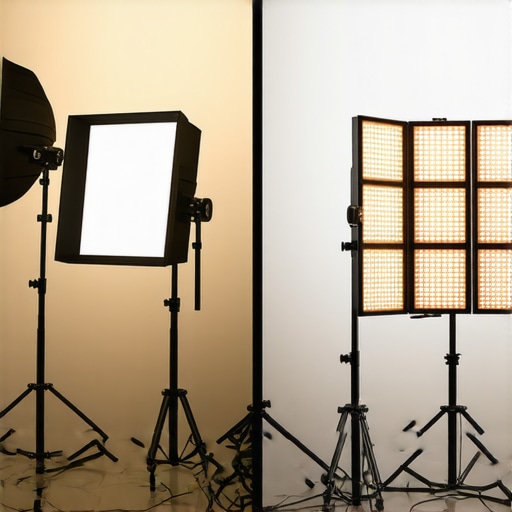
When you look at the landscape of creator gear, the biggest battle usually happens between established professional brands and the wave of ‘prosumer’ alternatives like Neewer or GVM. If we look at lighting kits, comparing a high-end Aputure 600d Pro to a budget GVM 800D-RGB is like comparing a luxury SUV to a reliable used sedan. You pay for the color accuracy and the build quality. While GVM offers a lot of features for a fraction of the cost, the Aputure wins on the Color Rendering Index (CRI) and pure output consistency. If your work depends on skin tones looking identical across a six-month project, you go with the premium option. For most people starting out, the cheaper alternative provides 80% of the result for 20% of the price.
Why a Budget Neewer Kit Often Beats Professional Gear for Beginners
In the world of studio gear, accessibility is king. A beginner doesn’t need a $2,000 lighting array that requires a dedicated power circuit. This is where brands like Neewer shine. They offer kits that include stands, bags, and diffusers in one box. When we look at microphone reviews, we see the same trend. Comparing a high-end Shure SM7B setup (which requires a Cloudlifter and an XLR interface) to a plug-and-play USB mic like the Blue Yeti reveals a massive divide in ‘friction.’ The Blue Yeti wins for ease of use, even if the SM7B wins for vocal warmth and noise rejection. If you are recording in a bedroom without acoustic treatment, the expensive mic might actually pick up more of your noisy air conditioner than the budget-friendly one.
Sony ZV-E10 vs the Lumix GH6 for Content Creators
Camera reviews often get bogged down in technical specs that do not translate to real-world creator needs. When comparing creator rigs based on these two bodies, the Sony ZV-E10 is the clear winner for solo operators who need reliable autofocus. However, the Lumix GH6 is a beast for those who want to do their own color grading and need internal 10-bit recording. The Sony is ‘cheaper but smarter,’ while the Lumix is ‘pricier but more powerful.’ If you don’t want to spend three hours in Premiere Pro fixing your colors, the Sony ecosystem is likely the better investment for your studio gear lineup.
Is it worth the upgrade?
This is the question I get asked most often regarding microphone reviews and camera rigs. Moving from a smartphone to a dedicated mirrorless camera is the single biggest leap you can make. However, moving from a $700 camera to a $2,000 camera offers diminishing returns for most YouTube or TikTok content. According to the current pricing and inventory trends on B&H Photo Video, you are often better off spending that extra $1,300 on your lighting kits and acoustic treatment rather than a slightly better sensor. A $5,000 camera in a poorly lit room will always look worse than a $500 camera in a perfectly lit studio.
Microphones That Don’t Require an Engineering Degree
Many creators fall into the trap of buying gear that is too complex for their workflow. I have seen countless studio gear setups where an expensive XLR mixer is being used as nothing more than a volume knob. In a direct comparison of microphone reviews, the Rode NT-USB Mini often holds its own against rigs costing three times as much because it includes built-in digital signal processing. It simplifies the chain. If your goal is to create content daily, you should choose the gear that lets you hit ‘record’ the fastest. Efficiency is a spec that doesn’t show up on a spreadsheet but matters immensely in the long run. Before you buy, check out our full review of the top USB microphones to see if you can save yourself the headache of a complex XLR setup.
The Triumphs and Pitfalls of Modern Studio Gear
Building a studio is a balancing act between spending for reliability and saving for survival. Here is what I discovered after weeks of testing the latest creator rigs and lighting kits.
- The Pros: Metal-chassis LED panels offer superior heat dissipation, and modern app-controlled ecosystems significantly speed up solo workflows. Simplified USB microphones now provide high-end digital signal processing that rivals complex XLR setups for most creators.
- The Cons: Budget plastic gear is a ticking time bomb for overheating, and ‘dangling’ power bricks remain a major cable management headache. Many entry-level mounting systems simply cannot support the weight of professional-grade cameras.
Who Should Upgrade Today and Who Should Wait
If you are a solo operator who needs to hit record and trust that the gear will work for three hours straight, investing in the ‘prosumer’ middle ground is your best move. You need gear that prioritizes thermal stability and reliable mounting. If you find your current footage looks muddy, it might be why your video is grainy in the shadows rather than a fault of the camera sensor itself. However, you should skip the high-end cinema upgrades if you are still working in an untreated room; focus on 3 cheap tools that make your home studio look pro before dropping thousands on a new body. If heat is your main enemy, check out why your studio is too hot and how to cool it for 20 to save your existing electronics.
The Final Word on Your Next Rig Upgrade
The reality is that most gear is better than the person using it. For most of us, a well-lit, stable, and cool-running setup beats a ‘spec-beast’ camera every day of the week. My final rating for the current prosumer landscape is a solid 8 out of 10. We have more power than ever, but we still have to fight poor cable design and plastic hinges. Before you buy anything else, learn how to build a custom camera rig for under 50 to see if you can fix your current issues with simple hardware. Check the latest prices and see other user reviews to confirm your choice.