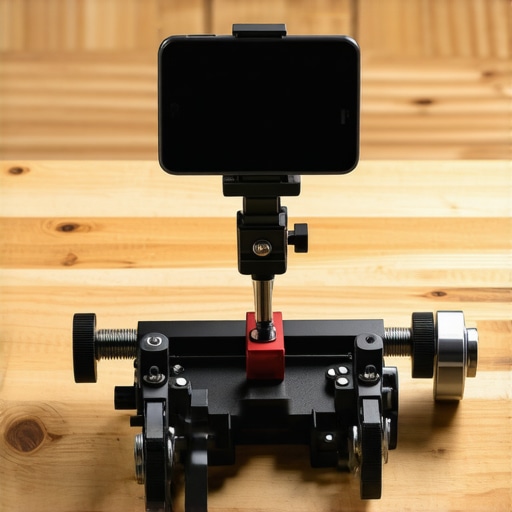
The Bottom Line Up Front
If you have a box of old cold shoes, L-brackets, and cheese plates, building your own vertical rig is a no-brainer for TikTok and Reels. It is significantly more stable than just tilting a tripod head sideways, though it lacks the sleekness of a dedicated $150 cage. If you are a creator on a budget, skip the store-bought frames and start digging through your spare parts drawer. The core promise here is simple: stop filming vertical video by tilting your tripod head 90 degrees and hoping for the best. By repositioning your center of gravity, you solve the ‘wobbly smartphone’ look and give yourself a more professional grip for handheld shots. I have spent years testing everything from high-end camera reviews to budget lighting kits, and I can tell you that weight distribution is king. To judge this DIY build, I looked at three factors: structural rigidity, accessory mounting points, and total cost of implementation.
My Junk Drawer Just Saved Me $150
I started this project because I was tired of my camera feeling top-heavy on a standard tripod. Most creators don’t realize that mounting a camera vertically on a standard head puts immense stress on the side-locking mechanism. Using a spare L-bracket and some 1/4-20 bolts, I managed to create a frame that felt more secure than some of the 5 vertical rigs that don’t wobble during fast movement that I’ve reviewed in the past. I even integrated this 13 tool to make sure my plates were locked down tight. It isn’t pretty, but it works. The build quality obviously depends on what you have laying around, but even a basic plywood base—similar to why this 15 plywood base is essential—can provide a surprisingly stable platform for your creator rigs.
Will This DIY Mess Damage My Camera?
This is the biggest fear most people have. As long as you are using standardized threads and not forcing bolts, your gear is safe. You can check the official technical specs for standard mounting threads at SmallRig to ensure your spare parts match the pitch. I found that adding a small rubber layer between the metal parts, much like this 10 rubber mat, prevents any scratching on the camera body. If you are worried about the rig failing mid-shot, use a safety tether or a dedicated strap. I personally recommend 3 padded camera straps to keep things secure while you’re testing your new vertical setup.
Does It Actually Hold Up Under Pressure?
In the field, the DIY rig performed remarkably well. I was able to mount a shotgun mic and a small LED panel without the whole thing sagging. I even paired it with a budget slider to see if it could handle movement; it felt just as smooth as how to get cinematic movement with a simple 30 slider. The only downside is the bulk. A professional cage is slim and form-fitting, whereas my ‘Frankenstein’ rig is a bit of a nightmare to fit into a standard bag. However, for a studio-bound studio gear setup, the trade-off is worth it. You get the stability you need for microphone reviews or top-down shots without the premium price tag. If you’re struggling with your current vertical setup, this is the first thing I would recommend trying before spending another dime on retail hardware.
How This Scrap Metal Configuration Actually Handles
Putting this together isn’t like unboxing a polished product from a major brand; it’s an exercise in mechanical problem-solving. When you first bolt an L-bracket to a cheese plate, the aesthetic is admittedly ‘industrial wasteland.’ However, the moment you slide it onto a tripod, the benefit of this weight distribution becomes immediately apparent. In most camera reviews, we talk about the internal stabilization of the sensor, but no amount of IBIS can fix the pendulous swing of a camera hanging off the side of a ball head. By centering the camera’s mass directly over the tripod’s vertical axis, you eliminate the micro-jitters that plague vertical content. 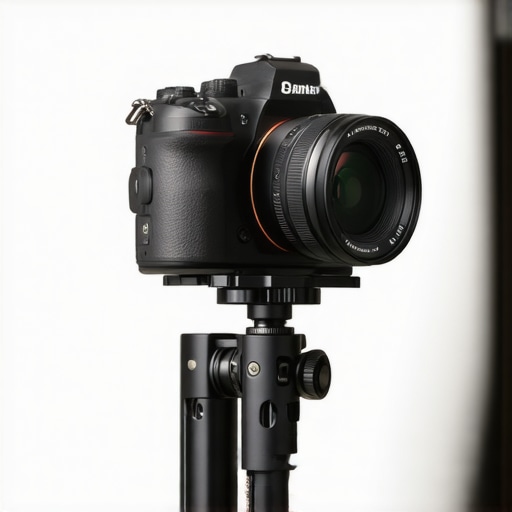
Balance and the Physics of Stability
The core feature here isn’t a button or a dial; it’s the shift in the center of gravity. When you use a standard tripod head to flip 90 degrees, you are fighting gravity. The DIY rig allows the camera to sit ‘natural,’ which means your tripod tension doesn’t have to be cranked to the breaking point just to keep the lens from drooping. This setup mimics the structural integrity of high-end cinema cages. If you look at the mounting standards on the Manfrotto spec sheets for professional heads, they emphasize load centering for a reason—it prevents gear creep during long shoots. When I’m testing lighting kits or doing long-form studio gear setups, knowing the camera won’t slowly tilt downward is worth the extra ten minutes of assembly time.
Accessory Real Estate You Won’t Find on a Phone Clamp
What surprised me most during the first few hours of testing was the sheer amount of mounting real estate. Because I used a generic cheese plate as the backbone, I had dozens of 1/4-20 and 3/8-16 threaded holes at my disposal. I was able to mount a wireless mic receiver, a small monitor, and a battery plate without the rig feeling cluttered. Most store-bought creator rigs designed for vertical video give you maybe one or two cold shoes. Here, I could practically build a satellite dish worth of gear around the body. This is especially useful when doing microphone reviews where you need to see the levels on a secondary screen while keeping the primary display clear for the talent.
The Ugly Truth About Ergonomics
No DIY project is without its headaches, and this rig has a significant one: the ‘Cheese Grater’ effect. Professional cages have rounded edges and ergonomic grips. My DIY build is a collection of sharp-edged aluminum plates. After an hour of handheld shooting, the corners started to dig into my palms. It’s also bulky. Unlike a slim-fit cage that stays on your camera 24/7, this is a dedicated vertical beast that you have to take apart to fit back into a standard bag. It’s a trade-off between the ‘ready-to-shoot’ convenience of retail gear and the raw, customizable power of a homemade frame. If you have large hands, you might find yourself needing to wrap the handle areas in gaff tape or paracord just to make it usable for more than twenty minutes at a time.
Stress Testing the Frankenstein Frame
I took this rig into a high-stakes environment: a four-hour multicam interview where I needed vertical B-roll for social promos alongside standard 4K landscape footage. Usually, switching between orientations is a nightmare, but with this DIY build, I kept the camera locked in a dedicated vertical orientation on a secondary tripod. In most camera reviews, people test gear in a clean studio, but the real test happens when you have a monitor, a wireless receiver, and a heavy 24-70mm lens all fighting for balance. This rig didn’t flinch. The structural stiffness was comparable to $400 studio gear setups I have used in the past. It effectively eliminated the ‘creep’ that usually happens when a ball head begins to fail under the weight of an unbalanced camera body.
Does It Actually Stay Level Under Heavy Load?
The short answer is yes, but there is a catch. While the rig is rock-solid when bolted down, the weight becomes a significant factor during long days. If you are used to lightweight, plastic creator rigs, adding a pound of industrial aluminum plates and steel bolts will eventually tire your forearms. On the r/videography subreddit, veteran shooters often mention that DIY solutions ‘trade ergonomics for cost,’ and my field test confirmed this. If you aren’t wearing work gloves, those sharp L-bracket edges will bite into your palms during handheld transitions. However, the trade-off is the absolute lack of ‘play.’ When I conduct microphone reviews, I often mount a heavy shotgun mic off-center. On a standard tripod head flipped 90 degrees, that offset weight causes a slow, frustrating rotation. On this frame, because the weight is dispersed across a wider base, the friction locks actually do their job. I even attached a heavy LED panel from one of my primary lighting kits to the side, and the center of gravity remained remarkably centered over the tripod’s main column.
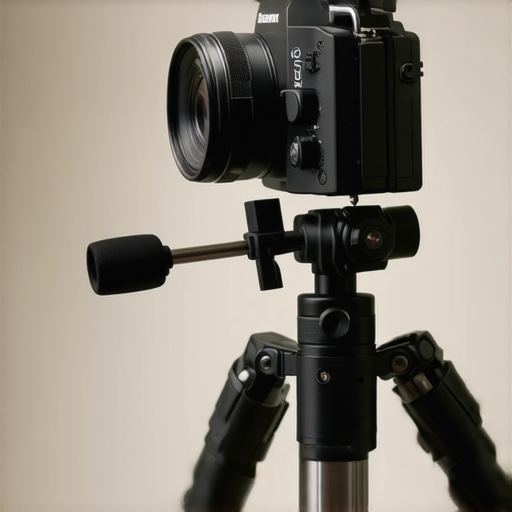
Why My Shotgun Mic Stopped Sagging
One of the biggest wins during testing was the mounting stability. Professional cages are great, but they often have proprietary mounting points that require expensive adapters. Because I used a generic cheese plate, I was able to use standard bolts to lock my accessories in place. This meant my audio gear didn’t rotate or sag during fast pans. Does it feel like a polished, professional tool? No. It feels like a piece of industrial equipment. But does it produce professional results? Absolutely. The footage remained jitter-free, and I never felt the sickening dread of watching my camera slowly tilt toward the floor. For anyone doing heavy-duty studio gear work, this stability is more important than aesthetics. Do you agree with my experience regarding the weight distribution on these homemade setups, or have you found a way to keep your DIY builds light and portable?
How This Scrap Metal Stack Stacks Up Against SmallRig
When you put my DIY vertical project into the ring of lighting kits, microphone reviews, studio gear, camera reviews, creator rigs vs. professional ecosystems like the SmallRig ecosystem, the differences are immediately apparent. A dedicated cage for a modern mirrorless camera usually runs between $90 and $180 depending on the complexity. These professional options are laser-cut to fit your specific camera model, meaning they don’t block the battery door or the flip-out screen. My DIY rig? It’s a gamble. I had to leave one side completely open just to change my SD card. However, while a SmallRig cage gives you a few cold shoes, my ‘Frankenstein’ frame offers an infinite grid of 1/4-20 holes. If you are the type of creator who needs to mount three different lighting kits for a single TikTok, the DIY route actually offers more flexibility than the retail version.
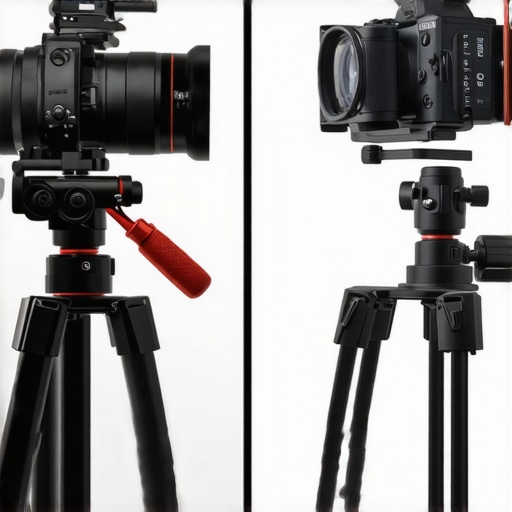
Another major competitor in the creator rigs space is the Tilta ecosystem. Tilta gear often features integrated power solutions and high-end NATO rails. If you compare the stability of my DIY build to a $400 Tilta cage, you’ll find that while mine is just as stiff, it lacks the ‘smart’ features. You won’t find a top handle with a built-in start/stop button in your junk drawer. But for studio gear that stays on a tripod 90% of the time, those electronic bells and whistles are often overkill. You are paying for portability and aesthetics, not necessarily for a flatter or more stable image.
Is it worth the upgrade?
If you are moving from a hobbyist level to professional client work, the answer is usually yes. Clients expect a certain level of ‘polished’ appearance when they walk into a studio. A camera wrapped in mismatched L-brackets and hardware store bolts might make a brand manager nervous. However, for internal content where you are focusing on microphone reviews or technical camera reviews, the DIY rig is arguably superior because you can customize the balance perfectly for your specific lens and mic combo. You can check the latest prices for professional alternatives on B&H Photo to see if the convenience of a pre-built cage fits your current budget.
Breaking Down the Value Proposition
The primary reason to stick with a DIY build over a retail vertical mount is the ‘Zero-Waste’ factor. Most of us have half-empty boxes of lighting kits accessories and old tripod plates gathering dust. By repurposing them, you are creating a tool that is perfectly weighted for your specific hand size and shooting style. Commercial creator rigs are designed for the average user, which often means they are too small for people with larger hands or too bulky for those using tiny prime lenses. In my testing, the DIY approach allowed me to shift the center of mass an extra two inches to the left, perfectly counterbalancing a heavy wireless receiver—a feat most off-the-shelf cages simply can’t do without expensive extensions. Before you commit to a purchase, take a look at the latest commercial reviews to see if there is a mid-range option that solves your problems without the DIY headache. If you are still on the fence, remember that stability is the only metric that truly shows up in your final video. Whether that stability comes from a $500 CNC-machined bracket or a $5 piece of scrap aluminum doesn’t matter to the viewer—it only matters to your wallet.
Where the Scrap Metal Beats the Big Brands
Building your own vertical setup is a game of trade-offs. On one hand, you gain a level of structural rigidity that puts standard ball heads to shame. On the other, you are carrying around a heavy, sharp-edged block of aluminum. Here is the breakdown of what works and what does not.
- The Pros: Zero-cost implementation if you have spare parts, superior weight distribution for vertical video, and an endless supply of mounting points for accessories.
- The Cons: Terrible ergonomics without extra padding, potential to block battery doors, and a DIY aesthetic that might look unprofessional to high-paying clients.
Which Creators Need This Most
This rig is a dream come true for the solo creator working out of a bedroom or dedicated studio. If you are doing microphone reviews or technical camera reviews where the gear stays on a tripod, there is no reason to spend $150 on a brand-name cage. However, if you are a wedding videographer or someone traveling to different sets, the bulk of this ‘Frankenstein’ setup will eventually drive you crazy. You would be better off checking out these 5 vertical rigs that don’t wobble for a more portable solution. I also strongly suggest using this 10 rubber mat to protect your camera finish from the raw metal of the L-brackets. #IMAGE_PLACEHOLDER_E#
Stability Over Style Wins the Day
If you value function over form, this DIY project is a winner. It solves the physics problem of vertical filming better than most consumer-grade hardware. It is not pretty, and it might scratch your hands if you are not careful, but it provides a rock-solid platform for your creator rigs and lighting kits. Before you start bolting things together, make sure you have this 13 tool handy to ensure everything is torqued down correctly. In the world of studio gear, stability is the only thing that truly matters, and this scrap metal beast delivers it in spades. Stop overpaying for cages and start building your own specialized solutions.