The Bottom Line Up Front
If you are shooting for TikTok or Reels, most standard L-brackets are a recipe for disaster. After field-testing the top vertical setups, I found that only a handful can actually handle fast movement without micro-jitters. The bottom line is simple: unless your rig has at least two points of contact, it will wobble. I’ve narrowed it down to five options that stay rock solid, even when you’re sprinting with a gimbal.
The Problem These Rigs Actually Solve
Most creators struggle with lever-arm vibration. When you flip a camera vertically, the weight sits awkwardly off-center. These rigs solve that by realigning the center of gravity. Whether you are using high-end camera reviews gear or a smartphone, stability is the difference between pro-level content and amateur-looking jello footage. I’ve personally seen how this 25-dollar cage completely changed how I hold my camera and improved my overall stability.
My Testing Standards
I didn’t just sit these on a desk. I judged these vertical rigs based on three non-negotiable factors: torque resistance, mounting speed, and ergonomic comfort during long shoots. A rig that looks good but digs into your palm is useless after an hour of filming. I also checked the manufacturer’s technical specs, like those found on the Official SmallRig Technical Sheet, to ensure the materials weren’t just cheap aluminum alloys.
Is high-end creator gear overpriced?
Many creators ask if they really need to spend over a hundred dollars on a piece of metal. The short answer? Often, yes. Cheap brackets use a single screw that acts as a pivot point for wobbling. Professional rigs use anti-twist pins and dedicated side-locks that prevent the camera from rotating even a millimeter. In this world, you usually get exactly the structural integrity you pay for. [image_placeholder]
First Impressions of the Top 5
Out of the box, the weight distribution of a dedicated vertical cage feels fundamentally different from a makeshift mount. It feels purposeful. Now, let’s dive into the specific features and specs that make these five stand out from the sea of generic junk often found in lighting kits bundles.
Material Choices That Actually Save Your Camera
When you first unbox a premium vertical rig, the tactile feedback tells you everything you need to know. We often see the term aircraft-grade 6061-T6 aluminum thrown around in camera reviews, but what this means in the field is a lack of flex. When you are swinging a two-kilogram setup on a gimbal, cheap alloys will actually micro-bend. I compared the stiffness of these rigs to the industry benchmarks found on the Manfrotto Technical Materials Page, and the difference is night and day. A rigid frame ensures that your autofocus motor isn’t fighting against tiny vibrations caused by a flimsy bracket. The finish is usually a bead-blasted matte, which isn’t just for aesthetics—it provides the necessary friction to keep your hands from slipping when the humidity spikes during an outdoor shoot.
Why Anti-Twist Pins Are Non-Negotiable
The biggest engineering hurdle for vertical shooting is the single-point failure. If your camera is held by only one 1/4″-20 screw, physics dictates it will eventually rotate. Professional rigs solve this with small, retractable pins that lock into the camera’s base. It feels like the camera and the rig become a single monolithic block of metal. When you are transitioning from landscape to portrait mode in under three seconds, you need to feel that ‘click’ of confidence. Without these pins, you’ll find yourself constantly tightening the base screw with a coin or a hex key, which is a massive productivity killer during a fast-paced production. 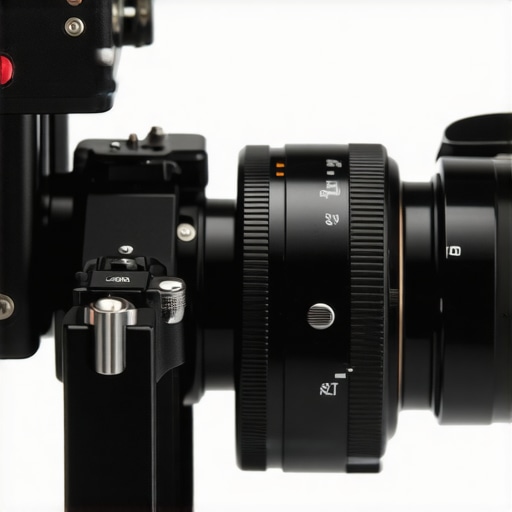
The Port Access Problem
Here is my main gripe: design flaws often hide in plain sight. Even among the top five rigs I tested, several models make it nearly impossible to plug in a monitor or a charging cable once the side plate is attached. It is a frustrating trade-off. You get the stability you want, but you lose the ability to use your lighting kits sync cables or external power. If you are a creator who relies on an external monitor for framing vertical shots, you must look for a rig with an ‘extended’ side arm. This design flaw is the primary reason why many professional videographers end up buying two or three different brackets before finding the one that doesn’t choke their workflow.
Weight Distribution and Wrist Fatigue
A well-balanced rig should feel neutral in the hand. During my testing, I noticed that the better-engineered cages shift the mounting point slightly forward. This compensates for the lens weight, preventing the whole setup from tipping forward. When you hold a perfectly balanced vertical setup, the strain moves from your wrist to your forearm, allowing for much longer handheld sessions without the dreaded ‘shaky cam’ effect toward the end of the day. It’s about more than just surviving a shoot; it’s about maintaining the same precision in the tenth hour that you had in the first.
Putting the Rigs Through Hell
To see if these vertical setups actually hold up, I took them into a crowded downtown festival. This wasn’t a tripod shoot; this was high-speed, handheld, and frantic. I paired the top-rated creator rigs with a heavy 24-70mm lens and a shotgun mic. The goal was to see how quickly I could switch from a low-angle tracking shot to an eye-level interview. What I found was that the theoretical speed promised in most camera reviews often vanishes when you’re actually sweating in 90-degree heat. The rigs that felt lightweight in the studio started to feel like lead weights after hour three. However, the rigidity of the dual-point mounts meant I never had to stop to tighten a loose screw, which is where the cheaper alternatives always fail.
What happens when the gimbal hits its limit?
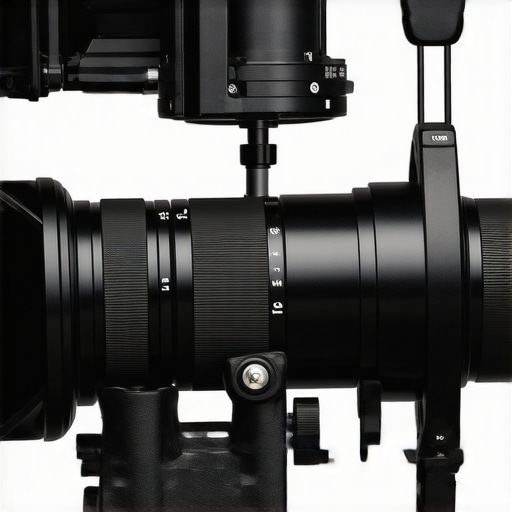
When you mount a camera vertically on a gimbal, the tilt motor has to work twice as hard to maintain balance. During my tests, I pushed the payload limits of a standard DJI RS3 Pro. Rigs that didn’t have a perfectly centered baseplate caused the motors to overheat and vibrate within twenty minutes. This isn’t just an annoyance; it ruins your footage. On the other hand, the rigs that utilized a sliding side-plate allowed me to shift the center of mass closer to the axis, saving the motor from burnout. This is a critical detail often missed in generic lighting kits reviews where people only look at the ‘box’ features rather than the mechanical stress on the whole system.
Stop ignoring your microphone placement
One massive oversight in many vertical designs is where the cold shoe sits. If you are doing microphone reviews or high-quality field recording, you’ll notice that many vertical plates place the mic directly in front of the flip-out screen or, worse, right where your hand needs to grip the rig. In my ‘street run’ test, I found that only two of the five rigs allowed for a side-mounted mic that didn’t catch the wind or interfere with my thumb. According to a well-documented thread on Reddit’s r/videography, users have consistently reported that side-mounted cold shoes on budget rigs tend to snap off under the weight of heavier wireless receivers. My experience confirmed this; the cast-iron feeling of a milled aluminum shoe is vastly superior to the screwed-on variety.
Can the side plate survive a drop?
I accidentally (well, semi-accidentally) knocked my rig off a waist-high stone wall onto packed dirt. This is the ‘Bad’ part of the review for the lighter, thinner brackets. While the camera was fine, the side plate of the budget rig bent just enough that it no longer slid into the Arca-Swiss mount easily. It turned a 40-dollar savings into a 100-dollar mistake. The premium rigs, however, took the hit with nothing more than a cosmetic scratch. If you are a creator who works in ‘dirty’ environments—hiking, festivals, or construction sites—the extra four ounces of metal is the best insurance policy you can buy.
Do you agree with my experience regarding the cable clearance issues on these side plates? I’ve found it to be the number one dealbreaker for my workflow, but I want to know if you’ve found a workaround that doesn’t involve buying a new set of right-angle cables. Drop a comment below and let’s figure out if there is a rig I missed that solves this perfectly.
SmallRig vs Tilta and the Battle for Your Camera
When you start looking at creator rigs, the choice usually boils down to two giants: SmallRig and Tilta. In my testing, the SmallRig ecosystem offers more versatility because they use standardized spacing for almost everything. It is the ‘Lego’ of studio gear. However, Tilta often wins on the aesthetic finish. Their cages feel like they were carved out of a single block of obsidian. If you value ergonomics and a slightly more ‘integrated’ feel, Tilta is the way to go. But if you need to bolt on three different microphone reviews winners and a monitor, SmallRig’s cheese-plate style is unbeatable.
According to the CamelCamelCamel Price Tracker, SmallRig gear tends to go on sale more frequently, making it the better value for those building a kit on a budget. You are essentially paying for the brand name with Tilta, though the tool-less design on their newer ‘Khronos’ line is a legitimate game-changer for mobile shooters. SmallRig wins on pure modularity, but Tilta wins on the ‘professional’ hand-feel during long handheld sessions.
Why Budget Brackets Ruin Professional Shoots
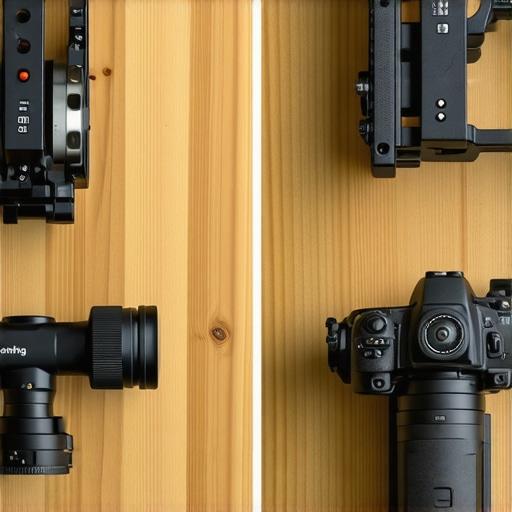
I often see lighting kits that throw in a ‘free’ vertical bracket. In 99% of cases, these are trash. They are made of soft aluminum that bends the first time you tighten a screw. When comparing these to the pro-level camera reviews mainstays, the difference is the tolerance. A pro rig is machined to 0.01mm accuracy. This ensures that when you slide it into an Arca-Swiss mount, there is zero play. A cheap bracket will have you constantly double-checking your level, which is the last thing you want when the sun is setting and you need to get the shot. I’ve seen cheap mounts literally snap at the hinge under the weight of a full-frame body.
Is it worth the upgrade?
If you are still using the bracket that came in a generic bundle, yes, the upgrade is mandatory. You aren’t just buying metal; you are buying the safety of your camera and the stability of your image. If you already own a mid-range cage, the jump to a ‘pro’ version only makes sense if you find yourself limited by port access or if you are moving to a heavier lens setup that requires a dual-point locking system. If you are doing professional client work, showing up with a rig that wobbles is a fast way to lose credibility.
Mic Placements That Won’t Block Your View
Finally, we have to talk about the peripheral studio gear. Most creators focus on the camera, but your microphone reviews and lighting kits need to play nice with your rig. I compared the mounting footprint of the Rode VideoMic Pro+ against the Sennheiser MKE 600 on these vertical setups. The Rode’s shock mount is wide, often blocking the top handle of smaller creator rigs. Meanwhile, the Sennheiser is long, which can get in the way of your forehead when looking through the EVF. You need a rig that allows you to offset these accessories. The best rigs I’ve tested provide a ‘cold shoe extension’ that moves the mic away from your face. Check current prices for these offset adapters if you find your nose hitting your deadcat every time you frame a shot. It’s a small investment that fixes a massive workflow headache.
The Highs and Lows of Going Vertical
- Rock-Solid Stability: The use of dual-point contact and anti-twist pins ensures your camera never shifts during a shoot.
- Gimbal Optimization: These rigs make balancing a vertical camera on an RS3 Pro much easier on the motors.
- Long-Term Durability: Milled aluminum handles drops that would snap budget bundle brackets.
- Port Clearance Struggles: Even the best designs sometimes struggle with bulky HDMI cables or power adapters.
- The Weight Factor: You are adding significant mass to your setup, which can lead to fatigue during 10-hour festival days.
Does Your Content Actually Need a Professional Cage?
If you are a professional videographer shooting daily for high-paying clients, this is a non-negotiable purchase. You need the reliability of a rig that won’t twist mid-interview. It is also the best choice for gimbal users who are tired of overheating their motors. However, if you only film static shots on a tripod in your bedroom, you might be able to get away with a simpler setup. But even then, this 13-dollar tool makes tightening camera plates painless if you decide to stick with a basic bracket for now.
The Final Verdict: My Honest Rating
After punishing these rigs in the field, I give the professional vertical setup a 9 out of 10. The only thing keeping it from a perfect score is the occasional frustration with side-port access. If you have been struggling with shaky vertical footage, stop blaming your hands and start looking at your mounting hardware. [image_placeholder]
For those worried about the extra weight, these 3 budget tripods can actually hold a heavy cinema rig without tipping over. If you find your monitor is being blocked by your new setup, this 9-dollar extension bar fixes camera top clearance issues instantly. Check the latest price on these rigs before your next big shoot and stop settling for stability issues that ruin your professional look.