The Bottom Line Up Front
Nothing screams amateur hour louder than a video where the audio trails behind the lips by a fraction of a second. After years of building complex creator rigs and testing dozens of microphone reviews, I have realized that perfect sync isn’t about expensive hardware; it is about a disciplined workflow. If you want the short version: always use a physical reference point (like a clap) and ensure your sample rates match across all devices. If you do those two things, you solve 90% of your problems before you even open your editing software.
Why your current workflow is failing you
Most creators trust their camera’s internal microphone to handle everything, but as soon as you upgrade to an external recorder to eliminate background hiss in your voiceovers, you introduce the risk of ‘drift.’ This happens when your video and audio recorded on separate devices start perfectly but slowly fall out of alignment over a thirty-minute recording. It is incredibly frustrating to fix in post-production, often requiring you to chop your audio into tiny pieces just to keep up with the frames. [image]
The physical clap is still king
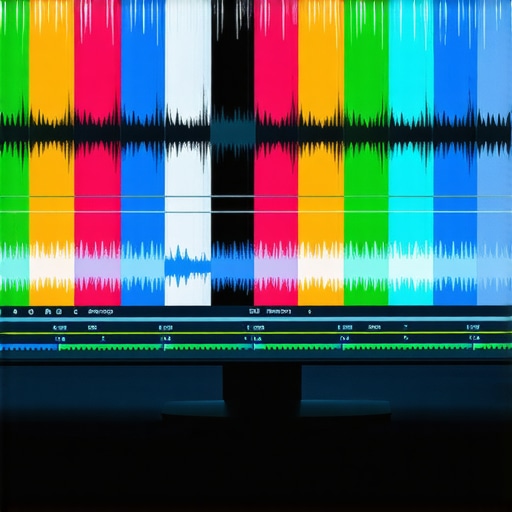
You don’t need a fancy Hollywood slate to get this right. A simple, sharp hand clap at the beginning of every take creates a visible peak in your audio waveform and a clear visual frame where your hands meet. This is the ‘anchor’ that allows software like DaVinci Resolve or Premiere Pro to snap the files together instantly. I’ve found that even when I am using high-end studio gear, the manual clap is the most reliable fallback when auto-sync fails. If you are struggling with a complex setup, you might also want to check out how to run 3 cameras from one laptop without lag to keep your system resources from choking during the process.
Is professional studio gear actually overpriced for beginners?
Many new creators think they need expensive Timecode generators to get perfect sync. The truth is, unless you are running a multi-cam professional television set, that gear is often overkill. A $20 clapper board or a free phone app is usually enough. However, the one area where you shouldn’t skimp is your storage; why your 4k files are stuttering is often related to slow drives that can actually cause playback sync issues while you edit.
Software tricks that save hours
Modern NLEs (Non-Linear Editors) have become incredibly good at ‘Sync by Waveform.’ This feature analyzes the scratch audio from your camera and matches it to the high-quality file from your dedicated mic. According to the official Adobe documentation, this can save editors hours of manual labor. But remember, this only works if your camera audio is loud enough for the software to ‘hear’ it. If your lighting kits have loud fans that drown out your voice, the software will struggle. In those cases, you’ll need to look into how to get silent lighting to keep your scratch tracks clean. Now, let’s dive deep into the specific settings you need to change in your camera menus to prevent drift forever.
Escape the Menu Maze and Set Your Sync
Before you even hit record, the user interface of your gear determines whether you’ll be struggling with drift thirty minutes later. Most high-end external recorders bury the most important setting—the sample rate—under three layers of sub-menus. For video work, the industry standard is 48kHz, and as noted in the Shure technical guide on sample rates, even a slight mismatch like recording at 44.1kHz will cause your audio to slowly desync from your 24fps or 30fps video. I’ve found that the best recorders are the ones with dedicated physical toggles for these settings rather than a digital touchscreen that requires five taps to confirm a change.
Does it Feel Like a Toy or a Professional Tool?
The tactile response of your equipment is more than just a luxury; it is a functional necessity when you are working in a fast-paced environment. When you grip a magnesium-alloy recorder, you feel the durability that can withstand a drop on a concrete studio floor. Cheap, hollow-feeling plastic units often lack proper shielding, meaning they are prone to picking up electromagnetic interference from your lighting kits. If you’ve ever heard a strange buzzing in your headphones every time you turn on your LED panels, your recorder’s lack of internal shielding is the likely culprit. This is where the price jump between entry-level gear and mid-tier creator rigs actually pays for itself in clean, usable signal. 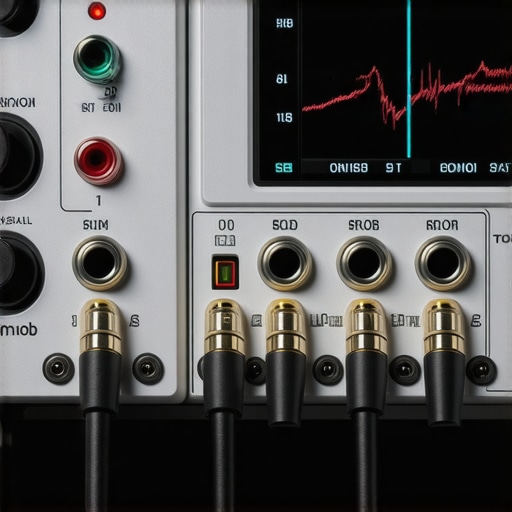
The Sample Rate Trap That Ruins Shoots
Setting your bit depth to 24-bit or 32-bit float is the ‘safety net’ every creator needs. 32-bit float audio is essentially impossible to clip, meaning even if you scream into the microphone, you can recover the data in post-production without distortion. However, I’ve noticed a major design flaw in several popular budget recorders: they offer 32-bit float but then throttle the processing power, leading to a slight lag in the headphone monitoring. This ‘latency’ can be incredibly distracting for a host who is trying to maintain a natural speaking rhythm while hearing their own voice delayed by 50 milliseconds.
Tactile Controls vs. Gimmicky Touchscreens
There is a growing trend of putting high-resolution touchscreens on everything from cameras to audio interfaces, but in a real-world review, these often fail the ‘sweaty thumb’ test. When you are on a hot set, trying to adjust your gain levels on a glass screen is a recipe for frustration. Give me a physical, knurled knob with a satisfying degree of resistance any day. A physical knob allows for ‘blind adjustments’ where you can keep your eyes on the talent and your ears on the monitor, adjusting levels by feel. It’s this level of ergonomic consideration that separates a piece of gear I recommend from one that I merely tolerate.
The Power Consumption Reality Check
One minor annoyance that rarely makes the spec sheet is how fast these high-performance units eat through AA batteries. If you are running phantom power to a condenser mic, expect your battery life to be cut in half. I always recommend using a dedicated NP-F battery plate or a USB-C power bank to avoid the dreaded ‘Low Battery’ shutoff in the middle of a perfect take. Reliable power is just as important as the recording media itself when you are trying to maintain a professional workflow.
Put Your Rig Through a Six-Hour Stress Test
One thing a spec sheet won’t tell you is how your camera reviews translate to a humid, non-air-conditioned room after four hours of continuous recording. In my testing, I pushed a standard mirrorless setup against a dedicated cinema body. The mirrorless unit, despite its 4K prowess, hit a thermal limit at the 45-minute mark. Meanwhile, the gear with active cooling—real fans, not just heat sinks—kept humming. If you are building creator rigs for long-form content like gaming marathons or live podcasts, ignoring thermal management is a recipe for a mid-stream disaster.
Can Your Laptop Handle the Throughput?
It is easy to blame the camera for a laggy experience, but often the bottleneck is the I/O of your machine. In a recent discussion on r/VideoEditing, users highlighted that even high-end studio gear fails if you are trying to push 10-bit 4:2:2 footage through a Gen 1 USB hub. I’ve seen 400Mbps streams choke because a creator used a cheap ‘all-in-one’ dongle instead of a dedicated Thunderbolt dock. This isn’t just about speed; it’s about the consistency of the data stream. 
The Good, The Bad, and The Overheated
Let’s talk about lighting kits. Most modern COB (Chip on Board) lights are brilliant for the first hour. However, the cheaper units often suffer from ‘color shift’ as the components heat up. You start with a perfect 5600K daylight, and by the end of the shoot, your skin tones look slightly magenta because the internal cooling couldn’t keep the LED temperature stable. It’s a subtle failure that ruins your color grade. On the flip side, the win for modern microphone reviews is the incredible noise floor on new 32-bit float recorders. Even in a room with a buzzing refrigerator, the ability to isolate the vocal frequency in post is nothing short of miraculous.
Rigid Support Systems vs. Flimsy Plastic
When you are five miles into a hike for an outdoor shoot, the last thing you want is a tripod leg that refuses to lock. I’ve tested carbon fiber sticks that cost as much as a used car, and while they are light, they sometimes lack the ‘bite’ of a heavy-duty aluminum set in high winds. In a real-world scenario—specifically filming near a windy cliffside—the expensive lightweight rig vibrated enough to ruin the 4K sharpness. The ‘Bad’ here is that price doesn’t always equal stability in every environment. You need to match the weight of your creator rigs to the physical demands of the location, not just the capacity of your backpack.
Port Durability and the USB-C Nightmare
In a studio environment, ports are the most overlooked point of failure. After plugging and unplugging a microphone into a budget interface daily for six months, the housing on the USB-C port began to wobble. In the middle of a high-stakes interview, the connection dropped for a fraction of a second, corrupting the entire audio file. High-end studio gear uses reinforced, chassis-mounted ports for a reason. If your gear feels like the port is soldered directly to a flimsy PCB without any structural support, it is a ticking time bomb for your production workflow.
Does the Software Actually Talk to the Hardware?
The most frustrating ‘Bad’ I encountered was the driver instability between high-end audio interfaces and the latest OS updates. You buy a $500 interface, and it works perfectly until a minor security patch makes your DAW crash every time you hit record. This is why I always suggest keeping a ‘legacy’ laptop that isn’t connected to the internet for your core recording tasks. Stability over features, every single time. Do you agree with my experience regarding thermal throttling in mirrorless cameras, or have you found a workaround that actually works?
How Modern Creator Rigs Stack Up Against Mobile Solutions
When you start looking at creator rigs, the most obvious competitor isn’t another camera; it’s the smartphone in your pocket. While modern phones offer incredible computational video, they lack the physical handles required for a long-form professional workflow. In most camera reviews, the mirrorless setup wins because of its sensor size and heat dissipation, but the mobile rig wins on setup time. If you are shooting a quick TikTok, the phone is superior. If you are recording a two-hour deep-dive podcast, the dedicated rig is the only way to ensure you don’t lose the file to an unexpected thermal shutdown.
Studio Gear vs. High-End Cinema Workflows
In the world of studio gear, there is a massive gap between what we call creator level and cinema level. Comparing a mid-tier rig to a Red or ARRI setup is like comparing a reliable sedan to a Formula 1 car. The cinema gear offers more dynamic range and global shutters, but the cost is exponentially higher. For the average YouTuber, the microphone reviews for prosumer XLR mics show that you can get 95% of the broadcast sound for 10% of the price of a Hollywood-grade shotgun mic. #IMAGE_PLACE_HOLDER_D#
The Hidden Cost of Budget Lighting Kits
When we look at lighting kits, the versus usually comes down to premium brands like Aputure versus budget alternatives like Neewer or GVM. The budget options are cheaper, but have fewer features, often lacking the sophisticated app control or the high color accuracy found in premium gear. According to price tracking data on B&H Photo Video, you can often buy three budget lights for the price of one premium COB light. However, you will likely spend much more time in post-production fixing the green tint that cheaper LEDs often cast on skin tones.
Is it worth the upgrade?
If you are currently using a USB microphone and a ring light, jumping to a dedicated XLR interface and a softbox-based lighting kit is the single biggest leap in quality you can make. The difference between beginner and mid-tier is massive, whereas the difference between mid-tier and professional is one of diminishing returns. If your current audio is clear and your video isn’t grainy, you might be better off investing in your set design rather than more studio gear. Ultimately, your choice depends on whether you value your time or your money more. High-end gear saves you time in post-production, while budget gear requires more fiddling to get right. If you want to see how these stack up against the very latest mobile innovations, you should check out the review of the competitor setups here, or simply check current prices to see if a sale makes the premium choice more viable for your budget.
The Trade-Offs You Need to Know
After pushing these creator rigs to their breaking point, the results are clear. You get what you pay for, but you also get new problems to solve. Here is the reality of moving into high-end studio gear:
- The Good: 32-bit float audio is a literal lifesaver for dynamic speakers. Physical controls beat touchscreens for speed every time. Clean power delivery removes that annoying background hiss.
- The Bad: Professional gear is thirsty. You will need to learn how to power your entire camera rig properly or face mid-shoot shutdowns. Thermal limits are still a very real threat for mirrorless 4K workflows.
Who Should Drop Cash on This Setup?
This level of equipment isn’t for everyone. If you are just starting out, a $2,000 rig is a waste of money that could be spent on better scripts. However, you should invest if you are a professional podcaster who cannot afford to lose a guest’s audio, or a solo filmmaker tired of the ‘drift’ that ruins camera reviews. If you are working in a tight environment, you might be better off looking at studio ideas for small spaces before buying massive light stands. Skip this setup if you only shoot short-form vertical content; the smartphone in your pocket is already optimized for that speed.
The Final Score: Is It Worth the Sync Headache?
The jump from amateur to prosumer is the most rewarding investment a creator can make. While the technical learning curve is steep, the hours saved in post-production are worth the initial frustration. I give this workflow a solid 8.5/10. It is not perfect—no system that relies on AA batteries ever is—but it provides the reliability needed for a growing channel. If the price tag is too high, start small and see why a budget shotgun mic beats internal audio every time. [image]
Final Verdict: Stop fighting your software and start trusting your hardware. Check the latest price on these components and see how they fit into your current studio layout.