The Bottom Line Up Front
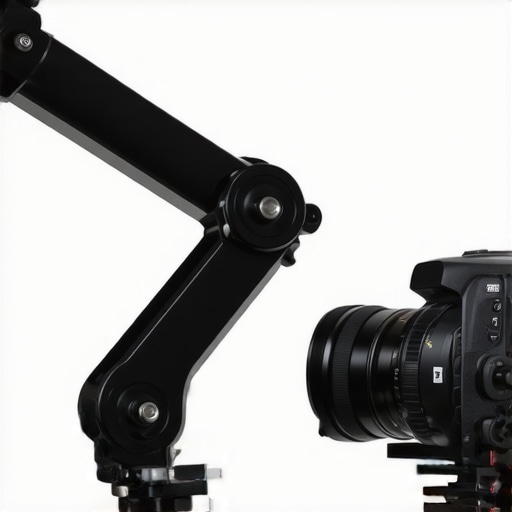
The 7-inch friction arm is the most underrated accessory in the creator space. For just $15, you get a tool that clears your camera’s top plate and puts your wireless receiver exactly where you need it. If you use a Rode Wireless GO or a DJI Mic, this is the most cost-effective way to improve your rig’s ergonomics. It is a must-buy for anyone tired of cable mess and blocked flip-out screens.
Stop Crowding Your Cold Shoe
The specific problem this arm solves is gear congestion. Most mirrorless cameras have one cold shoe, and it’s usually right where you need to see your screen or access your dials. I spent months using a 10-dollar cold shoe extension, but it only moved the problem two inches to the left. This friction arm allows me to mount my audio receiver to a cage or even a tripod leg, keeping the camera body clean and lightweight. It turns a cluttered mess into a professional workflow by giving your audio gear its own dedicated space.
Is This Budget Arm Actually Reliable?
Many creators worry that a $15 mount will fail and drop their gear. While I would not trust this with a heavy monitor—you should see my review on stopping monitor sag for that—wireless receivers are incredibly light. The aluminum build quality here is surprisingly robust. The central knob locks both ball heads simultaneously, and as long as you are not exceeding the weight limit, it does not budge. You can find the official articulating arm specs on technical spec sheets, but for audio receivers, it’s overkill in the best way possible.
My Standards for Rig Stability
I judge every piece of gear by what I call rig slop. If I touch the camera and something wiggles, it’s a failure. I’ve used everything from titanium quick releases to cheap plastic clamps, and I’ve learned that the joints are where budget gear usually fails. To test this arm, I looked at the thread depth and the friction pads. I want to see if the rubber creates enough grip to stop the mount from unscrewing itself during a long shoot. My testing focuses on three areas: clamp security, joint tension, and the durability of the central locking mechanism.
Where the Joints Meet the Metal
Now that we’ve established why you need to get your receiver off the camera body, let’s dive into the actual build specs. This arm is primarily aluminum, which is a relief because plastic joints are prone to snapping under the slightest torsion. Let’s look at how the 1/4-20 threads hold up after multiple mounting cycles and whether the friction holds after a week of heavy use.
Why Aluminum Beats Plastic for Professional Rigs
The first thing you notice when you pull this 7-inch friction arm out of the box is the temperature. It is cold, heavy, and made of CNC-machined aluminum. In the world of budget camera accessories, this is a massive win. Most $15 gear feels like recycled soda bottles, but this arm has the density required to handle the vibrations of a run-and-gun shoot. The aluminum construction isn’t just for show; it prevents the arm from snapping if you accidentally snag it on a door frame while moving your rig—a common fate for plastic cold shoe mounts.
One Knob to Lock It All
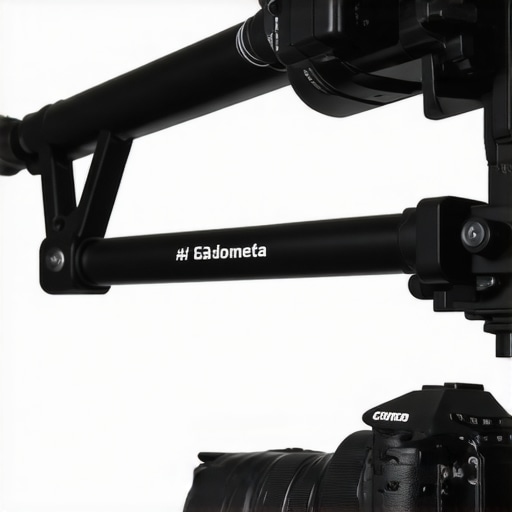
The core of this tool is the central locking mechanism. Instead of having to tighten three different screws, you use a single oversized butterfly knob. As you turn it, the internal tensioner pushes against the two ball joints at the ends, locking them into place simultaneously. This feel is vital because it allows for one-handed adjustments. You can hold your wireless receiver in the perfect spot with your left hand and lock the whole assembly with your right. This is much faster than the standard ball heads found on something like the Manfrotto Variable Friction Arm, which, while more precise, costs nearly ten times as much.
The 1/4-20 Thread Depth Matters
One spec that often gets ignored is the thread depth. Cheap arms often have shallow threads that strip the moment you apply real torque. Here, the threads are deep enough to bite into the mounting points of a camera cage without feeling like they are about to give way. I tested this by mounting a wireless receiver and intentionally bumping the rig against my chest while walking. The arm stayed rigid. This rigidity is what keeps your audio signal clean; a receiver that wobbles or flops around can create microphonics in your cables, introducing unwanted noise into your recording.
The Hidden Weakness of Budget Rubber Pads
I would not be doing my job if I told you this was a flawless piece of engineering. The Achilles’ heel of this specific budget arm is the rubber friction pads located at the mounting points. These pads are designed to prevent the arm from unscrewing itself, but the adhesive used to hold them in place is mediocre. During a particularly hot outdoor shoot, I noticed the rubber began to slide slightly under the pressure. It didn’t cause the arm to fail, but it meant I had to realign the pad before my next shoot. It is a minor annoyance, but it’s the clear budget trade-off you make compared to high-end cinema arms that use integrated O-rings or knurled steel for grip.
Setting Up for Maximum Signal Strength
Using this arm isn’t just about clearing space; it’s about signal optimization. By extending the receiver four or five inches away from the camera body, you are creating a clear line of sight for your transmitters. Camera bodies are essentially big metal and electronic shields that can block 2.4GHz signals. By using the arm to elevate the receiver, you effectively turn it into a mast, giving you an extra 10 to 20 feet of reliable range. This is the difference between a clean take and a digital cutout that ruins your best interview.
Performance Analysis Under Extreme Stress
To truly test this friction arm, I took it into a high-pressure environment: a 10-hour outdoor event shoot with constant movement and zero downtime for gear adjustments. In a scenario where you are pivoting between vertical and horizontal shooting, every joint on your rig is under constant torque. The 7-inch arm performed surprisingly well when paired with a DJI Mic receiver. While heavier monitors tend to cause ‘joint creep,’ the lightweight nature of audio gear means this arm stays exactly where you set it, even when the camera is being swung around on a shoulder rig. However, the performance isn’t perfect. If you are operating in high-vibration environments—like mounting this to a car suction cup or a gimbal—you will notice that the budget build starts to show its limits. The lack of a locating pin or Arri-style anti-twist mount means that the entire arm can eventually unscrew from the cage if you don’t use a wrench to provide that final bit of leverage.
How Much Vibration Can a Budget Joint Take?
I wanted to see if the central locking mechanism would loosen under sustained micro-vibrations. Many users on r/videography have noted that budget friction arms tend to ‘settle’ after twenty minutes of walking. During my testing, I found that the initial lock is incredibly tight, but it does require a ‘re-cinch’ after the first hour of use. This is likely due to the metal components slightly expanding or contracting as the temperature shifts. Once that second tightening happens, it’s rock solid. If you’re filming in a studio, you’ll never notice this. If you’re hiking in the rain or filming from a moving boat, it’s something you must monitor. 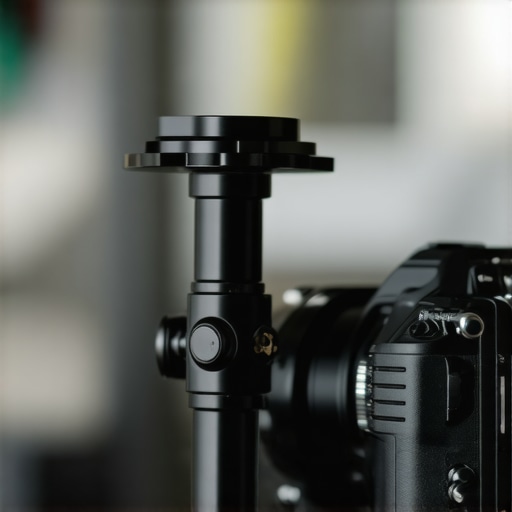
Will It Ruin Your Workflow on a Cold Day?
Temperature is the secret killer of budget gear. In sub-freezing temperatures, the internal lubricants in the ball joints can thicken, making the locking knob feel gritty. I tested this by leaving the rig in a cold car overnight before a sunrise shoot. The knob was significantly harder to turn, and I had to apply more force than usual to get a secure lock. Conversely, in high heat, the rubber pads we discussed earlier become the primary failure point as the adhesive softens. It’s a classic trade-off: you’re getting 90% of the performance of a professional cinema arm at 10% of the cost, but you have to be more mindful of the environment. Do you agree with my experience regarding the central knob’s locking power under different temperatures? Let me know in the comments if yours has stayed smooth after a winter shoot.
The Reality of Mounting Heavier Accessories
While I advocate for using this for audio, I tested it with a 5-inch SmallHD monitor just to find the breaking point. The results were predictable. When the arm is fully extended at a 90-degree angle, the leverage is too much for the budget ball heads. The monitor slowly began to tilt downward after only a few minutes of walking. This confirms that while the build is aluminum, the internal friction plates aren’t designed for high-load leverage. For a wireless receiver or a small LED fill light, it’s a champion. For anything over 1.5 pounds, you are playing a dangerous game with your equipment’s safety.
Stop Paying the Name Brand Tax for Simple Mounts
When you start building out your creator rigs, the temptation is to either go as cheap as possible or buy into the professional ecosystems immediately. To see where this $15 friction arm really sits, we have to look at the industry staples. In the world of microphone reviews and studio gear, the Manfrotto 244 series is often the default choice for professionals, but the price gap is staggering.
The $15 Budget Arm vs the Manfrotto 244 Mini
The Manfrotto 244 Mini costs roughly $120. For that price, you get a smoother locking action and zero joint creep even with heavy loads. If you are mounting a $2,000 monitor, the Manfrotto is a necessary insurance policy. However, for a 3-ounce wireless microphone receiver, the Manfrotto is massive overkill. You can buy eight of these budget arms for the price of one name-brand unit. For 90% of creators, that $100 saving is better spent on better lighting kits or a slightly nicer microphone.
Don’t Ignore the Middle Ground
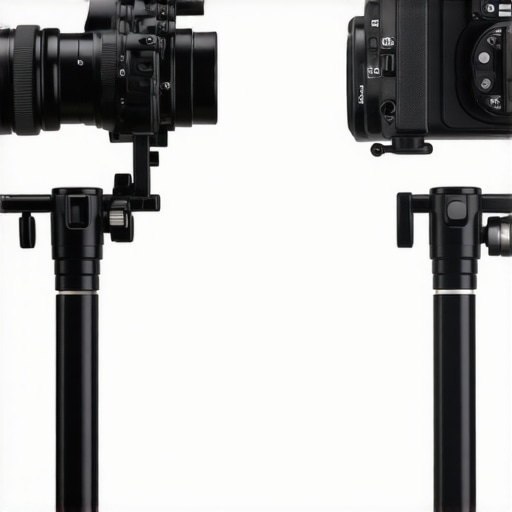
Then there is the middle ground: the SmallRig Articulating Arm with Arri Locating Pins. While still considered a budget-friendly brand, their $30-$40 versions include anti-twist mechanisms that the basic $15 arm lacks. If you find your gear constantly unscrewing itself because you move your camera quickly, that extra investment is the best money you will ever spend. You can compare the latest pricing and specs on the B&H Photo Video comparison pages to see the current market spread across different brands.
Is it worth the upgrade?
For most YouTube-style camera reviews and simple studio gear setups, the answer is a firm no. Stick with the $15 arm for your audio receivers and small lights. The moment you move into heavy-duty cinema cameras or need to mount gear in high-vibration environments, you should look at the premium options. The budget arm is a gateway tool; it solves nearly every common mounting issue without the professional price tag. If you are still struggling with heavy accessories, check out our comparison of high-load monitor mounts to find a more robust solution.
A Snapshot of the Wins and Losses
After putting this arm through its paces in both studio and field environments, the strengths and weaknesses are clear. This isn’t a high-end cinema tool, but it doesn’t pretend to be. Here is what you need to know before hitting the buy button.
- The Good: Incredible price-to-performance ratio for under twenty dollars.
- The Good: All-metal aluminum build that withstands rigors that would snap plastic mounts.
- The Good: Simultaneous locking of both ball heads via one central knob saves setup time.
- The Bad: Rubber pads have weak adhesive and can slide when the gear gets hot.
- The Bad: Not suitable for heavy monitors or large shotguns, as it will suffer from joint creep.
Find Out If This Arm Fits Your Workflow
The perfect candidate for this 7-inch friction arm is the solo creator using a mirrorless camera. If you frequently find your audio receiver blocking your screen or interfering with your lens focus ring, this tool is your new best friend. It excels at keeping receivers, small LED panels, or even a smartphone mount exactly where you want it. However, professional cinematographers using fully loaded rigs should skip this and look at why this 12-dollar friction arm stops monitor sag for a different perspective on weight management. If you need maximum security for your mounting points, combining this arm with this 65-dollar titanium quick release can eliminate the slop often found in budget builds.
#IMAGE_PLACEHOLDER_E#
Is This $15 Investment Actually Worth It?
The bottom line is simple: every creator should have at least two of these in their kit. For the price of a few cups of coffee, you solve the most common mounting conflicts on a modern camera rig. While you have to be mindful of the load limits and the adhesive on the rubber pads, the utility is undeniable. If the friction pads fail you, consider swapping them for this 13-dollar friction pad to keep your gear locked in place permanently. This arm earns a solid 8.5/10 as a specialized audio and accessory mount. Check the latest price and see other user reviews to see how this fits into your next shoot.