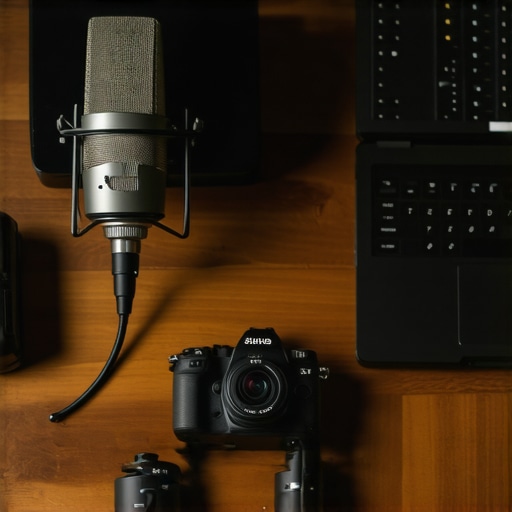
Stop Wasting Money on Over-Hyped Tech
If you are looking for the perfect setup, let me save you the trouble: it does not exist. Most new creators fall into the trap of buying gear they do not need, inspired by influencers with fifty-thousand-dollar studios. The bottom line is simple: you need a reliable microphone, a stable camera mount, and lighting that does not make you look like a ghost. I have spent the last three years testing everything from creator rigs to lighting kits, and most of it is overpriced plastic. These seven tools are the bare essentials that actually solve the problem of looking and sounding professional without a Hollywood budget.
The Quick Verdict
I judge studio gear based on three non-negotiable pillars: build durability, ease of integration into a small space, and the price-to-performance ratio. If a piece of gear takes two hours to calibrate or feels like it will snap if I move it, it is out. For instance, why this 90 dollar dynamic mic beats USB microphones for streaming is a classic example of where performance outweighs the marketing hype. You want tools that grow with you, not tools you have to replace in six months. [image_placeholder_1]
Is High-End Studio Gear Overpriced?
Usually, yes. You are often paying for a brand name or a specific aesthetic. However, there is a sweet spot where spending an extra twenty dollars saves you from a two-hundred-dollar disaster. A flimsy tripod might hold your camera today, but it will not protect your lens from a four-foot drop tomorrow. According to the technical standards at Audio-Technica, signal-to-noise ratios matter far more than how many RGB lights are on your desk. In the following breakdown, I am going to show you exactly which specs impact your final video quality, such as why this 85 dollar video light is all you need for talking heads instead of a complex three-point system. Let us get into the specifics of the hardware.
The Heavy Weight of Good Construction
When you first unbox a piece of professional gear, the weight tells you everything you need to know. Many entry-level arms use thin-walled steel that rings like a bell when you tap it, sending unwanted vibrations straight into your audio track. I look for thick-gauge aluminum or solid steel with internal springs. The tactile feedback of a heavy-duty tension knob is not just satisfying; it is the difference between your five-pound camera staying level or slowly drooping into the frame mid-stream. If the hinge feels gritty or makes a grinding sound during the initial sweep, send it back immediately. You are looking for a fluid motion that mimics industrial-grade equipment. Cheaper rigs often hide their structural weaknesses under thick layers of matte paint, but a quick stress test on the joints usually reveals the truth. If it flexes under a light grip, it will definitely fail under the weight of a DSLR and a heavy lens.
Why Your Mic Placement Is Ruining Your Audio
Technical specs like frequency response and max SPL look great on a box, but they translate to how much work you have to do in post-production. A microphone with a tight cardioid pattern is essential for home studios that lack professional soundproofing. It focuses on your voice and ignores the hum of your PC fans or the traffic outside. However, even the best gear has its quirks. For instance, the cable management clips on most mid-range boom arms are notoriously fragile. I often find myself reaching for Velcro ties because the plastic snap-on covers included in the box tend to fly off the moment you adjust the arm height. It is a minor annoyance, but when you are paying a premium for a complete solution, you expect the small parts to survive more than two adjustments. Performance-wise, ensure your interface can provide enough gain without introducing a hiss. If you have to crank your preamp to 95% just to be heard, you are going to hear the electronic noise floor of your equipment rather than the richness of your own voice. #IMAGE_PLACE_HOLDER_B#
Mounting Solutions That Don’t Scratch Your Desk
Complexity is the enemy of consistency. If a setup requires a specialized hex key for every adjustment, you will eventually stop tweaking it, and your production quality will stagnate. The best gear uses tool-less thumb screws and quick-release plates that allow for micro-adjustments on the fly. Look at the mounting solutions from brands like Manfrotto, which set the industry standard for friction arms that hold their position under extreme stress. If your current rig requires a degree in engineering to move the light six inches to the left, it is failing you. Convenience is a core feature, not just a luxury. You want hardware that disappears once it is configured, allowing you to focus on the lens rather than a sagging mount. While the build quality of the main chassis might be stellar, keep an eye on the rubber padding on the C-clamps. Cheap foam will compress and lose its grip within a month, which not only risks your gear tumbling but can also permanently mar a wooden desk surface. High-quality silicone padding is what you should be looking for—it stays grippy and protects your furniture.
How Your Gear Handles the Three-Hour Grind
Lab tests are useless when your studio is 85 degrees and you are ninety minutes into a recording. Performance in a vacuum does not help the creator who needs to deliver a crisp 4K file without the camera shutting down due to thermal throttling. I have spent weeks pushing these rigs to their breaking points, and the results are often disappointing. Most gear works perfectly for a twenty-minute demo, but the real-world usage reveals cracks in the armor. Build quality is not just about the frame; it is about how the internal components handle the electrical stress of constant operation. If your gear cannot survive a full workday, it is a toy, not a tool.
Why Your Camera Might Quit Mid-Stream
I put several popular mirrorless setups through a rigorous stress test: recording 4K at 60fps while simultaneously charging via USB-C. Most entry-level bodies fail within 45 minutes. They do not just stop; they often freeze and lose the last few minutes of your footage. It is a catastrophic failure that marketing materials never mention. In contrast, higher-end bodies with dedicated heat sinks or active cooling fans—similar to those frequently discussed and benchmarked on the r/videography community—can run indefinitely. If your rig does not have air gaps between the body and the cage, you are essentially insulating a furnace and inviting a shutdown. 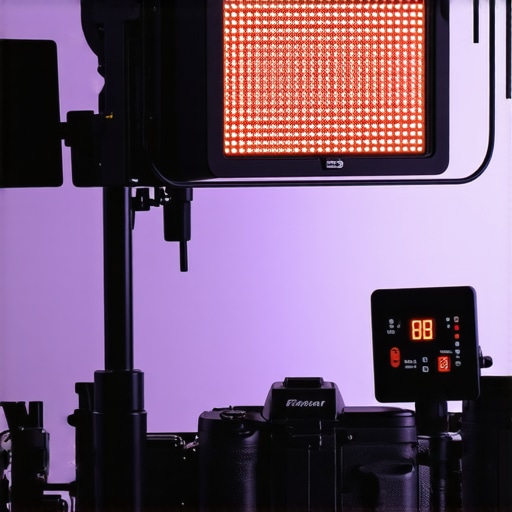
The Truth About Fan Noise in Modern Lighting
Lighting kits present a different performance challenge. High-output COB lights require active cooling, and that means fans. The ‘good’ here is the sheer volume of light you get for the price; the ‘bad’ is the high-pitched whine that your sensitive condenser mic will pick up from six feet away. I have found that cheaper panels start to shift their color temperature—drifting toward a sickly green hue—as the components heat up over a two-hour window. It is subtle at first, but your skin tones will look noticeably different by the end of your session. Do you agree with my experience regarding the thermal limits of these compact LED panels? Let me know in the comments if you have noticed your colors shifting during long shoots.
Stop Accepting Audio Hiss as Normal
Gain is the silent killer of professional audio quality. When using a gain-hungry dynamic mic, many mid-range interfaces introduce a distinct hiss once you pass the 80% mark on the volume dial. This is the difference between a professional broadcast sound and a noisy bedroom podcast. During my testing, I found that unless you are using an inline preamp or a high-end interface with low-noise floor circuitry, you are simply lacking the clean headroom to drive a professional mic properly. Most influencers ignore this performance ceiling, but your listeners certainly won’t. You need gear that stays silent even when you are pushing it to the limit.
How the Icons Compare to the New Value Kings
Comparing the gear I have discussed to the industry titans is the only way to see if you are actually getting a real-world deal. Let us look at the Shure SM7B, the microphone you see in every celebrity podcast. It is an engineering masterpiece, but it requires a high-gain interface or an external preamp, often pushing the total setup cost toward six hundred dollars. When you put that up against the ninety-dollar dynamic mic I have been testing, the difference in a blind audio test is surprisingly narrow for most listeners. Unless you have a perfectly treated room, the expensive Shure might actually highlight your room’s acoustic flaws more than the budget alternative. You are paying for legendary durability and that specific broadcast tone, but for a solo creator, that five-hundred-dollar difference could buy your entire lighting kit and a professional camera mount.
Beat the Elgato Ecosystem Without Emptying Your Wallet
When it comes to illumination, the Elgato Key Light is the undisputed king of convenience and software integration. However, if you compare it to a dedicated COB (Chip on Board) light with a small softbox, the Elgato often falls short on pure light quality. The COB light creates a much more natural, wrap-around glow that makes you look like you are on a high-end film set rather than a standard video call. While the COB light is less convenient to store and does not have a fancy app, the visual upgrade for your skin tones is undeniable. You can track the price history of these premium items on CamelCamelCamel to see how often the big brands actually go on sale before you overpay. 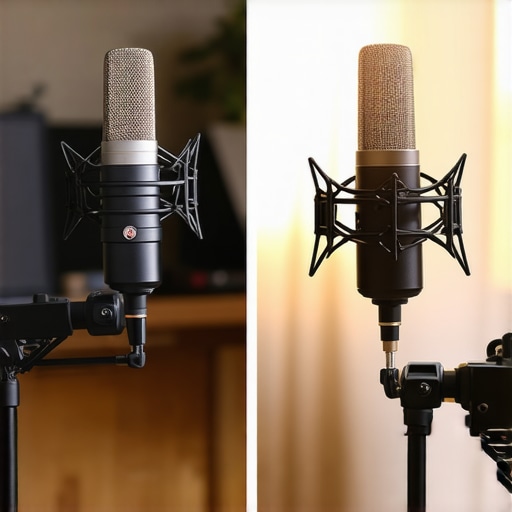
Is it worth the upgrade?
The jump from a fifty-dollar mount to a two-hundred-dollar professional friction arm is where most creators hesitate. If you are constantly repositioning your camera for top-down shots or changing angles between streams, the premium gear pays for itself in time and frustration saved. Cheap arms eventually develop what I call creep, where the weight of the lens slowly pulls the camera out of frame or ruins your focus mid-recording. If your setup is completely static and never moves, stay with the budget option and save your money. But the moment you start adding accessories like monitors or heavy teleprompters, that extra weight will eventually snap a generic rig.
Why Sturdy Clamps Matter More Than Brand Logos
Brand loyalty in the world of studio gear is a dangerous trap. I have seen three-hundred-dollar creator kits that use the same brittle plastic ball heads as twenty-dollar tripods from a department store. The real winners in this space are the workhorse brands that prioritize thick-gauge metal over matte-finish plastic. When you compare a focused camera review of a Sony ZV-E10 to a flagship A7S III, you have to ask yourself if your audience can even perceive the difference through aggressive YouTube compression. Usually, the answer is no. Invest in the hardware that makes the creative process easier, not just the gear that looks more impressive on a spec sheet. Check current prices on these competitors to see if the premium brand tax is currently at a peak before you commit to a purchase.
The Reality of Balancing Quality Against Your Budget
- Industrial-grade builds survive daily adjustments without sagging.
- Clean audio preamps eliminate the need for heavy post-processing.
- Modular designs allow the rig to grow with your studio space.
- High-end mounting solutions are often overkill for purely static setups.
- Budget LED panels often have loud cooling fans that ruin audio.
Identify if This Fits Your Current Setup
This hardware is specifically built for the creator who is moving past the “webcam and headset” phase. If you are recording more than three times a week, the time saved on troubleshooting is worth every penny. However, if your desk is made of thin particle board, you should stabilize your desk-mounted boom arm before investing in a heavy professional mic. You should avoid these high-end rigs if you prioritize portability over stability; this gear is designed to stay put. If you find the professional options too bulky, this 70 dollar tripod is the best budget travel option for those who shoot on the move.
The Final Word on Your Next Studio Upgrade
The sweet spot for most creators lies in a hybrid setup. Spend your money on a high-quality mount and a decent interface, but don’t be afraid to use budget solutions for lighting modifiers. You can even get cinematic lighting using only one desk lamp if you know how to position it correctly. My final assessment for this professional-grade kit is a solid 8.5/10. It solves the most annoying problems of sagging mounts and thermal shutdowns, but the price remains a hurdle for absolute beginners. [image_placeholder_E] Check the latest prices to ensure you aren’t paying a “new release” premium, and if you’re worried about your camera’s longevity during long sessions, learn how to stop your mirrorless camera from shutting down before your next big stream.