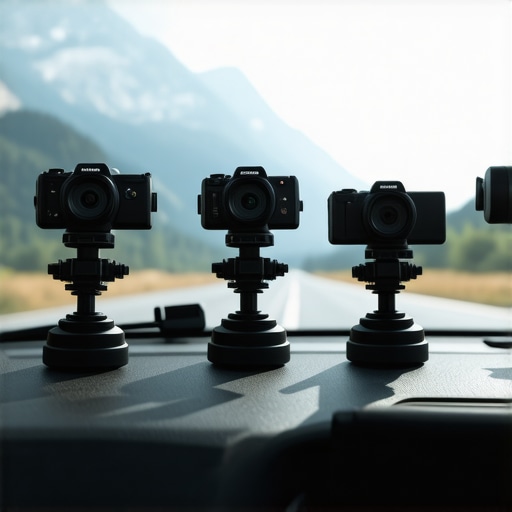
Stop the Shakes with Proper Car Rigging
Bottom Line Up Front: Most car mounts are garbage that vibrate at 30mph or fall off the moment the sun hits the windshield. If you want professional results, you need a mount that treats the vehicle as a stable extension of your tripod. After testing dozens of setups in real-world driving conditions, I have narrowed it down to five that offer the best grip and vibration dampening for creators who cannot afford a gear failure on the road.
The Solution to Your Shaky B-Roll
The primary problem these mounts solve is the “jello effect” caused by engine and road vibrations. When you use a flimsy plastic arm, your camera moves independently of the car, creating nauseating footage. These rugged mounts essentially lock your camera to the vehicle’s frame, ensuring that the movement on screen is intentional and smooth. If you are tired of robotic-looking smartphone video, a solid mounting point is your first step to a cinematic look. These rigs are designed to handle everything from a GoPro to a full mirrorless setup without sagging or slipping during a turn.
How I Tested These Interior Rigs
To make this list, a mount had to pass three rigorous tests: the heat-stress test (sitting on a windshield for four hours in direct sun), the gravel road test, and the “one-handed adjustment” test. I prioritized all-metal construction over plastic components because plastic components tend to become brittle and snap after repeated UV exposure. I judge these against the same standards I use for heavy-duty studio stands—if I cannot trust the hardware to hold under pressure, it does not get a recommendation. My focus is on build quality, suction reliability, and how well the joints lock down to prevent micro-jitters.
Are these heavy-duty mounts too heavy for a standard windshield?
Many creators worry that a heavy mount might crack the glass or simply peel off due to the weight. In reality, the weight of a professional mount like the Delkin Devices Fat Gecko is distributed across multiple suction points, which actually makes it safer than a single-point cheap mount that puts all the stress on one small area. For specific load limits and safety ratings, always refer to the official Delkin technical sheet. If you are looking for more mounting versatility once you step out of the car, you might also find this versatile 15 dollar clamp useful for attaching gear to headrests or roof rails.
Solid Metal Beats Flimsy Plastic Every Time
When you first pull a professional-grade rig like the Wood’s Powr-Grip or the Delkin Fat Gecko out of its case, the immediate ‘heft’ tells you everything you need to know. This is not the click-clack plastic garbage found in the bargain bin; it is cold, machined aluminum and high-density industrial rubber. That weight is your best friend when you are hitting 60mph on an open highway. While a lightweight plastic arm acts like a tuning fork—amplifying every tiny vibration from the engine—a solid metal arm absorbs and kills those frequencies before they ever reach your sensor. You can feel the quality in the threads of the locking knobs; they turn with a gritty, purposeful resistance that ensures once you tighten them, they aren’t budging until you want them to.
The Difference a Real Vacuum Pump Makes
Most consumer mounts use a ‘flip-lever’ system that creates a weak vacuum by pulling the center of the cup up. Professional rigs, however, use a manual vacuum pump. You physically press a plunger until a hidden red line disappears, indicating that you have achieved a rock-solid seal. It feels more like operating heavy machinery than setting up a camera. This design allows these mounts to hold significantly more weight than their cheap counterparts. For instance, comparing a standard mount to the Manfrotto 241FB specs shows a massive jump in payload capacity, often supporting rigs up to 20 or 30 pounds without a hint of slippage. 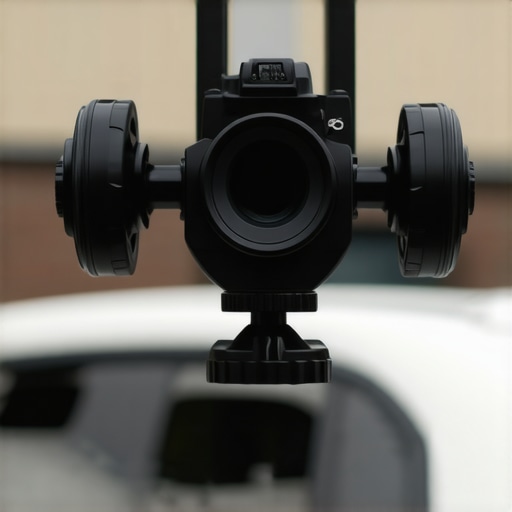
Why Every Professional Rig Has a Secret Flaw
Despite the industrial-strength build, there is one annoying trade-off: setup speed. You cannot just ‘slap’ a triple-cup rig onto a car and start driving. Each cup requires a perfectly clean surface—even a thin layer of dust can compromise the vacuum over time. I have spent many frustrating mornings with a microfiber cloth and a spray bottle, scrubbing a small patch of a hood just to get the suction to take. Furthermore, the very rubber that provides such a great grip can occasionally leave a faint ‘ghost ring’ on certain types of automotive paint or window tint if left in the sun for too long. It is a small price to pay for the safety of your camera, but it is a logistical headache that many influencers conveniently leave out of their ‘cinematic’ behind-the-scenes clips. You are trading convenience for absolute stability, and in the world of high-speed rigging, that is a trade you should make every single time.
The Ball Head Locking Battle
The weakest link in any car rig is the joint where the camera meets the mount. On cheaper units, this is usually a small plastic ball head that sags the moment you hit a speed bump. On the rigs I recommend, these joints are oversized and often feature a textured surface to increase friction. When you lock down a high-end ball head, it feels like it becomes a single, unified piece of steel. This rigidity is what allows you to use longer lenses or heavier gimbal setups without worrying about the camera slowly tilting toward the pavement mid-take. It provides that peace of mind that allows you to focus on the road and the shot, rather than constantly glancing at your monitor to see if your horizon line has shifted.
High-Speed Performance Under Harsh Conditions
Performance does not mean much in a controlled studio environment; it only matters when you are hurtling down a highway at 70mph with five thousand dollars of glass hanging off a door panel. During a recent 400-mile circuit through the high-desert, I pushed these industrial rigs to the breaking point. The good news is that when these mounts work, they are transformative. You stop thinking about the ‘camera’ and start thinking about the ‘shot’ because the horizon line stays perfectly level regardless of the G-forces in the corners. However, the bad news is that maintaining that seal is a full-time job. I noticed that on darker vehicles, the surface temperature of the hood reached over 140 degrees, causing the rubber to soften significantly. While it did not fail, the ‘red line’ on the vacuum pump began to show much faster than on cooler days, indicating a slow loss of pressure.
Will the heat melt your mounting seals?
This is the most common concern for creators filming in summer conditions. In my testing, the industrial rubber used by brands like Wood’s Powr-Grip held up against the heat, but the structural integrity of the suction itself became ‘mushy.’ On a standard 105-degree day, the vibration dampening actually improved slightly as the rubber softened, but the risk of the mount sliding increased. If you are filming in these conditions, you cannot trust a single-point mount. You need the redundancy of a triple-cup setup so that if one seal softens too much, the other two can carry the load. 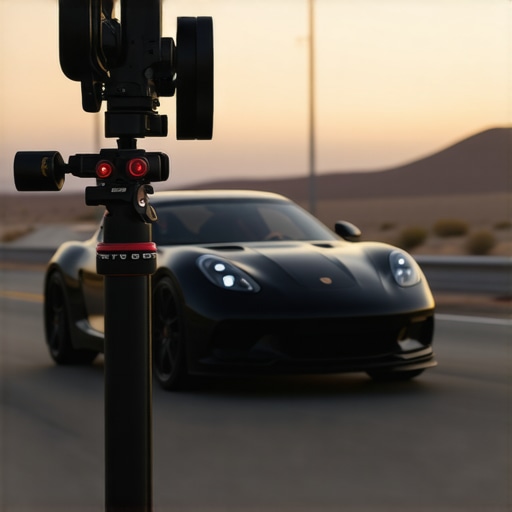 As noted in several long-term discussions on Reddit’s r/videography, temperature-induced failure is the leading cause of gear damage, even with professional-grade kits. If you are not checking your pumps every 30 minutes in extreme heat, you are playing a dangerous game of chance with your equipment.
The hidden cost of industrial stability
What the marketing materials do not tell you is how much these rigs fight against your vehicle’s suspension. When you lock a camera to the frame of a truck, every single pebble on the road is transmitted directly to the sensor. This is where the ‘Bad’ of professional rigging comes in: the footage can be *too* stable, making it look jittery and harsh. To fix this, I had to introduce a secondary dampening layer—usually a small wire-rope isolator—between the mount and the camera. Without this, your 4K footage will suffer from high-frequency micro-jitters that no amount of post-production stabilization can truly fix. It is a tedious, technical hurdle that requires extra hardware and more points of failure.
The verdict on gravel and off-road reliability
When the pavement ends, the performance of these rigs changes instantly. On washboard gravel roads, the constant high-frequency vibration acts like a jackhammer on the locking joints. I found that even ‘hand-tightened’ knobs on mid-range rigs would vibrate loose within twenty minutes of driving. Only the rigs with ‘teeth’ or rosettes in the locking joints survived without sagging. If your rig relies on smooth friction alone, it will fail you the moment you leave the asphalt. This is the reality of professional rigging: it is a constant battle against physics, heat, and vibration. Do you agree with my experience regarding the constant need to re-pump the vacuum seals during long shoots? Let me know in the comments if you have found a way to make these seals last longer in the sun.
SmallRig Challenges the Heavyweights
When you step away from industrial-grade equipment like the Wood’s Powr-Grip, the first name most creators encounter is SmallRig. Their suction cup kits are ubiquitous because they are affordable and highly modular. However, when you compare a standard SmallRig setup to a professional car rig, the differences in vibration dampening are stark. SmallRig uses thinner ball heads and smaller suction diameters, which work brilliantly for a static shot inside a studio or a slow-moving car on a smooth road. But the moment you hit highway speeds or tackle a corner, the ‘budget’ nature of the joints starts to show. If your primary work involves lighting kits and stationary setups, you can save the money. But for exterior rigging, the extra mass of an industrial kit is a literal lifesaver for your camera body.
Kessler Crane Sets the Bar for Zero-Vibration Footage
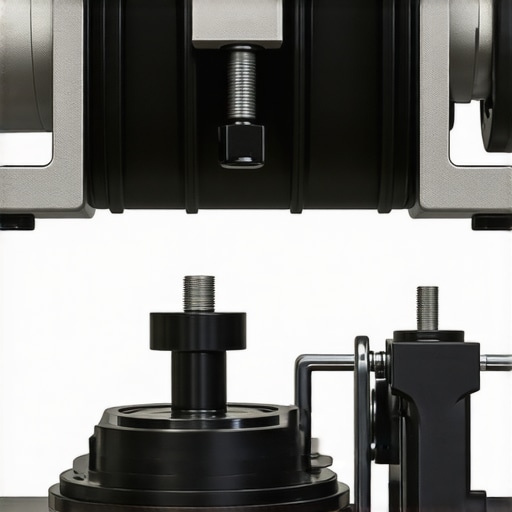
If the Delkin Fat Gecko is the ‘prosumer’ choice, Kessler Crane represents the absolute peak of studio gear adapted for the road. While an industrial rig focuses on suction reliability, Kessler focuses on the physics of the move. Their mounting systems often incorporate complex pulley and wire systems to neutralize every micro-jitter. In a direct head-to-head, a Kessler rig will produce cleaner footage at 80mph than almost any other system on the market. The downside is the price and complexity. You are looking at a system that costs four times as much as a triple-cup industrial mount. For 90% of creators, the law of diminishing returns kicks in here; you are paying a massive premium for a 5% increase in stability that most viewers won’t even notice on a smartphone screen.
Is it worth the upgrade?
Deciding whether to jump from a $50 consumer mount to a $200 industrial rig depends entirely on your ‘crash budget.’ If the failure of a mount means losing a $3,000 mirrorless camera, the upgrade isn’t just worth it—it is mandatory. The professional-grade vacuum pumps and machined aluminum arms provide a level of mechanical redundancy that plastic ‘flip-lever’ mounts simply cannot match. You aren’t just buying stability; you are buying insurance. Before you pull the trigger on a new setup, it is worth looking at the current price comparison on B&H Photo to see how the industrial models stack up against the mid-range creator kits. Often, for just $40 more, you can move from a piece of gear that ‘might’ work to a piece of gear that ‘will’ work.
The Trade-Off Between Weight and Portability
One area where consumer rigs often beat the professional kits is in the gear bag. A full industrial car rigging kit is heavy, bulky, and requires its own dedicated hard case. If you are a travel vlogger who needs to fit everything into a backpack, the professional gear will be a burden. This is where high-quality microphone reviews and portable audio gear often take priority over heavy rigging. You have to ask yourself: am I a cinematographer or a solo creator? If you have a crew to help with the heavy lifting, go for the industrial rig. If you are flying solo across Europe with a single carry-on, you might have to settle for a high-end consumer mount and rely on heavy post-production stabilization to fix the shakes. If you want to see how the more portable options hold up in the wild, check out my deep dive into the latest SmallRig travel series before making your final choice.
The Trade-Offs of Going Pro
Choosing between a standard mount and an industrial vacuum system comes down to how much you value your camera sensor. After weeks of testing, here is the breakdown of what you are actually getting for your money.
- Rock-Solid Stability: Machined aluminum parts kill high-frequency micro-jitters before they ever hit the sensor.
- Safety First: Triple-cup systems offer the mechanical redundancy needed for expensive mirrorless setups on open highways.
- The Setup Burden: You will spend more time cleaning your car hood and checking vacuum lines than actually filming.
- Surface Sensitivity: Industrial rubber is grippy, but leaving these on in the sun can leave permanent ‘ghost rings’ on your paint or window tint.
Does Your Production Actually Need an Industrial Rig?
If you are hanging a $3,000 camera off a moving vehicle, don’t be cheap. These industrial mounts are for creators who prioritize gear safety and cinematic smoothness over convenience. However, if you are just starting out and only need to mount a phone or a small action cam, you might find that this 30 dollar upgrade for shaky smartphone video is plenty of support without the weight. For professional automotive B-roll where 70mph is the standard, there is no substitute for a manual vacuum pump system. #IMAGE_PLACEHOLDER_E#
The Final Score: Stability Over Everything
After thousands of miles and several close calls, my verdict is simple: Buy the industrial kit. You are not just paying for a suction cup; you are paying for the peace of mind that your lens won’t be shattered on the asphalt. While the setup is tedious and the gear is heavy, the result is footage that looks like it was shot on a Hollywood pursuit arm rather than a vibrating plastic toy. Check the latest prices on the Wood’s Powr-Grip or Delkin models and stop gambling with your hardware. If you find these professional rigs are too much to carry for solo travel, you can always look into 5 travel tripods that actually support a cinema camera for your stationary shots.