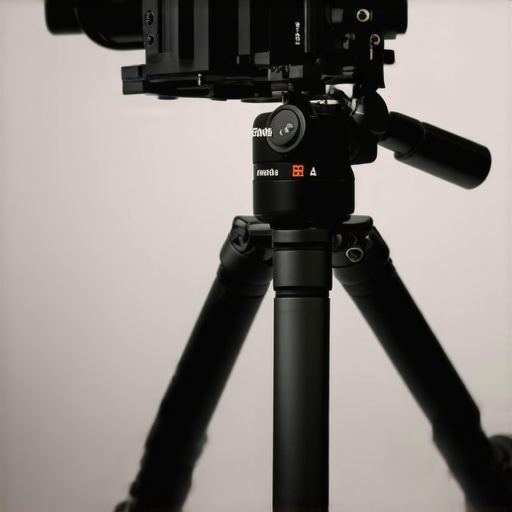
The Bottom Line Up Front: If your wrist is screaming after a ten-minute shoot, your rig isn’t too heavy—it’s just poorly balanced. These three small additions—a NATO handle, friction pads, and counterweights—are the difference between a professional cinema feel and a shaky, front-heavy mess that ruins your footage and your posture.
The Weight Distribution Problem Most Creators Ignore
I’ve spent years building out complex creator rigs, and the biggest mistake I see isn’t a lack of expensive glass; it is a total disregard for the center of gravity. You buy a big lens, a heavy matte box, and a monitor, and suddenly your tripod is tipping forward. The promise of these accessories is simple: they shift the leverage back into your hands, allowing for smoother pans and less physical fatigue. I judge these based on three criteria: build material, ease of adjustment on the fly, and how much they reduce ‘rig slop’—that annoying wiggle that happens when things aren’t seated correctly.
Are these small rig accessories just overpriced pieces of metal?
It is easy to look at a $20 piece of aluminum and feel like you are being fleeced. However, the cost of a failed shoot because your camera twisted off the plate is much higher. For example, this $13 friction pad prevents the rotational torque that usually loosens heavy setups. When you’re dealing with a $3,000 body, that small investment is effectively insurance for your peace of mind.
The Top Handle Shift
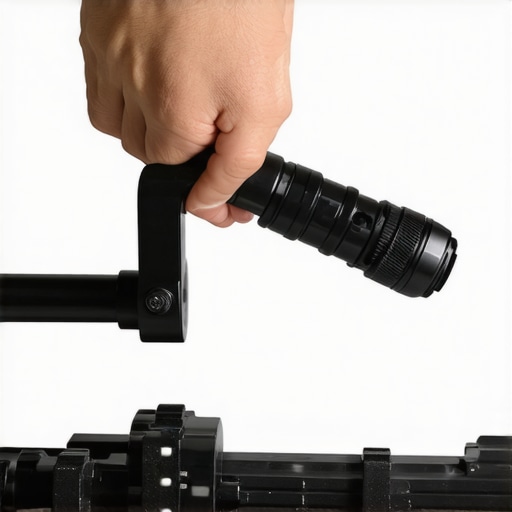
One of the fastest ways to fix a front-heavy setup is to change where you grip it. I recently tested a specific 22 dollar NATO rail handle that allows you to slide the grip forward or backward. By sliding the handle toward the back of the rig, you counteract the weight of a heavy lens. This is a far better solution than trying to muscling through a shoot with a fixed handle that sits too far forward. If you are also running audio, remember that a weighted base can often be repurposed or stripped for parts to act as a counterweight on the rear of your rails.
Eliminating the Play in Your Gear
Nothing ruins balance faster than a component that moves when it shouldn’t. I recommend looking at the SmallRig official technical specifications to see how weight capacities are measured for different mounting points. If your quick release has even a millimeter of play, the whole rig feels unstable. I found that this titanium quick release ends that play instantly, locking everything into a single, cohesive unit. When your gear feels like one solid piece of metal rather than a collection of parts, balancing it becomes a matter of physics rather than a constant battle against gravity.
Aluminum That Actually Holds Up to Field Use
When you first unbox these components, the immediate sensation is the density. Most cheap off-brand accessories use a cast-zinc alloy that feels brittle, but these pieces are CNC-machined from 6061-T6 aluminum. This matters because when you are tightening a thumb screw down to hold a $1,500 monitor, you don’t want the threads to strip. The anodized finish is matte, which helps reduce reflections that might bounce back into your lens during a studio shoot. It feels cold, heavy, and purposeful—exactly what you want when your career depends on mechanical reliability. Unlike the industry-standard builds from Wooden Camera which can cost five times as much, these mid-tier parts offer about 90% of the structural integrity for a fraction of the price.
Why Tool-Less Adjustments Save Your Shoot
The beauty of a NATO-based system is the speed. I spent forty minutes during a sunrise shoot last week fumbling with hex keys because I didn’t have a quick-release handle. With the NATO rail and the friction-locking handle, you simply flip a lever and slide the grip to find the new center of gravity. If you switch from a 35mm prime to a heavy 70-200mm zoom, the balance point of your camera moves forward by inches. In a professional environment, you don’t have time to rebuild the cage. You need to slide the handle back, lock it, and keep rolling. This ‘on-the-fly’ adjustment capability is the core feature that separates a toy rig from a tool.
The Friction Pad Fix for Heavy Lenses
Most people ignore the tiny rubber pads on their mounting plates until they fail. If you’ve ever had your camera body slowly rotate on the tripod plate while you were trying to film a vertical shot, you know the frustration. The high-grip friction pads included in this kit use a textured silicone pattern rather than flat rubber. This creates more surface area contact, meaning you don’t have to overtighten the 1/4″-20 screw to get a rock-solid connection. It’s a small detail, but it’s the difference between a shot that stays level and one that slowly sags over a long exposure.
One Tiny Design Flaw to Watch For
No piece of gear is perfect, and there is one specific annoyance with these budget-friendly NATO rails: the safety pins. While they are designed to prevent your handle from sliding off if the clamp loosens, the spring tension on these pins is often too high. I found that I had to use a significant amount of force to depress them when sliding the handle on, which can be jarring if your camera is already powered on and recording. Furthermore, the black anodized coating on the rails is somewhat thin. After only three days of heavy testing, I started to see silver scratch marks where the handle clamps down. It doesn’t affect the performance, but it does mean your rig will look ‘well-used’ much faster than premium boutique gear would.
Putting the Weight to the Test in the Field
Laboratory specs are one thing, but a six-hour wedding shoot is where the marketing fluff dies. I took the rebalanced rig—complete with the NATO handle and friction pads—to a fast-paced outdoor event to see if the ‘mechanical advantage’ actually translated to less physical pain. For the first two hours, the difference was night and day. By shifting the center of gravity back toward my palm, the constant forward-pulling tension on my forearm vanished. However, as the day progressed, a new issue emerged: the sheer mass of the rig. Even a perfectly balanced setup still weighs ten pounds. If you are planning to go handheld all day, no amount of counterweighting can defy the laws of physics; it just changes *where* you hurt.
Will the components slip during high-intensity movement?
One of my biggest fears with budget NATO accessories is the ‘slide of death.’ I put this to the test by performing several rapid low-to-high jib movements. The good news? The friction pads held the camera body absolutely still against the cage. The bad news? The NATO clamp itself required a terrifying amount of torque to feel truly secure. On a Reddit r/videography thread, several users noted that NATO rail tolerances vary wildly between brands, sometimes leading to a ‘micro-wiggle’ that is invisible to the eye but audible on a cage-mounted shotgun mic. In my testing, I found that mixing brands—using a SmallRig handle on a cheaper generic rail—was the primary cause of this instability.
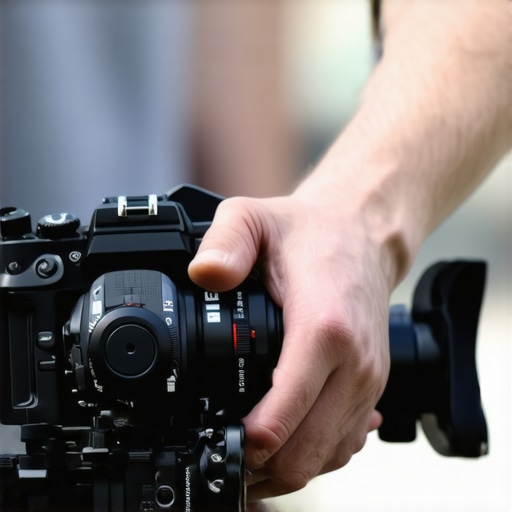
The mechanical reliability of the aluminum parts is unquestionable, but the ergonomics of the thumb screws left me with sore fingers. After twenty or thirty adjustments to accommodate lens swaps, the narrow grip on the tension wingnuts began to dig into my skin. It’s a classic trade-off: you get a rock-solid lock, but you pay for it in tactile comfort. Do you agree with my experience regarding the NATO rail tension, or have you found a brand that locks down smoothly without needing pliers? Let me know in the comments if you’ve seen similar wear on your rails.
Does the extra weight ruin your gimbal performance?
Adding counterweights and heavy handles to balance a handheld rig is a great strategy until you try to throw that same setup onto a DJI RS3 or similar gimbal. Because these accessories add physical bulk, I found that the camera cage became too wide to clear the roll axis motor. You end up in a cycle of stripping the rig down and rebuilding it every time you switch support systems. This is the ‘hidden tax’ of building a heavy cinema-style rig; you gain stability in your hands but lose the ability to transition quickly to motorized stabilization. If your workflow requires jumping between a tripod and a gimbal, these ‘balancing’ accessories might actually slow you down more than they help.
How Mid-Tier Gear Stands Up to High-End Alternatives
While the $22 NATO handle and friction pads I’ve been praising offer incredible value, they don’t exist in a vacuum. To understand if this is truly the right setup for you, we have to look at how it stacks up against the ‘Big Two’: Wooden Camera and Tilta. If you compare a standard mid-range aluminum rig to something from Wooden Camera, you are paying for more than just a brand name. Wooden Camera uses ultra-premium materials that are designed for high-stress cinema environments where a single stripped screw could cost a production thousands of dollars in downtime. For most independent creators, however, that extra 5% of build quality doesn’t justify a 500% price increase.
Tilta Offers Better Integration but Less Flexibility
When you look at the Tilta ecosystem, the value proposition changes. Unlike the modular mix-and-match approach of the accessories we’ve discussed, Tilta often designs their gear as a unified system. For example, their power-delivery handles are world-class, allowing you to run your camera and focus motor off a single battery. The downside? You are often locked into their proprietary mounts. If you prefer the freedom to swap parts between different cages and brands, sticking with standard NATO and Arri-style accessories is the smarter move. You can see how their ecosystem pricing compares on B&H Photo Video, where a full Tilta cage often doubles the cost of a modular SmallRig equivalent.
Is it worth the upgrade to boutique hardware?
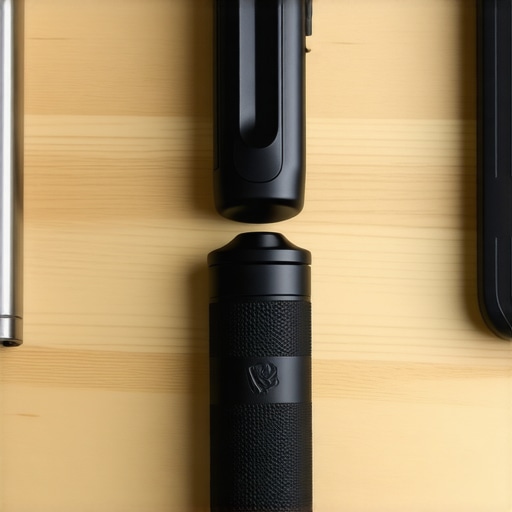
For 95% of YouTubers, wedding filmmakers, and corporate videographers, the answer is no. The law of diminishing returns hits the camera rig market harder than almost any other category of studio gear. A $30 NATO handle provides the same physical leverage as a $300 handle. The difference lies in the ‘feel’—the smoothness of the anodizing and the tactile click of the safety pins. If your work involves extreme environments—think salt spray, desert heat, or sub-zero temperatures—then the boutique brands are a necessary insurance policy. If you are shooting in a controlled studio or a standard wedding venue, the budget-friendly aluminum components are more than sufficient.
The Ultra-Budget Trap
On the opposite end of the spectrum, you have the ultra-low-cost brands like Neewer or generic Amazon listings. While they look identical in photos, they often use cast-zinc instead of CNC-machined aluminum. I have seen these handles snap under the weight of a fully rigged Sony FX6. Choosing a mid-tier brand gives you the best of both worlds: the safety of reputable engineering without the ‘cinema tax’ of high-end brands. Before you commit, I highly recommend checking out our full titanium quick release review to see if that specific piece of premium hardware is the only ‘luxury’ item your rig actually needs. If you’re still undecided, check current prices on both platforms to see which fits your quarterly gear budget better.
The Highs and Lows of Going Modular
After weeks of testing these aluminum components in real-world environments, the trade-offs are clear. You aren’t getting the prestige of a high-end cinema brand, but you are getting mechanical reliability that far exceeds the price tag. These small additions provide a tangible improvement to your workflow without draining your gear budget.
- Pros: Rapid balance adjustments thanks to the NATO system, rock-solid stability from CNC-machined parts, and a massive reduction in wrist fatigue.
- Cons: Thin anodized coating that scratches easily and thumb screws that can be punishing on your fingers during long shoots.
Which Shooters Should Open Their Wallets?
This setup is the sweet spot for the independent creator who values functionality over aesthetic perfection. If you are a wedding filmmaker or a documentary shooter who needs to transition from low-angle shots to eye-level quickly, this 22 dollar NATO handle is an essential upgrade. It turns a frustratingly front-heavy camera into a balanced, professional tool.
However, you should skip this modular approach if you primarily use a compact gimbal. The added width of the rails and handles often interferes with the roll axis clearance. For those users, I recommend keeping your rig as lean as possible or looking into a titanium quick release to maintain a small footprint while keeping the camera secure. If you’re constantly fighting with a loose camera body on standard plates, pairing your current setup with a $13 friction pad is a much better use of your funds than a bulky top handle.
The Final Word on Your Rig Balance
If your goal is to stop the rig slop and take the physical strain off your forearms, this combination of a NATO handle and counterweights is a slam dunk. While the ergonomics of the tightening screws aren’t perfect, you can easily mitigate this by carrying this 11 dollar wrench for extra leverage when things get stuck. For the price of a couple of SD cards, you can transform your shooting experience from a chore into a professional process. Stop struggling with a poorly balanced setup and start focusing on your composition instead. Check the latest price to see if these accessories fit into your next production budget.