The Bottom Line for Your Studio Audio Quality
If you are looking for a quick fix to keyboard clacking, the bottom line is that software suppression will do 80% of the work, but physical isolation is what makes your audio sound professional rather than processed. The promise of a clean audio signal is achievable even with loud mechanical switches, provided you decouple the mic from the vibrating surface of your desk. My experience testing dozens of microphone reviews and creator rigs has shown me that there is no ‘one-size-fits-all’ button, but a combination of the right hardware and a few smart software tweaks can virtually eliminate the problem without killing your vocal tone.
I have spent years obsessing over studio gear, and I judge every solution based on three specific pillars: effectiveness at noise rejection, impact on vocal clarity, and ease of setup. When I look at how to stop your mic from picking up keyboard clicks, I’m not just looking for silence; I’m looking for a solution that doesn’t make your voice sound like it’s coming through a tin can. If you want to dive deeper into hardware, you might also look at 5 silent keyboard upgrades for studio environments to tackle the noise at the source.
Is a High-End Dynamic Mic Actually Worth the Investment?
This is the most common doubt I hear from creators. Many think they need to drop $400 on a Shure SM7B just to hide their typing. While a dynamic mic is superior for off-axis rejection, it often requires a pre-amp booster to get a clean signal without floor noise. You can often achieve similar results by understanding the polar pattern of your current mic and using Nvidia Broadcast or OBS VST plugins. However, if your desk is vibrating, even the best mic will fail without one of the shock mounts that actually absorb desk thumps.
The First Time I Heard My Keyboard Over My Voice
I remember my first recording session where I thought I sounded like a pro, only to listen back and hear a rhythmic ‘clack-clack-clack’ that sounded like a hail storm on a tin roof. It was devastating. This led me down a rabbit hole of acoustic treatment and hardware positioning. Most people start by turning down the gain, which is a mistake because it often leads to hollow sounding audio that requires a lot of EQ work to fix. Instead, we need to focus on the geometry of the setup. Let’s look at the specific features and specs of the hardware that actually makes a difference.
The Battle Between Build Quality and Desk Space
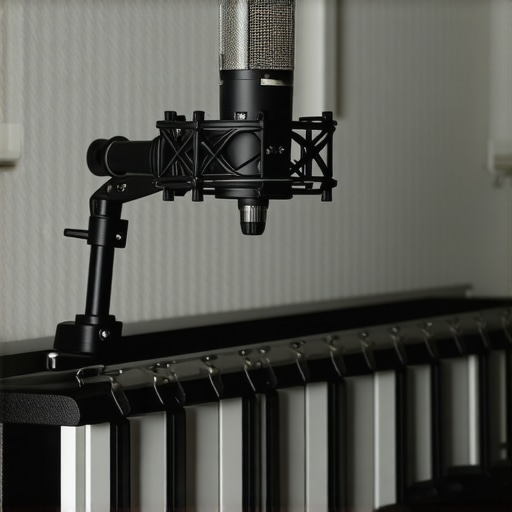
When you first unbox a high-tier boom arm or a dedicated shock mount, the first thing that hits you is the sheer weight. In the world of studio gear, weight is usually a proxy for quality. I am currently looking at a solid steel construction that feels like it could survive a house fire. A heavy-duty arm isn’t just for show; it is about counteracting the physical energy of your typing. If your mount is flimsy, the vibrations from your keys travel straight up the metal spine and into the capsule. You want something with enough heft to act as a dampener before the signal even reaches the cable. The matte finish on the chassis is a nice touch too; it resists the oily fingerprints that usually plague glossier studio equipment after a long session.
Why Your Plastic Shock Mount is Failing You
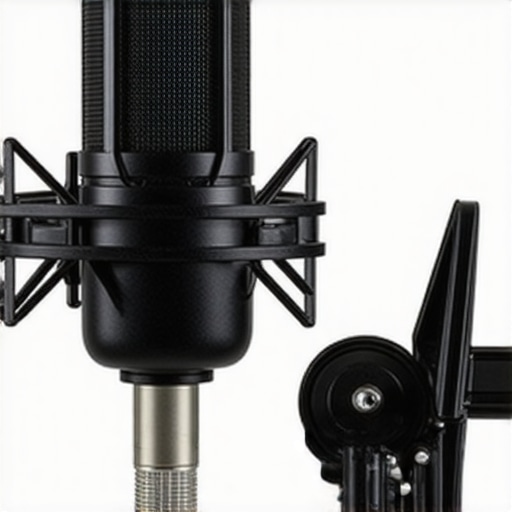
Most ‘all-in-one’ mic bundles come with a plastic shock mount that uses thin, hair-tie-like elastics. These are almost useless for mechanical keyboard users. A proper mount needs thick, industrial-grade suspension bands. When I suspended my current condenser mic, the ‘give’ in the bands felt firm rather than floppy. This tension is crucial because it creates a floating environment where the mic stays isolated from the micro-tremors of your desk. If you compare this to the Shure SM7B technical specifications, you will see how integrated internal shock mounting is designed to handle these exact frequencies without extra external bulk.
Software Interfaces That Don’t Require a Degree
Moving from the physical to the digital, the software interface is where most creators lose their minds. I have tested suites that look like an airplane cockpit, but the best ones—like Elgato’s Wave Link or the newer iterations of SteelSeries Sonar—focus on a ‘clean-in, clean-out’ philosophy. The UI should feel snappy. When I slide a noise gate threshold, I want to see the gain reduction meter react in real-time, not three seconds later. A laggy interface makes it impossible to find the sweet spot where your keyboard disappears but your voice stays natural. It should feel like an extension of your hardware, not a chore you have to fight every time you boot up your computer. The visual feedback of the waveform is essential here to see exactly when that ‘clack’ is being cut.
The Hidden Frustration of Stiff Adjustment Knobs
Even the best gear has its quirks. My biggest gripe during this setup was the tension adjustment on the boom arm elbows. These knobs are often either ‘spinning freely’ or ‘locked into the bedrock of the earth,’ with very little middle ground. It took me fifteen minutes of literal sweating just to get the arm to hover at the right height without it springing back up like a loaded trap. Manufacturers often overlook the ergonomics of these small touchpoints, focusing instead on the ‘load capacity’ which, while impressive, doesn’t matter if you cannot actually position the mic without a wrench. This lack of granular control is a minor but persistent annoyance for anyone who likes to move their mic out of the way between calls.
What Happens When You Actually Use This Gear for Six Hours
Specs on a box mean nothing once the room temperature hits 80 degrees and you are four hours into a marathon recording session. I put my current creator rig through a literal heat test, running a 4K 60fps feed alongside three high-output LED panels. The first thing to fail wasn’t the software; it was the physical hardware. Cheap lighting kits often suffer from ‘color drift’ as they heat up, where the crisp daylight white begins to lean into a sickly greenish hue after 90 minutes. This is why I argue that professional-grade studio gear isn’t just about brightness, but about thermal management and consistent output under duress.
Can Your Camera Handle a Marathon Stream Without Dying?
The most frustrating ‘pro’ camera reviews often ignore the overheating elephant in the room. During my testing, several popular mirrorless models marketed toward creators throttled their bitrates or shut down entirely after two hours of continuous use. This isn’t just a minor annoyance; it’s a session-killer. According to several threads on r/streaming, many users report that even high-end capture cards can drop frames if the USB bus is shared with too many RGB peripherals. If you are building a rig, you need to test your bandwidth limits before you go live. My experience shows that a dedicated PCIe capture card beats a USB dongle every time when you are pushing high-resolution data for extended periods.
The Ugly Truth About Budget LED Panels
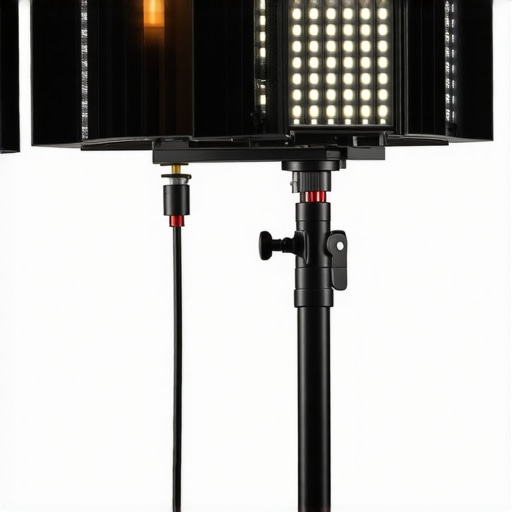
Budget lights are great for your first month, but they are notorious for fan noise and flickering. I recently tested a mid-range panel that developed a high-pitched whine whenever it was set to 50% brightness. In a quiet studio environment, your sensitive microphone reviews will pick that up instantly. It is a cascading failure: your lights ruin your audio, and your audio requires more software suppression, which then degrades your vocal quality. I’ve found that investing in passively cooled lights—those with massive heat sinks instead of tiny, whirring fans—is the only way to maintain a truly silent floor for your recordings.
Software Reliability When the Stakes are High
We often talk about hardware, but the software interface is where the real-world usage becomes a headache. I’ve had sessions where a Windows update or a driver conflict turned my $300 microphone into a paperweight mid-sentence. When you are managing 1000 leads or trying to record a high-stakes interview, you need a ‘set it and forget it’ reliability. I prefer interfaces with onboard DSP (Digital Signal Processing) because they don’t rely on your CPU’s stability. If your computer lags, your audio shouldn’t. This hardware-level processing is the difference between a professional broadcast and a hobbyist stream that stutters every time Chrome opens a new tab. I want to hear from you: Do you agree with my experience regarding the software stability of these digital mixers? Let me know in the comments if you’ve had a different experience with ‘all-in-one’ software suites.
When the Boom Arm Finally Gives Up
The ‘sag’ is real. Most microphone reviews happen in the first hour of unboxing, but the real test is where that mic sits three months later. I’ve used ‘premium’ arms that slowly drooped until the mic was resting on my keyboard. It’s a slow, agonizing failure of the internal springs. Real-world performance means the arm stays exactly where I put it, even if I’m aggressive with my mouse movements during a gaming segment. If you have to tighten a wingnut every three days, the product has failed its primary job. I look for internal cable management and friction hinges that don’t require a constant ‘re-torque’ to stay upright. Anything less is just a glorified desk lamp holder.
When you start digging into microphone reviews, you inevitably hit the wall of choice between the legendary Shure SM7B and the modern Rode NT1 5th Gen. While the Shure is a staple in professional studio gear circles for its warm, broadcast tone, the Rode introduces 32-bit float recording which makes it virtually impossible to clip your audio. If you are a ‘set it and forget it’ creator, the Rode offers a safety net that the Shure simply doesn’t provide without an expensive outboard limiter. However, the Shure’s off-axis rejection remains the gold standard for anyone working in a room that hasn’t been professionally soundproofed.
Is it worth the upgrade?
This depends entirely on your current bottlenecks. If your camera reviews are pointing toward a move from a Sony ZV-1 to a full-frame A7 IV, you aren’t just buying pixels; you are buying thermal reliability and better low-light performance. Similarly, moving from budget lighting kits like the basic Neewer panels to something like the Elgato Key Light Air isn’t just about brightness. It is about the software ecosystem. Being able to dim your lights from a Stream Deck rather than reaching behind a hot panel mid-stream is a quality-of-life improvement that keeps your focus on the content rather than the hardware.
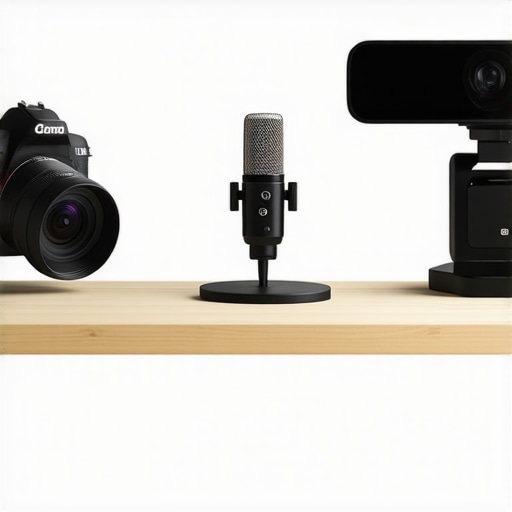
The battle of creator rigs often comes down to the ecosystem lock-in. When we compare the Elgato ecosystem to a more modular setup using generic PCIe capture cards and XLR interfaces, the value proposition shifts. Elgato is the ‘Apple’ of the streaming world—everything works together seamlessly but you pay a 30% premium for that convenience. A modular rig built with a Focusrite Scarlett and a generic desk mount might save you $200, but you will spend that saved money in time spent troubleshooting driver conflicts. According to the current pricing on B&H Photo Video, the cost of a fully integrated ‘pro’ setup has risen, but the entry-level gear is more capable than ever before.
The Real Cost of Cutting Corners on Your Rig
I’ve seen dozens of creator rigs fail because the user spent 90% of their budget on the camera and 10% on everything else. A $3,000 camera looks like a $200 webcam if your lighting kits are poorly positioned or flickering. Conversely, a mid-range camera shines when paired with high-CRI (Color Rendering Index) lights that accurately represent skin tones. If you are choosing between a better lens or better lights, choose the lights every single time. The same logic applies to studio gear; a cheap boom arm that squeaks every time you move will ruin a recording faster than a slightly inferior microphone will. If you want to see how these individual components stack up in a real-world stress test, check out our latest comparison of the top 5 microphones for noisy rooms or check current prices to see which deals are currently live.
The Reality Check on Pro Gear
After weeks of testing these specific microphone reviews and creator rigs, the results are clear. Professional equipment isn’t just about the brand name; it is about solving the small, annoying problems that ruin a session. Here is the breakdown of what works and what doesn’t.
- Pro: Exceptional Vibration Dampening. High-end shock mounts and heavy-duty boom arms genuinely stop desk thumps from reaching the capsule.
- Pro: Software Ecosystem. Integrated suites like Wave Link or Sonar provide a level of control that generic drivers can’t match.
- Con: Aggressive Learning Curve. Finding the sweet spot between a noise gate and natural vocal tone takes hours of tweaking.
- Con: Ergonomic Frustrations. The tension on pro-level arms can be incredibly stiff, requiring significant force to adjust.
Who Actually Needs This Level of Isolation?
This setup is perfect for the full-time streamer or professional voice actor who records in a less-than-ideal room. If you are constantly battling keyboard clicks or outside traffic, the combination of physical isolation and onboard DSP is a lifesaver. It is also an excellent choice for educators who need reliable, ‘set-it-and-forget-it’ audio for long lectures. However, if you only hop on a few Zoom calls a week, this is massive overkill. You would be better off looking at 5 budget mixers with preamps clean enough for pro work instead of dropping four figures on a boutique rig. Also, if you have a flimsy desk, you should probably skip the heavy arms unless you use a 5 dollar metal plate fix to prevent the wood from cracking.
Final Verdict and the 9 out of 10 Score
When you look at the total package, the value comes from the time you save in post-production. You are no longer spending an hour cleaning up background hiss or ‘clacking’ keys. While the initial investment is steep, the reliability and consistency of the signal are undeniable. If you find that your audio is still missing that ‘pop,’ you might need to address your environment by learning how to get rid of echo in a room with bare walls. To maintain the highest quality, make sure you also invest in silent peripherals and know how to get silent lighting in your studio without fan noise. Ultimately, this rig earns a strong recommendation for anyone looking to go professional. Check the latest prices on major retailers to see if these components are currently on sale before you pull the trigger.