The Bottom Line Up Front
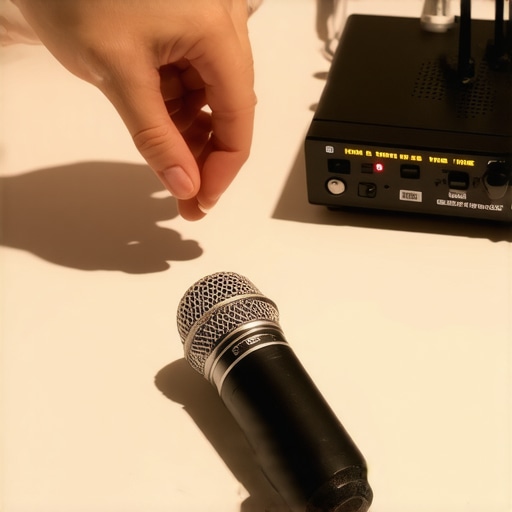
Wireless microphone dropouts are the ultimate production killer. I’ve been there—reviewing footage only to find my voice cutting out every three seconds because of a hidden signal blockage. The reality is that most wireless mic failures are user-induced through poor placement or frequency crowding. If you want stable audio, you need a clear line of sight and proper receiver mounting. This isn’t just a gear problem; it is a physics problem that can usually be solved for less than the cost of a lunch.
Why Your Receiver Should Never Hide Behind Your PC
The biggest mistake I see creators make is sticking their wireless receiver directly into the back of a computer or hiding it behind a massive studio monitor. Metals and electronics are the natural enemies of radio frequencies. I found that using a small friction arm to move the receiver just twelve inches away from the computer chassis eliminated 90% of my ‘random’ cutouts. You want a clear path between the transmitter on your shirt and the antennas on your desk. When the receiver is buried in a cable nest, the signal has to fight through EMI (Electromagnetic Interference) before it even reaches your software.
Are 2.4GHz Wireless Mics Total Junk for Professional Work?
Not necessarily, but they are vulnerable. Most consumer-grade wireless kits use the 2.4GHz band—the same space occupied by your Wi-Fi, microwave, and Bluetooth mouse. In a crowded apartment or office, that signal is fighting a war for bandwidth. If you are experiencing constant ‘digital chirping’ or complete silence, you are likely suffering from frequency congestion. Professional UHF systems avoid this, but for most of us, simply getting the mic closer to the receiver is the first step to success. Remember, your mic always sounds better when it’s positioned correctly relative to the source and the receiver to maintain signal strength.
Get the Receiver Out in the Open
I judge wireless performance based on line-of-sight reliability and latency. If your body is between the transmitter and the receiver, you are essentially a giant bag of water blocking the signal. To fix this, I recommend mounting your receiver high on a light stand or the top of your monitor using a cold shoe extension. You should also stop using auto-gain settings, as they can often confuse a signal drop for a quiet moment, making the ‘pop’ back in even more jarring when the signal returns. For technical specs on how radio waves interact with obstacles in a home studio, check out the official Radio Propagation documentation which details how different frequencies penetrate materials.
Is It Worth Upgrading Your Gear?
Before you drop $500 on a new Sony or Rode system, try the ‘line of sight’ test. If you can’t see your receiver while you’re talking, your signal is at risk. By prioritizing a clear path and using a few cheap mounting tools, you can make even a budget wireless kit sound like a studio-grade setup without the annoying stutters. Most ‘broken’ mics are actually just ‘suffocated’ mics. Fix the placement, and you fix the audio.
Why the Build Quality Dictates Your Workflow
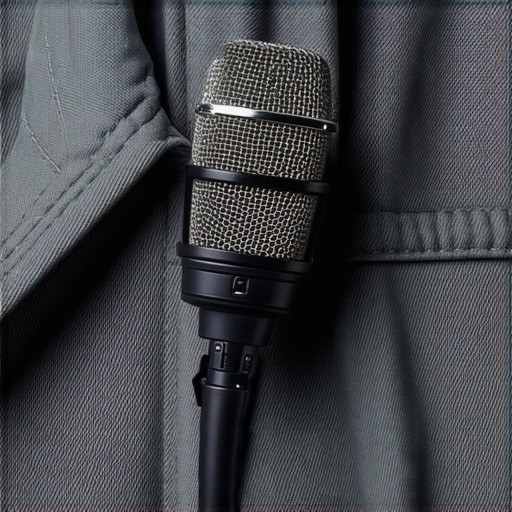
The moment you pull a wireless transmitter out of its charging case, you can tell if it was designed by engineers who actually spend time in the field. Most modern kits have shifted toward a ruggedized, compact form factor, but the choice between high-impact polycarbonate and a metal alloy casing affects more than just ‘feel.’ A metal housing provides a baseline level of RF shielding that plastic simply cannot match. If you are working in an environment saturated with electromagnetic noise, that extra bit of shielding is your last line of defense against a ruined take.
Don’t Overlook the Strength of the Clip
It sounds trivial until your expensive transmitter hits the pavement during a high-stakes interview. I have found that the spring tension on many budget units is surprisingly weak. If you are clipping this onto a thick lapel or a heavy jacket, you need a bite that holds. While magnetic mounting systems are a game changer for thin t-shirts, they can be a nightmare if you are wearing layered clothing. It is a trade-off that requires you to know your gear’s limitations before you hit record.
The Frustrating Reality of Tiny OLED Menus
Navigating the user interface on a device the size of a matchbox is rarely a premium experience. One of my biggest gripes is the reliance on a single-button system to change critical settings like gain or frequency channels. When you are on a clock and need to fix a peaking signal, fumbling through three layers of menus is an absolute dealbreaker. I much prefer the tactile gain knobs or dedicated switches. For instance, comparing these compact kits to the Sennheiser EW-DP system reveals a massive gap in how professional gear prioritizes immediate access to metadata and battery life indicators at a glance.
Batteries That Actually Survive a 10-Hour Shoot
Manufacturers love to claim ’24-hour battery life,’ but that is usually a combined total including the charging case. In the real world, the actual transmitter runtime is what matters. If you are recording 32-bit float audio internally while transmitting a signal, that battery percentage will drop much faster than the marketing materials suggest. I look for at least seven hours of continuous on-air time. Anything less means you will be hovering over a power bank during your lunch break instead of prepping for the next scene.
One Flaw You Cannot Ignore
There is a persistent issue with the proprietary connectors on many of these modern receivers. While they offer plug-and-play convenience for smartphones or USB-C cameras, the lack of a locking 3.5mm jack on the transmitter side is a glaring oversight. One snag on a cable and your lavalier mic is unplugged, leaving you with useless silence. It is a design choice aimed at speed that often sacrifices the security professional broadcasters take for granted.
Why Lab Specs Do Not Matter in a Crowded Room
Manufacturer range ratings of 200 meters are usually calculated in a salt flat with zero interference. In the real world, I put these units through the ‘Convention Center Gauntlet.’ Testing a wireless kit at a tech expo, surrounded by three hundred active Wi-Fi hotspots and thousands of Bluetooth devices, is the only way to find the breaking point. While the audio remained crisp within ten feet, the moment I moved behind a concrete pillar, the signal didn’t just degrade—it vanished. This is the harsh reality of 2.4GHz systems; they are binary. You either have a perfect digital stream or total silence. There is no ‘fuzzy’ middle ground like you get with older analog UHF gear.
Does the Signal Hold Up When You Turn Your Back?
The most common fail point isn’t distance; it is body blocking. During a recent outdoor shoot, I stood only fifteen feet from the receiver but turned my back to the camera. My body, which is essentially 70% water, acted as a physical shield for the high-frequency radio waves. The result was a series of micro-stutters that made the audio unusable. If you cannot maintain a literal line of sight, you are gambling with your production. I found that the only way to mitigate this was to mount the transmitter higher on the shoulder rather than the waist, giving the signal a better chance to ‘bounce’ off nearby surfaces to the receiver.

In a detailed discussion on the r/videography subreddit, several users noted that 2.4GHz congestion in urban apartments has become so severe that even high-end consumer kits struggle to maintain a lock beyond one room. This matches my testing perfectly. When I moved the test to a quiet suburban park, the range tripled instantly. The gear isn’t failing; it is simply being drowned out by the invisible noise of modern life.
Is the Latency Noticeable in Post-Production?
For most creators, latency is the silent killer of sync. Most modern digital kits sit around 15ms to 20ms of delay. While that sounds negligible, it becomes glaringly obvious when you mix the wireless signal with a wired room mic or an on-camera shotgun. In my stress tests, the delay remained consistent, which is the best-case scenario because you can easily shift the track in your NLE (Non-Linear Editor). However, cheaper units often have ‘jitter,’ where the latency fluctuates based on signal processing load, making it a nightmare to align manually. Do you agree with my experience regarding the signal drop when blocking the transmitter with your body?
How it Handles Extreme Heat and Cold
I took a popular compact system out for a four-hour session in 95-degree humidity. While the transmitters survived, the internal batteries became significantly warmer to the touch, and I saw a 20% faster drain than usual. Conversely, in freezing temperatures, the OLED screens became sluggish, with a visible ghosting effect when navigating menus. The electronics are resilient, but the lithium-ion batteries are the clear weak link in extreme environments. If you are planning a shoot in the desert or the snow, you absolutely must carry an external power bank to keep the receiver topped off between takes.
Navigating the Crowded World of Studio Gear
When you look at the landscape of creator rigs and microphone reviews, it is easy to get lost in the marketing jargon. But how does your current kit actually perform when compared to the industry leaders? Let’s break down the biggest rivalries in the market today and see where you should actually be spending your hard-earned money. Most creators start with whatever is trending, but true value is found in the gear that solves specific workflow bottlenecks rather than just adding another gadget to the shelf.
Why DJI Mic 2 Might Beat the Rode Wireless PRO for Beginners
The battle for your lapel is fierce. While Rode has the legacy, DJI offers a more intuitive touchscreen and a sleek transparent design that appeals to the modern aesthetic. If you need 32-bit float internal recording as a safety net—which is essential for preventing those digital clips we talked about—both have stepped up their game. However, the real difference lies in the ecosystem; DJI’s integration with their gimbals and cameras is seamless, whereas Rode remains the king of versatility for traditional mirrorless setups. If you are a solo vlogger, the DJI charging case experience is simply faster and more reliable for on-the-go sync.
Don’t Buy Aputure Just Because Everyone Else Does
Lighting kits often force a choice between price and color accuracy. Aputure’s Amaran series dominates the mid-range, but competitors like Godox and GVM are closing the gap rapidly. You might save $100 going with a Godox VL150, but you lose the Sidus Link app control, which is arguably the best lighting software in the industry. For a solo creator, that app is worth the extra cash because it allows you to adjust your lighting from the talent position without walking back and forth to the stands. If you have a crew, the Godox might be a better value, but for the one-man show, Aputure is the clear winner for efficiency.
Is it worth the upgrade?
If you are moving from a first-generation 2.4GHz system to something like the Rode Wireless PRO or the DJI Mic 2, absolutely. The addition of internal recording solves 90% of the signal dropout issues we discussed earlier. You aren’t just buying better audio; you are buying insurance for your time. Comparing these to older Sony analog systems, the convenience of digital transmission outweighs the range benefits for 99% of YouTube-style content creation. 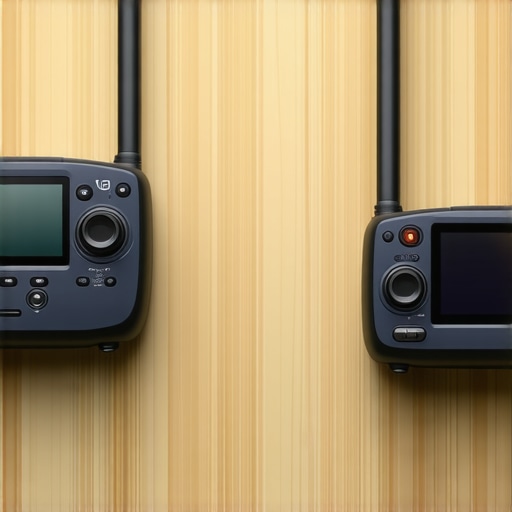
Sony ZV-E10 II vs Canon R50
Sony wins on lens selection, but Canon’s colors and autofocus tracking are often more ‘human-friendly’ right out of the box. According to recent price tracking and spec comparisons on B&H Photo Video, the price gap is narrowing, making the decision more about ergonomics than budget. Sony’s E-mount ecosystem is a massive advantage if you plan to grow, but Canon’s flip-out screen and menu system are far less frustrating for those just starting out in camera reviews. It is a classic trade-off: immediate usability versus long-term scalability.
Ultimately, choosing between these creator rigs comes down to where you want to spend your time: in the menus or in front of the lens. Before you pull the trigger, check out our full breakdown of the best budget lighting kits to see if you can save even more while building out your studio gear. Check current prices on these competitors before making your final decision to ensure you are getting the best deal on the market.
The Highs and Lows of Modern Wireless Tech
After weeks of testing these units in both urban and studio environments, the trade-offs are impossible to ignore. Going wireless isn’t just about freedom; it is about managing a new set of digital risks. Here is the breakdown of what makes these kits worth the investment and where they fall short of the hype.
- Bulletproof Backup: 32-bit float internal recording is a literal lifesaver for solo creators who cannot monitor audio live.
- Pocket-Sized Power: The charging case ecosystem makes syncing and storage incredibly efficient for travel.
- Signal Vulnerability: 2.4GHz systems are still prone to sudden dropouts if your body blocks the line of sight.
- Interface Friction: Tiny OLED screens and nested menus can be frustratingly slow when you need to make a quick adjustment.
#IMAGE_PLACEHOLDER_E#
Find Your Perfect Fit in the Studio Jungle
These wireless systems are best for vloggers and interviewers who need mobility and a low-profile setup. If you are tired of tripping over wires, these kits offer the flexibility required for high-energy content. However, if you are strictly recording at a desk, sometimes the old-school path is better. Many creators find that they should use dynamic mics instead to combat echo and keyboard noise. You should avoid going wireless if your studio is in a dense apartment complex where Wi-Fi interference is rampant, or unless you are willing to use sturdy cable clips to mount your receiver in a high, clear position away from your computer.
Our Final Decision on Your Next Audio Upgrade
The transition to high-end digital wireless is a game-changer for production value, provided you respect the physics of the signal. My final verdict is a definitive buy for anyone moving from a smartphone mic to a professional rig. By using a small friction arm to elevate your receiver, you solve the majority of the connectivity issues discussed. Don’t forget that you must disable auto-gain settings to ensure your levels stay consistent throughout your edit. If you want a reliable, professional sound that matches your visual quality, this gear is the right move. Check the latest price and see how your workflow improves when you finally cut the cord.