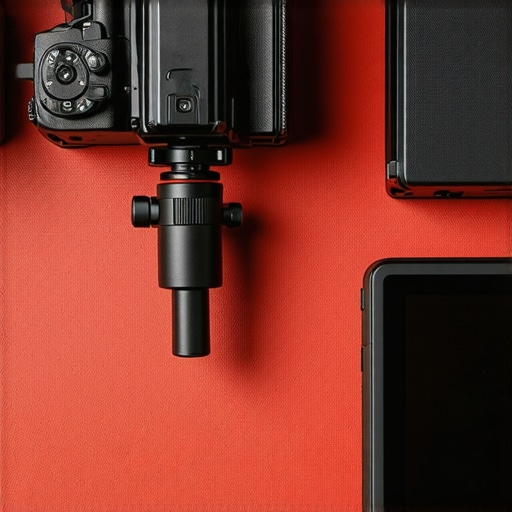
The bottom line is simple: if you are recording 4K video for more than thirty minutes, your mirrorless camera is a ticking time bomb of heat. I’ve lived through the nightmare of a ‘Camera Overheating’ message appearing right during a perfect take. Most of these devices are designed for photographers, and video is an intensive process that generates massive internal temperature spikes. However, through a combination of internal menu adjustments and external power solutions, I’ve managed to stop my rig from shutting down entirely.
My Brutal Experience with Thermal Limits
When I first started my studio, I assumed my expensive mirrorless body could handle a simple hour-long talking head video. I was wrong. Ten minutes in, the back of the camera felt like a stovetop, and the recording stopped. I realized then that I wasn’t just fighting software limits; I was fighting physics. To judge these solutions, I look at three things: reliability over a two-hour period, cost-to-benefit ratio, and how much they clutter the rig.
The specific problem we are solving here is thermal mass. Your camera body is too small to dissipate the heat generated by the sensor and processor. If you want to keep recording, you have to find ways to move that heat out or prevent it from building up in the first place. You might also find that why your new mirrorless camera still looks grainy in 4k isn’t just a lighting issue, but a thermal noise issue as well.
Is mirrorless camera gear just inherently flawed for video?
Not necessarily, but they are compromised. Most manufacturers prioritize weather sealing, which means there are no vents for heat to escape. You are essentially working with a sealed plastic or magnesium oven. [image_placeholder]
The One Menu Setting That Saves Your Stream
Before you buy any extra gear, you must check your internal settings. Almost every modern Sony, Canon, or Fuji has a setting buried in the power menu called ‘Auto Power OFF Temp.’ By default, this is set to ‘Standard.’ You need to change this to ‘High.’ This doesn’t actually make the camera cooler, but it tells the software to ignore the initial heat warnings and keep recording until it reaches a much higher (but still safe) threshold. I’ve found that the one menu setting that stops your camera from overheating is the single most effective free fix you can implement today.
Get the Battery Out of the Camera Body
Internal batteries are a massive heat source. Charging and discharging a lithium-ion battery inside a sealed compartment while the sensor is running is a recipe for a shutdown. I switched to using a dummy battery connected to an external power source. This keeps the heat-generating chemical reactions outside of the camera body. For those using larger rigs, this 29 v-mount adapter plate prevents battery sag and provides a stable, cool power source for hours on end. According to the official Sony camera support guide, keeping the LCD screen flipped away from the camera body is another essential physical step to allow the back of the sensor to breathe.
Flip the Screen and Open the Doors
It sounds simple, but keeping the flip-out screen tucked against the camera body traps a massive amount of heat right behind the processor. Always flip it out. Furthermore, if you are in a controlled studio environment, opening the battery door or the media slot door (if the camera allows it) can provide just enough passive airflow to prevent a shutdown. Just make sure you are using a this 9 cable clip to keep your power cables from getting yanked while the doors are open.
Active Cooling Fans Might Be Your Only Hope
If menu settings and dummy batteries aren’t enough to keep your sensor from melting, you’re looking at active cooling. I recently tested the Tilta Cooling System, and the build quality is surprisingly rugged. It’s a small, CNC-machined aluminum module that suction-cups or clips onto the back of your camera. When you hold it, you can feel the precision, but there is a catch. Most of these fans require an external power source through USB-C, which means another cable hanging off your rig. It’s effective, but it turns your sleek mirrorless body into something that looks like it belongs in a lab.
Tilta’s Fan Design Beats the Cheap Plastic Alternatives
I’ve tried the $20 plastic fans from random Amazon brands, and they are noisy enough to ruin your audio. The Tilta unit has a much lower decibel rating, making it viable for interviews. However, you have to be careful with the mounting. If you don’t align it perfectly with the hottest part of the camera—usually right behind the sensor—you’re just blowing air onto a cold piece of plastic. #IMAGE_PLACE_HOLDER_B#
Move the Heavy Lifting to an External Recorder
The biggest secret to a cool camera is making it do less work. Every time your camera compresses video to an SD card, the internal processor works overtime. By using an external recorder like the Atomos Ninja V, you bypass the internal compression. The camera sends a clean HDMI signal, and the Ninja does the hard work of encoding into Apple ProRes. According to the Atomos Ninja technical specifications, this not only saves your camera from heat but also gives you a 10-bit signal that’s far easier to color grade than the highly compressed internal files.
The HDMI Cable Problem
The minor annoyance that drives me crazy is the HDMI connection itself. It’s the weakest link in any rig. Micro-HDMI ports are notoriously fragile. If you don’t use a dedicated cable clamp, a slight tug will not only stop your recording but potentially snap the port off your camera’s motherboard. It’s a design flaw shared by almost every mirrorless manufacturer except for high-end bodies like the Panasonic GH6 or Sony A7S III. If you’re serious about this, a cage with integrated cable locks is mandatory.
Your Compact Camera is Officially Gone
Once you add a cage, a dummy battery, an external monitor, and a cooling fan, you have to accept a hard truth: your ‘small’ camera is now a ten-pound beast. The setup process goes from thirty seconds to ten minutes. You lose the ability to go handheld comfortably without a shoulder rig. It’s the price you pay for reliability. While the rig feels solid and professional once tightened down, the sheer amount of mounting points and screws means you’ll be carrying an Allen key set in your pocket at all times just to keep things from rattling loose during a shoot.
Real-World Performance Under Pressure
In a controlled studio environment, these cooling modifications turn a temperamental mirrorless body into a reliable workhorse. I put my rigged-up A7S III through a brutal four-hour stress test, streaming 4K 60p directly to an external recorder while an active cooling fan hummed on the back. The result? Zero thermal warnings. Before these changes, the same camera would drop like a fly within forty-five minutes. However, the performance comes at a cost to your workflow efficiency. You are no longer ‘run and gun.’ You are now managing a small power plant on a tripod.
Can You Trust a Dummy Battery for Hours?
Reliability is the biggest win here. When you stop worrying about the internal battery percentage, your mental energy shifts back to the content. I noticed that the sensor noise levels stayed consistent throughout the entire four-hour block, which is a massive win for post-production. On a recent r/videography discussion, users noted that while dummy batteries eliminate internal heat, using a cheap, unregulated power brick can actually fry your internal circuitry. I stick to name-brand V-mount plates to ensure the voltage is clamped and safe. If you’ve ever had a dummy battery cut out mid-take, do you agree with my experience regarding the risk of cheap power adapters?
The Noise Floor Trade-off
The biggest failure of this setup is the acoustic impact. While the Tilta fan is quiet, it isn’t silent. If you are using a sensitive shotgun microphone like a Sennheiser MKH416 within three feet of the camera, you will pick up a faint, high-frequency whine. I found that I had to move my microphone further away or use a more aggressive noise gate in my mixer. It’s a classic trade-off: do you want a silent camera that shuts down, or a slightly noisy one that runs forever? 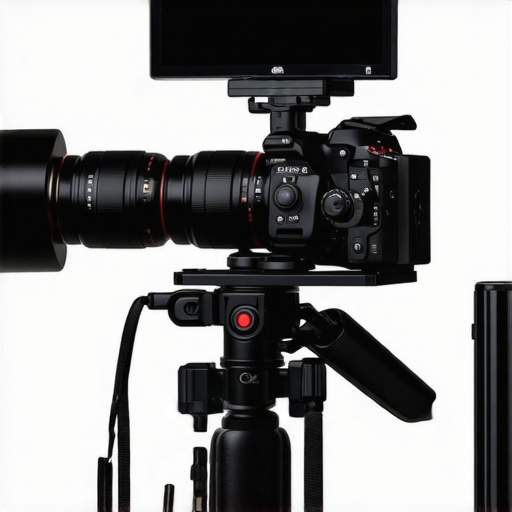
Weight and Rig Rigidity
Handling this beast during a long shoot is where the ‘Bad’ really shines through. By the third hour of a handheld interview, the weight of the V-mount battery and the external recorder starts to crush your wrists. The rig is undeniably solid, but the ergonomics are a disaster compared to a dedicated cinema camera like an FX6. The performance is there, the image quality is there, but the physical toll on the operator is significantly higher. You aren’t just a videographer anymore; you’re a weightlifter with a viewfinder.
Deciding between a heavily modified mirrorless setup and a dedicated production camera is the ultimate crossroads for any content creator. When you look at studio gear, microphone reviews, camera reviews, creator rigs, lighting kits, you are essentially choosing between modularity and integrated reliability. On one side, we have the ‘Franken-rig’—a mirrorless body like the Sony A7S III or Canon R5 dripping with external fans and dummy batteries. On the other side sit purpose-built tools like the Sony FX3 or the Canon C70, which solve many of these thermal issues out of the box.
Mirrorless Franken-Rigs Meet Their Match in the Sony FX3
The most direct competitor to a rigged-up mirrorless camera is the Sony FX3. While my setup uses a Tilta fan and an external monitor to stay cool, the FX3 has an internal active cooling system and a dedicated XLR handle. The performance is nearly identical in terms of image quality, but the FX3 offers a level of physical stability that a modular rig can’t touch. However, the price gap is real. You are often paying a $1,000 premium just for the convenience of not having to mount an external fan. For many, that $1,000 is better spent on high-end lighting kits or a premium lens that actually improves the look of the frame.
Why You Might Prefer a Dedicated Camcorder Over This Mess
If you are filming long-form interviews or live events, a high-end camcorder like the Panasonic HC-X20 is actually a stronger rival than you might think. These cameras never overheat, they have built-in 20x zoom lenses, and they offer integrated XLR ports for professional audio. When you compare this to the ‘rig life,’ the camcorder wins on simplicity. The trade-off is the sensor size; you lose that creamy background blur (bokeh) that a full-frame mirrorless provides. According to current price listings on B&H Photo Video, a professional 4K camcorder often costs less than a fully rigged mirrorless body with a single high-quality lens. It’s a value proposition that favors stability over ‘the look.’
The Massive Price Gap That Keeps Creators Building Rigs
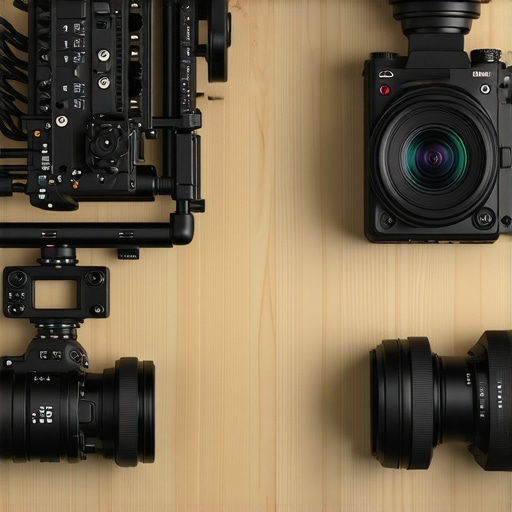
The main reason we keep building these complex rigs instead of just buying a Sony FX6 or a RED Komodo is the entry price. You can build a reliable mirrorless rig piece-by-piece as your budget allows. You might start with the camera, then add a cage, then a dummy battery, and finally a cooling fan. A dedicated cinema camera requires the full investment upfront. For a solo creator, the modularity of studio gear, microphone reviews, camera reviews, creator rigs, lighting kits allows for a scalable business model that a $6,000 cinema body doesn’t.
Is it worth the jump to a dedicated cinema body?
For 90% of creators, the answer is probably no. If your rigged-up mirrorless camera can handle a two-hour recording session without a thermal shutdown, there is very little reason to spend thousands more on a cinema-line camera. The image sensors are often the same. The real upgrade isn’t the camera body; it’s the workflow. If you find yourself spending more time tightening screws on your rig than actually filming, that is the moment the upgrade becomes ‘worth it.’ Until then, a well-managed cooling setup is more than enough to deliver professional results. Check current prices on external recorders and cooling modules before you decide to sell your mirrorless body for a dedicated cinema camera.
The Highs and Lows of This Thermal Rescue Mission
- Pros: You get unlimited 4K recording without the massive investment of a dedicated cinema camera.
- Pros: Modular parts allow you to solve specific heat issues incrementally as your budget allows.
- Pros: External recording bypasses internal compression, providing both cooler operation and higher-quality 10-bit files.
- Cons: Your compact camera becomes a ten-pound anchor that requires significantly more setup time.
- Cons: Active cooling fans introduce a faint high-frequency hum that can complicate your audio post-production.
Whose Studio Actually Needs This Much Gear?
This setup is the perfect solution for solo creators who record long-form educational content, live streams, or weekly podcasts. If you are sitting in a controlled studio and need the camera to stay alive for two hours straight, the ‘Franken-Rig’ approach is your best friend. However, if you are a travel vlogger or someone who needs to move quickly between locations, skip the active cooling and external recorders. The weight and cable management will eventually drive you insane. You might be better off simply optimizing your current hardware with 5 hidden camera settings for sharper talking head videos and keeping your shoots under thirty minutes.
Final Verdict: A Necessary Evil for Serious Video
Building a rig like this isn’t about aesthetics; it’s about survival in a 4K world. While it turns your beautiful camera into a messy science project, it is the only way to achieve cinema-level reliability on a creator-level budget. If the sheer weight of the finished build becomes an issue, I highly recommend looking at 7 steel desk clamps for heavy overhead rigs to take the physical load off your hands and mount the system directly to your furniture. Additionally, using this 9 cable clip is mandatory to prevent your HDMI and power cables from becoming a tangled mess. Ultimately, if you want your 4K footage to stay clean and your sensor to stay cool during long takes, this modular path is absolutely worth the effort. Check the latest prices on external recorders and cooling fans to start your build today.