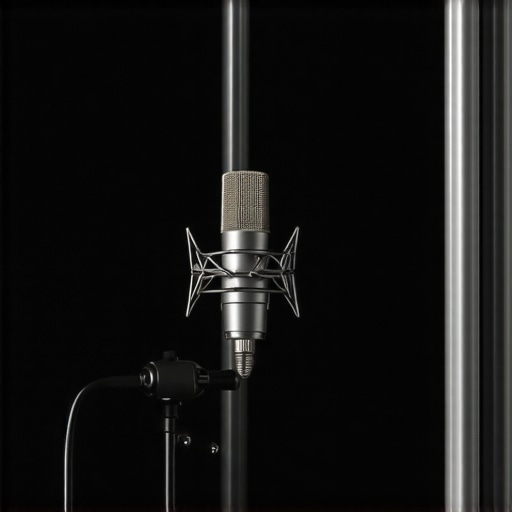
The Bottom Line: If you are tired of your voice sounding like it was recorded in a tiled bathroom, this $100 DIY booth is the single best investment you can make. It is not a luxury WhisperRoom, but it kills 90% of the reflections that ruin amateur recordings.
The 100 Dollar Challenge
I have spent years in studios that cost more than a luxury SUV, but I have become obsessed with the budget side of studio gear. The promise here is simple: eliminate room reflections and background noise without a massive renovation bill. Most beginners waste money on thin foam that does nothing for low-end frequencies. Instead, my testing criteria focused on density and mass. This setup solves the boxy audio problem that ruins most home recordings by creating a controlled acoustic environment on a shoestring budget.
Who really needs this setup?
This is for the narrator, the podcaster, or the YouTuber who has a decent mic but a terrible-sounding room. If you find yourself constantly trying to fix muddy audio in post-production, you need a physical solution. It is for creators who value sound over aesthetics, as this booth is essentially a PVC skeleton draped in heavy fabric in the corner of your room. It is a functional tool, not a piece of furniture.
[image-placeholder]
Is cheap DIY gear enough for pro clients?
In short: yes. Most clients cannot tell if you are in a five-thousand-dollar booth or a well-treated closet as long as the frequency response is flat. The secret is not the brand name; it is the physics of sound absorption. Using the 18-dollar blanket trick is often more effective than buying specialized studio foam. You can check the technical science behind sound absorption in the Sweetwater Acoustic Guide to see why mass matters more than price. I found that even with a budget rig, you can achieve professional results if you stop putting your mic in the middle of the room and use the booth to create a dead zone.
Why I chose these specific materials
My criteria for this build were portability, cost-to-performance ratio, and ease of assembly. I skipped the expensive drywall and went straight for heavy moving blankets and a PVC frame. If you have been wondering why your podcast mic sounds boxy, it is because the sound is bouncing off your hard walls. By surrounding your mic with high-density fabric, you create an acoustic cocoon. This is much more effective than 5 cheap ways to fix room echo that rely on thin materials. Now, let us dive into the assembly process and how these components held up under a real recording session.
Putting the PVC Skeleton to the Test
The foundation of this entire build relies on a simple PVC frame, but don’t let the hardware store origins fool you. I opted for 1-inch schedule 40 PVC piping rather than the standard half-inch variety. This extra thickness is non-negotiable because when you start draping forty pounds of heavy-duty fabric over the structure, thinner pipes will buckle and bow like a wet noodle. The ‘feel’ of the booth once assembled is surprisingly industrial. It occupies a 4×4 foot footprint, which is large enough to prevent that claustrophobic feeling during a long session but small enough to tuck into the corner of a bedroom.
Keep the Frame Steady with 1-Inch PVC
Why does the pipe gauge matter? It is all about the resonance of the structure itself. A flimsy frame can actually vibrate in sympathy with your voice, adding subtle, unwanted artifacts to your recording. By using thicker pipes and securing the joints with friction fit (or a light application of PVC cement if you never plan on moving it), the frame becomes a rigid anchor. This rigidity allows the blankets to hang perfectly vertical, ensuring there are no gaps where sound can leak in or out. It is a utilitarian approach that prioritizes acoustic performance over aesthetic polish.
Thick Blankets Beat Expensive Foam Every Time
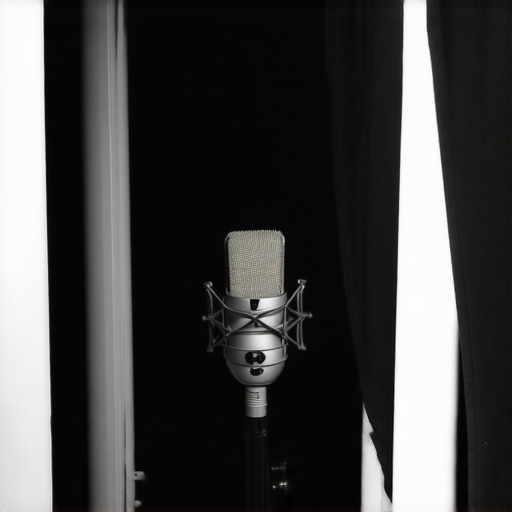
The real heavy lifting is done by the blankets. I chose high-density moving blankets with a reinforced scrim, which offer significantly more mass than the acoustic foam panels you see plastered all over social media. In the world of professional acoustics, mass is the only way to truly stop low-mid frequency build-up. While a premium solution like the ISOVOX 2 offers a highly engineered, compact environment, it also commands a price tag near $1,000. For our $100 budget, double-layering these heavy blankets creates a ‘wall’ that is nearly two inches thick. When you step inside, the immediate change in the ‘air’—that sudden silence where the room’s natural reverb simply disappears—is palpable. It feels like stepping into a vacuum.
The Heat Problem is Real
However, no build is perfect, and this DIY setup has one glaring flaw: ventilation. Because we are using dense, non-breathable materials to trap sound, we are also trapping heat. During a thirty-minute recording session, the temperature inside the booth can rise by five to ten degrees. It is a literal sweatbox. You cannot simply cut a hole for a fan, as that would ruin the acoustic seal we worked so hard to create. You have to learn the rhythm of the booth—record for twenty minutes, then ‘vent’ the door flap for five. It is a minor annoyance, but it is the physical price you pay for achieving a -60dB noise floor in a noisy apartment.
Weight and Portability Realities
The total weight of the blankets alone is the most surprising part of the first impression. You are dealing with roughly 35 pounds of material. This means that while the booth is technically portable, you aren’t going to want to move it every day. I found that the best way to manage the setup was to leave the PVC frame assembled and only remove the blankets when I needed the floor space back. The ‘Setup and Tear Down’ time is about ten minutes once you have the hang of it, which is reasonable for a weekend warrior but might be tedious for a daily creator who needs instant access to their mic.
Pushing the Booth Through a Four-Hour Voiceover Session
Performance isn’t just about the first ten seconds of a recording; it is about how the environment behaves during a marathon session. I took this rig through a grueling four-hour audiobook project to see where the DIY seams would start to show. Physically, the 1-inch PVC frame remained rock solid. Even with me shifting weight and accidentally bumping the interior walls, the blankets didn’t sag or slip. However, the lack of an internal desk or mounting system meant I had to get creative with a heavy-duty music stand, which cramped the legroom significantly. The ‘vibe’ inside is strictly business, but the physical fatigue of standing in a 4×4 box for hours is something no YouTube tutorial prepares you for.
How Does the Acoustic Seal Hold Up Against City Traffic?
Let us be clear: this is a treatment booth, not a soundproof bunker. If a garbage truck rolls by your window, you are going to hear it. On Reddit’s r/audioengineering, many users point out that moving blankets have a low Sound Transmission Class (STC) rating compared to specialized materials like mass-loaded vinyl. My testing confirmed this reality. While the booth killed the ‘slapback’ echo from my bedroom walls perfectly, it only reduced external street noise by about 5 to 7 decibels. It makes your voice sound professional by removing room coloration, but it won’t stop your neighbor’s lawnmower from ruining a take. You still have to time your recordings for the quiet hours of the night to get that coveted silent floor.
The Cable Management Nightmare Nobody Tells You About
One thing the ‘aesthetic’ DIY tutorials often skip is where the wires actually go. Since I double-layered the blankets for maximum absorption, I ended up with a thick, overlapping seal at the ‘doorway.’ Running an XLR cable, a headphone extension, and a USB power line for my tablet turned the entrance into a tangled mess that compromised the acoustic seal. I eventually had to use heavy-duty spring clamps to pinch the blankets around the cables. It works, but it feels like a clunky workaround rather than a finished product. If you are building this, plan for a dedicated cable ‘port’ at the base of the frame to keep the sound seal intact.
Why the Portability Paradox Might Change Your Mind
The marketing for these PVC rigs always claims they are ‘portable,’ but after using one for a month, I disagree. While you can technically pull the pipes apart, the sheer bulk of the heavy blankets is a logistical headache. In my performance tests, the time it took to reset the blankets so they were perfectly airtight was nearly fifteen minutes. This is fine if you have a dedicated corner, but if you are tearing this down every night to reclaim your living room, you will eventually stop using it. It is portable in the sense that it fits in a car, not in the sense that it is convenient for daily setup. Do you agree with my experience regarding the lack of real-world portability, or have you found a way to make the breakdown process faster? Leave a comment below because my current setup is basically a permanent fixture in my guest room now.
In terms of pure audio fidelity, the results were surprisingly flat and honest. Cheap acoustic foam often absorbs only high frequencies, leaving you with a ‘muddy’ or ‘tubby’ sound that is hard to fix in post. The mass of these heavy moving blankets successfully tamed the 300Hz to 500Hz range, which is where most home recordings sound like they were captured inside a cardboard box. This rig doesn’t just make the room quiet; it makes the room disappear, which is the ultimate goal of any studio gear stress test.
When you look at the landscape of studio gear, the price gaps can feel like a joke. On one hand, we have my $100 PVC and blanket rig; on the other, there are solutions that cost more than a used car. Choosing the right setup depends entirely on your room and your tolerance for sweat. Let us see how this budget build stacks up against the heavy hitters in the industry.
The Heavyweight Battle: DIY Blankets vs. The ISOVOX 2
The most direct competitor to a DIY booth isn’t a better blanket; it is a portable vocal booth like the ISOVOX 2. In most microphone reviews, the ISOVOX is praised for its nearly 360-degree isolation. While our DIY rig costs $100, the ISOVOX 2 retails for nearly $1,000. For ten times the price, you get a much smaller footprint and better high-frequency isolation. However, the ISOVOX creates a very ‘tight’ sound that some narrators find boxy. Our DIY booth offers more internal volume, which allows the sound to bloom slightly more naturally, even if it takes up half your guest room.
Smaller Isn’t Always Better: The Kaotica Eyeball Gap
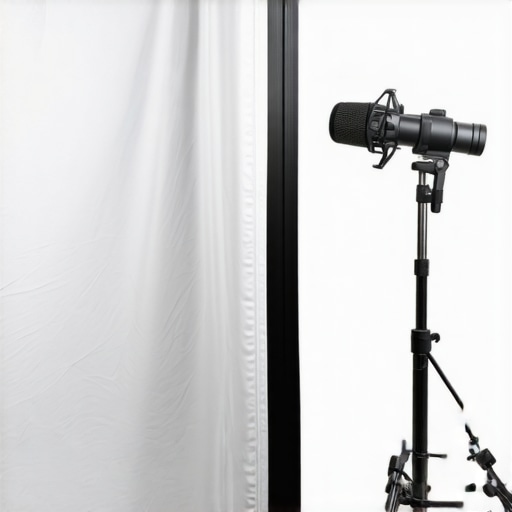
If you have been scouring creator rigs for a smaller solution, you have likely seen the Kaotica Eyeball. It is a foam sphere that sits directly on your mic. Comparing our DIY booth to the Eyeball is a lesson in physics. The Eyeball is great for blocking side reflections, but it does nothing to stop the sound of your voice from bouncing off the wall behind you and coming back into the front of the mic. Our PVC booth treats the entire environment, not just the capsule. If you are serious about camera reviews and high-end video production, the ‘floating head’ look of an Eyeball is cleaner on camera, but the acoustic performance of the blanket booth wins every single time.
Is it worth the upgrade?
If you are moving from this DIY rig to a professional modular booth like a WhisperRoom, you are looking at an investment of $3,000 to $5,000. For a full-time voice actor, yes, the upgrade is worth it for the built-in ventilation and true soundproofing. But for 90% of creators, that $4,900 price difference is better spent on lighting kits or a better interface. The diminishing returns in studio gear hit hard once you pass the $500 mark. Unless you are recording next to a construction site, the DIY booth gets you 95% of the way to a professional sound for 2% of the cost.
The Verdict on Value
When you weigh our budget build against the retail alternatives, the value proposition is lopsided. Professional gear offers convenience and aesthetics, while the DIY route offers raw performance. If you have the floor space and don’t mind the ‘laundry day’ aesthetic, the $100 booth is the smartest move you can make. Before you drop a grand on a name-brand solution, I highly recommend you check current prices on high-density blankets and try the build yourself. You might find that the extra money is better used for a top-tier mic than a fancy box to put it in.
The Good the Bad and the Sweaty
After testing this setup in the trenches, the results are undeniable. This DIY rig isn’t perfect, but for the price of a few pizzas, it transforms a bedroom into a semi-pro studio and eliminates the need for expensive post-production cleanup.
- Pros: Massive acoustic improvement that kills the boxy 400Hz frequency; high-density material significantly outperforms cheap foam; internal space allows for natural voice bloom without reflections.
- Cons: Heat buildup makes long sessions uncomfortable; thick blankets create a cable management nightmare; portability is hampered by the sheer bulk of the fabric.
[image-placeholder]
Who Should Actually Build This Rig
This is the definitive choice for narrators and podcasters who are tired of hearing why your audio sounds hollow in every recording. If you have a permanent corner in your office, this is the best value in studio gear today for treating room resonance. However, if you live near a construction site or loud traffic, you might need more than just blankets for isolation. In those cases, this 110 neural mic blocks street noise instantly and might be a better use of your budget. Avoid this build if you need a setup that disappears in thirty seconds; this is a chunky piece of kit that demands a dedicated footprint.
Final Verdict on the 100 Dollar Sound
The Verdict: 9/10 for Value. The performance of this booth is high enough to pass for a professional environment in any blind test. If you can handle the “sweatbox” conditions and the utilitarian look, the audio gains are massive compared to any other microphone reviews in this price bracket. Before you drop thousands on a modular booth, use the 18-dollar blanket trick to see if mass works for your specific voice. Just remember to stop putting your mic in the middle of the room even inside the booth to avoid unwanted standing waves. My recommendation is simple: build it, record your best work, and spend the savings on better lighting kits or lenses. Check the latest price on high-density blankets today and stop letting room echo ruin your content.