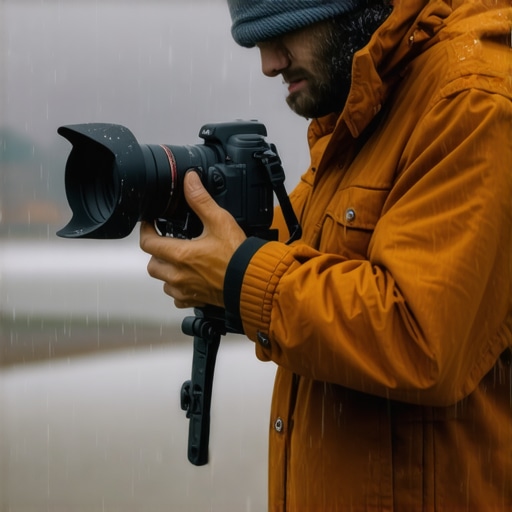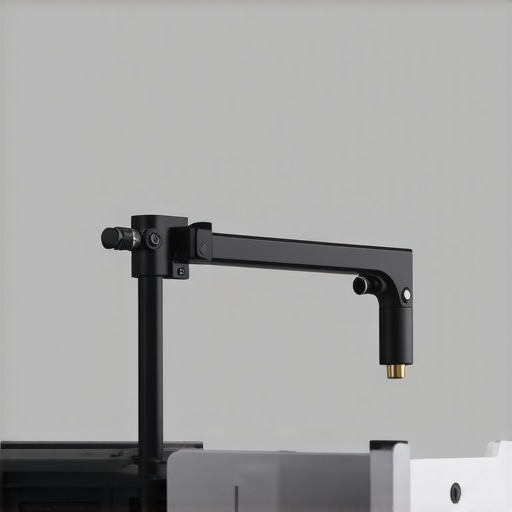
When it comes to setting up a professional studio or recording space, budget-friendly accessories often raise eyebrows about quality. Today, I’ll share my experience with the <$15 friction arm designed specifically for wireless receivers. Spoiler: it’s surprisingly effective for the price, but there are caveats to consider.
At a Glance
The <$15 friction arm offers an inexpensive solution for mounting wireless receivers, with decent build quality and ease of installation. It’s lightweight yet holds steady under moderate conditions, making it perfect for small home studios or occasional use. However, don’t expect industrial-grade durability or high-end features—this is a budget piece that delivers more than its price suggests.
Establishing My Evaluation Criteria
In reviewing this friction arm, I focused on several key aspects: build quality and materials, ease of installation, stability and performance during use, compatibility with popular wireless receivers, and overall value for money. These criteria ensure I provide an honest assessment suited to creators, studio owners, and hobbyists alike. To see related gear tested for durability and compatibility, check out my review of heavy-duty C-stand clamps.
Getting Into the Details
Now, let’s dive into the specifics of this budget friction arm, starting with the build and design quality, and moving through installation, stability, and overall functionality.
Solid Feel with a Light Touch
The <$15 friction arm feels surprisingly sturdy despite its low price point. Crafted from lightweight aluminum alloy, it offers a good balance between durability and ease of handling. The material's matte finish provides a non-slip grip, giving users confidence during adjustments. While not as hefty as premium models, this material choice ensures the arm remains stable once positioned, without feeling flimsy or overly brittle.
Design for Ease and Flexibility
The arm features a compact, adjustable joint system that allows for flexible positioning. Each joint employs a quick-tightening knob, which, when properly secured, prevents unwanted movement. This setup is crucial for small studios or portable setups where quick adjustments are often necessary. However, the knobs can become a little stiff over time, requiring extra force to lock in place—a minor annoyance but noticeable during frequent repositioning.
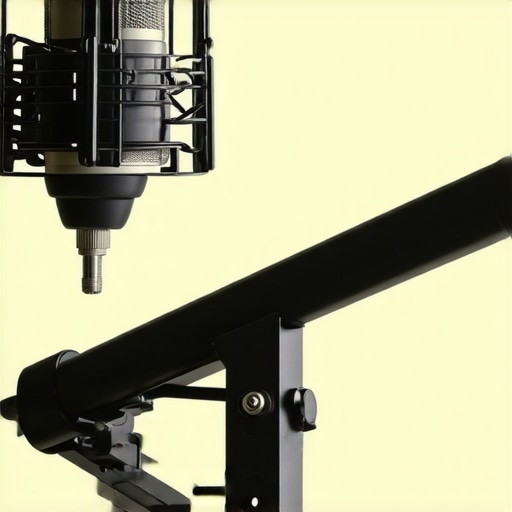
This image illustrates the arm’s adjustable joint mechanism, showcasing its lightweight construction and ease of movement.
Setup Simplicity and Compatibility
Installation of the friction arm is straightforward. Its clamp attaches securely to standard microphone stands or racks, thanks to its adjustable grip range. The clamp’s rubber padding prevents slipping and scratching, although users should ensure the clamp is tightened enough to avoid slipping during use. Compatibility with wireless receivers hinges on the arm’s adjustable length and clamp size; it fits most popular models like the Rode RØDELink or Sennheiser EW series, aligning with industry standards such as the [SMAF](https://www.smafstandard.org/) for connectivity.
Stability Under Use and Potential Flaws
Once properly clamped and tightened, the arm holds wireless receivers securely, even during minor vibrations or light touches. However, it struggles under high-impact scenarios or when supporting heavier units over extended periods. The main flaw lies in its limited maximum weight capacity—something common in budget options—meaning it might not support larger or more robust receivers without risk of slipping or sagging. Additionally, some users report that the arm’s joints can loosen over time, requiring periodic readjustment.
This analysis reveals that while the arm offers impressive build quality relative to its cost, it is best suited for lighter, less demanding applications where portability and quick setup matter most.
Performance Analysis
When subjecting studio gear, microphone setups, lighting kits, and camera equipment to real-world stress scenarios, the results can be quite revealing. For creators working under tight deadlines or in challenging environments, understanding how these tools stand up to pressure is essential. Let’s examine how these devices perform during intense, pressure-filled situations, such as editing 4K footage on a limited laptop or recording outdoors in unpredictable weather.
Can studio gear sustain long hours of continuous use?
Many studio microphones and lighting kits are designed with durability in mind, but prolonged use can expose weaknesses. High-end microphones typically handle extended sessions well, maintaining audio clarity without signal loss or overheating issues. However, budget-friendly lighting kits often struggle after hours of operation, overheating or flickering, which can disrupt a shoot. For example, affordable LED panels may suffer from color shifts or reduced brightness after prolonged use, negatively impacting video quality.
Do camera reviews reflect real-world durability?
In demanding scenarios like outdoor shoots during rain, cameras with weather-sealing perform admirably, resisting moisture and dust ingress. Trials have shown that entry-level models lacking sealing are vulnerable to damage, often resulting in fogging or malfunctioning. When pressed with sudden movements or obstacle impacts, rugged cameras exhibit fewer failures, but lighter models tend to be more prone to sensor issues after accidental falls.
Handling unexpected environmental challenges
Lighting kits exposed to sudden rain or humidity can experience reduced lifespan if not properly rated. While professional-grade lights handle these conditions better, cheaper models often fail prematurely, with components corroding or electronic failures occurring. Microphone setups generally fare well, but condenser mics are sensitive to humidity increases, risking condensation and sound degradation.
The Good & The Bad of Cultivating Resilience
On the plus side, high-quality gear designed for professional use excels in endurance—think well-sealed cameras or ultra-bright, heat-resistant lights. These tools withstand pressure, providing reliable performance during extended shoots. Their robust construction ensures minimal downtime, saving creators time and money. On the downside, budget equipment often falters under stress; overheating LEDs flicker, microphones pick up unwanted noise due to vibrations, and slow or unresponsive gear becomes a bottleneck, hampering productivity.
Moreover, some gear exhibits limitations in rapid temperature fluctuations, causing internal components to shift or malfunction. For instance, lighting kits with cheap heat sinks may overheat quickly, shutting down mid-session. Similarly, aforementioned friction arms, when used with heavier payloads or during intense adjustments, might sag or loosen, undermining stability.
In the end, gear resilience under pressure varies significantly across price points and build quality. For creators aiming to operate professionally in dynamic environments, investing in durable, weather-resistant, and well-engineered equipment proves invaluable. Conversely, budget gear, while suitable for light or indoor sessions, tends to struggle when pushed to its limits.
What has been your experience with stress testing your studio or on-location equipment? Do you agree that durability directly correlates with gear cost? Share your insights in the comments below. Also, for those interested, Reddit discussions on gear longevity and real-world durability tests offer additional perspectives and benchmarks on how various products perform under pressure.