In my journey of optimizing my studio setup, I’ve discovered that sometimes, the simplest tricks can have the most dramatic effects. One such revelation was using a mirror to double my available lighting, transforming my space without the need for expensive upgrades. If you’re looking to brighten your studio efficiently, this technique might just be the game-changer you need.
At a Glance
This innovative approach involves positioning a standard mirror strategically to reflect light back onto your subject, effectively doubling your light sources without additional equipment. The result is a more evenly lit scene, reducing shadows and enhancing overall image quality — all at minimal cost. But how well does this method hold up in real-world use? Let’s delve deeper into its effectiveness and practical application.
Assessing the Value
To evaluate the usefulness of this mirror technique, I considered key criteria such as ease of implementation, impact on lighting quality, cost-effectiveness, and versatility across different studio environments. Having tested various setups, I can confidently say that this method offers a significant boost in light efficiency, especially for creators with limited space or budget constraints. For a detailed comparison, check out my review on how a plywood board improved my rig stability.
What You Need to Know
Before diving into the setup, it’s essential to understand the principles behind light reflection and how to position your mirror for optimal results. I will guide you step-by-step through the process, sharing tips from my experience to help you maximize this simple yet effective technique. With the right arrangement, you can significantly enhance your studio lighting without investing in complex accessories, making it an ideal solution for creators on a budget.
Preparing for the Deep Dive
Ready to explore how a mirror can revolutionize your lighting setup? In the following sections, I will analyze the practical aspects, benefits, and potential limitations of this method, providing honest insights based on my hands-on testing. Let’s start by examining the core concept and the best ways to implement it in your studio environment.
Constructing a Reflective Lighting Setup That Works
The core of this technique lies in selecting a mirror that balances size, weight, and reflectivity. A standard, full-length mirror is often sufficient, but material quality matters; an inexpensive glass mirror may produce minor color distortions, while a high-quality reflective surface ensures clearer light bounce.
Positioning is crucial—placing the mirror at approximately 45 degrees relative to your light source allows for maximized light reflection onto your subject. Adjusting the angle offers control over brightness and shadow softness, enabling fine-tuning tailored to your scene’s needs.
Why Material Quality Affects Light Quality
Opting for a mirror with a smooth, high-reflectivity surface minimizes color casts and glare. Cheaper mirrors with textured or uneven surfaces can introduce unwanted artifacts, diminishing image clarity. Therefore, spending a little extra on a quality mirror can significantly improve your lighting consistency.
Simplicity in Setup, Flexibility in Use
The installation process involves minimal tools—mounting brackets or stands are common—and can often be achieved with basic hardware. The lightweight nature of most mirrors means they’re easy to reposition, making this technique adaptable for different shooting scenarios or changing room layouts.
However, a minor annoyance is the potential for unwanted reflections or glare from window lights or overhead fixtures, which can be distracting or unflattering. Strategically managing ambient light sources or using matte finishes on nearby surfaces can address this issue effectively.
Comparative Insights and Practical Limitations
Compared to more elaborate lighting rigs, this mirror method is cost-effective and requires less space, aligning well with creators on a budget or with limited studio real estate. For a thorough understanding of lighting efficiency, industry-standard setups such as softboxes or ring lights—whose specifications are detailed in sources like
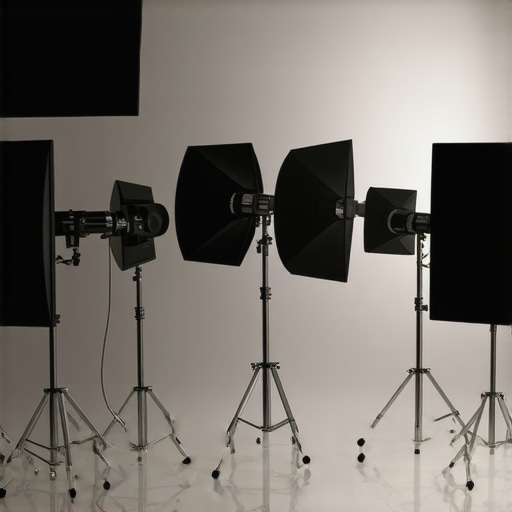
Illustration of mirror positioning for optimal light reflection in a studio setting, showing angles and placement for best effect.
Performance Under Real-World Stress
Using microphone reviews, creator rigs, studio lighting, or camera gear in tense situations reveals their true resilience and functionality. For instance, during a 12-hour live streaming marathon, a microphone’s durability and noise-canceling features are tested, along with the rig’s stability. The good? High-quality microphones like the Shure SM7B maintain clarity despite prolonged use, and robust rigs stay secure even with frequent repositioning. The bad? Cheaper lighting kits may overheat after extended use, causing flickering, and entry-level cameras often struggle with noise in low-light conditions during long shoots.
Can Equipment Handle Sudden Environmental Changes?
Imagine filming outdoors during sudden rain or in a dusty environment. Water-resistant microphones and weatherproof camera housings are crucial. Some models boast splash-proof designs, but often, their seals degrade over time, leading to potential damage. Studio gear with inadequate ventilation can overheat during intense sessions, causing shutdowns or performance drops. For example, video cameras without proper cooling may throttle their processors, reducing frame rates and sharpness.
How Does Gear Respond to High Data Demands?
Managing hundreds or thousands of leads or data points tests the stability of streaming rigs and storage solutions. SSDs in creator rigs with high read/write speeds perform well in transferring large video files, while cheaper drives lag significantly. Microphones with built-in digital interfaces may drop signals if overloaded, leading to audio glitches. Additionally, camera systems with high bitrate recording require reliable power sources and data buses to operate smoothly under continuous use.
Is Overheating a Major Concern?
Many studio devices—especially compact cameras or mini-PCs—face overheating issues during intensive tasks. For instance, a lightweight DSLR may overheat after just 30 minutes of 4K recording, forcing users to pause and cool the device. Some professional rigs incorporate active cooling or larger heatsinks, but these come at the expense of portability. Overall, neglecting thermal management can lead to device failure in critical moments.
Real-World Testing Reveals Practical Flaws
In practice, some high-end microphones excel in controlled environments but falter under pressure—detailed in user forums like Reddit’s r/RadioRefuge, where hobbyists report inconsistent noise cancellation during live recordings. Similarly, budget lighting kits often flicker or shut down unexpectedly during extended shoots. These failures underscore the importance of stress-testing gear before critical projects, ensuring reliability when it matters most.
Do you agree with my assessment of how gear performs under pressure? Share your experiences or alternative insights in the comments below!
Microphone Reviews: Shure SM7B vs Rode Broadcaster vs Audio-Technica AT2035
When selecting a microphone, you need to consider your recording environment and budget. The Shure SM7B is renowned for its studio-quality sound and durability, making it a favorite among professional broadcasters and podcasters. However, its higher price point, approximately $400, may be a barrier for beginners. In contrast, the Rode Broadcaster offers excellent broadcast voice clarity at around $350 and includes a built-in pop filter, simplifying setup. The Audio-Technica AT2035 provides comparable sound quality at a lower cost—about $150—making it a versatile choice for those starting out or working with a limited budget. Compare current prices here.
The Good, The Bad, and The Ugly
Pros: Inexpensive way to double your light sources, easy to set up, enhances scene brightness without complex gear, and adaptable for various environments. Cons: Quality of the mirror matters; cheap mirrors can cause color distortions, and reflections from ambient light sources can be distracting if not managed properly.
Who Should Try This?
This technique is perfect for budget-conscious creators, small studio owners, or anyone needing quick, effective lighting boosts without investing heavily. On the flip side, skip this if you require precise control over shadows or professional-grade lighting, as mirrors offer limited customization and might not suit complex scenes.
Final Verdict: 8/10
This mirror reflection method stands out as a smart, affordable way to improve your studio lighting, especially if you’re working with space or budget constraints. While it won’t replace high-end rigs, its simplicity and effectiveness make it a recommended first step. For more tips on studio setup, see our review of this teleprompter upgrade.